...
- In the CMS, navigate to Settings → Feature Management.
- Configure the Product Variant feature.
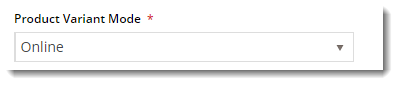
- Switch the Product Variant Mode to 'Online'.
- Select the 'Default Display Type'. This will determine the interface for users when selecting options.
- Dropdown List
- Radio Buttons
- Toggle 'Allow Product Matrix Mode' on/off as required.
- This will allow individual products to be set to matrix display mode, using the Product Attribute Variant Grid Widget.
- Toggle 'Allow Display Type Override' on/off as required.
- This will allow the default display type (that you just set in Step 4) to be overridden on a product-by-product basis.
- Toggle 'Allow Child Products As Note Line' on/off as required.
- This will allow child products to added without a product code. Instead, the selected variants are added as notes against the master product on the order.
- Toggle 'Enforce Stock Security for Variants' on/off as required.
- Toggle 'Update Master Products With Child Images' on/off as required.
- This adds child images to the master product gallery automatically, so that as the user selects different options, the image will change to reflect them. See our guide on Automatic image tagging for variants for further detail.
- Click 'Save'.
The Product Variant feature has now been configured and is ready to use during product maintenance.
...
- Navigate to Settings → Feature Settings and Edit the Product Variant feature.
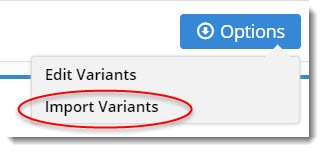
- Select Options → Import Variants.
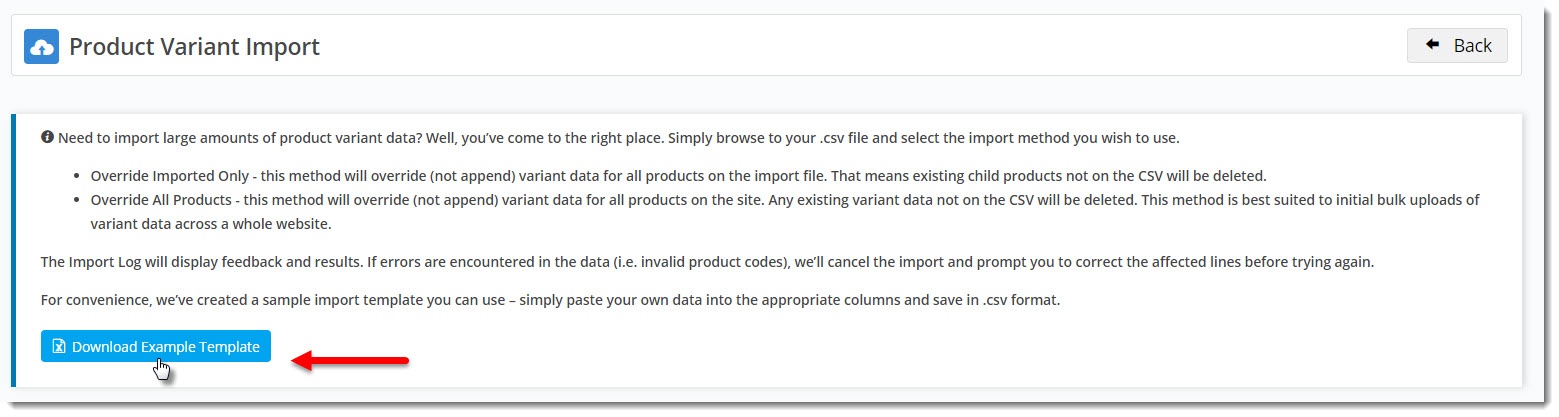
- If you'd like a CSV file template to work with, click Download Example Template.
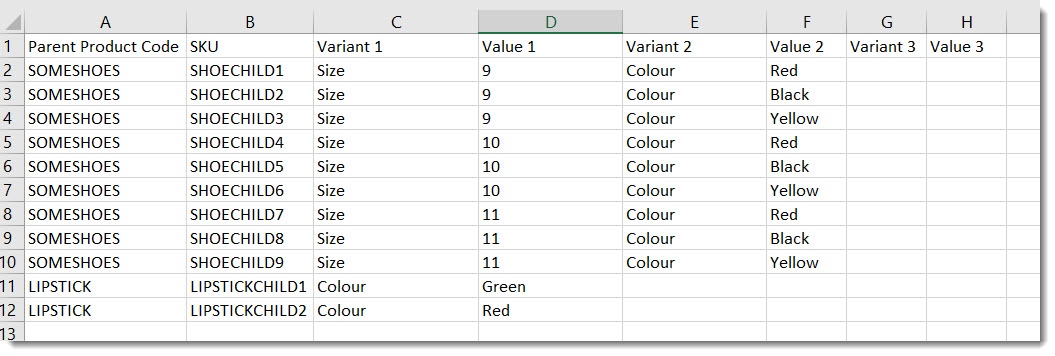
- Paste your data into the spreadsheet, listing the master product once for every variant combination available.
- Save the file somewhere locally as .csv format.
- Select your Import Type from the dropdown:
- Override Imported Only - all master products in the spreadsheet will have their variant data replaced with what's in your spreadsheet. No other products will be affected.
- Override All Products - the product data in in the spreadsheet will become the COMPLETE product variant data for your site. Current variants not in the spreadsheet will be deleted.
- Click 'Select files...' to browse to your saved .csv file.
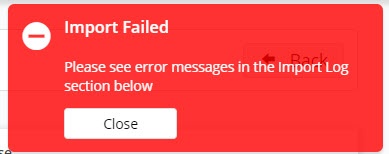
- The import will process and a notification will advise whether the import was successful. If errors occurred, fix the data and try again.
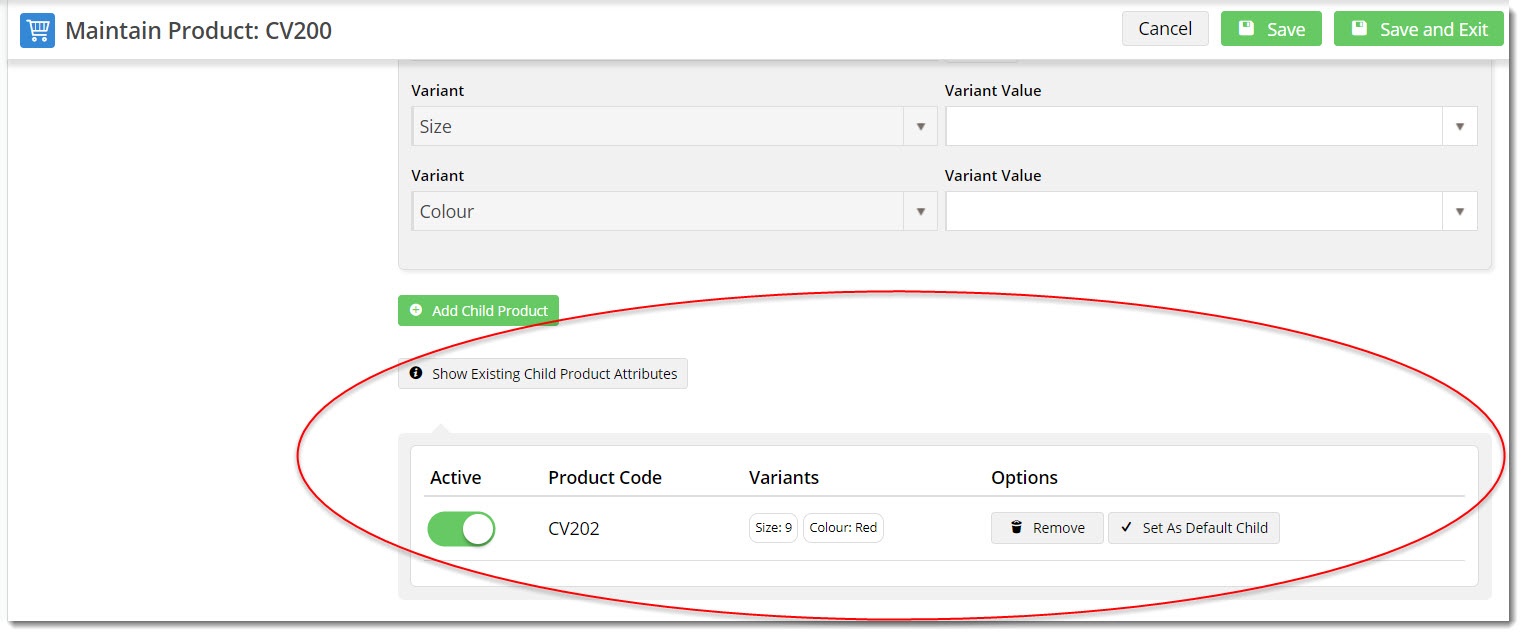
- To verify a successful import, navigate to Product Maintenance and search for one of the master products on your .csv file.
Check the variant data to ensure it matches up with what you've just imported.

...