Overview
Your master products can be automatically updated with their child images and tagged for image switching.
This means that as you add a child product to a master in the CMS, as long as that child has an associated image, it will be copied across with the correct tags.
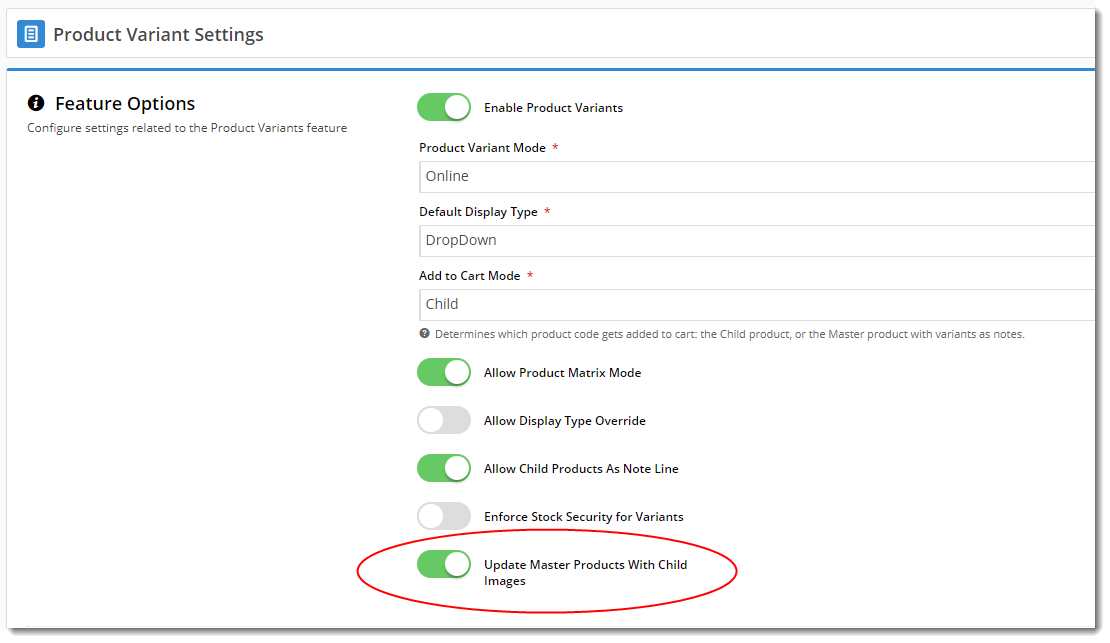
You can enable this functionality in the Product Variant Settings page in the CMS.
Navigate to Settings → Feature Management → Product Variants, and enable the setting 'Update Master Products With Child Images'.
Prerequisites
- Your site must be running version 4.04 or higher
- The child product needs an image loaded against it.
- The child product can't also be a master product.
- The child product can't be a child to more than one master - this feature works for one-to-one relationships only.
Step-by-step guide
- With the Product Variant Feature setting ('Update Master Products With Child Images') enabled, navigate to Products & Categories → Product Maintenance.
- Search for and Edit a Master product.
- Add a child product (or several) to the master product.
- Ensure that each child product has an image against it. If the child product has more than one image, all of them will be copied across to the master.
- Once you've added all required child products, click Save.
- On reload of the page, you'll see that the image from each child product has been added to the master, and has been automatically tagged with its variant option(s).
Here's a video showing a simple example. You can see that when the master product is saved, the new child images appear, complete with correct tags.
Removing Child Product images
If you remove a Child Product from a Master Product, the existing Child Product's images need to be manually deleted.
Additional Information
Works whether your product images are loaded via the CMS or sent via the Integrator!
| Minimum Version Requirements |
|
|---|---|
| Prerequisites | -- |
| Self Configurable |
|
| Business Function |
|
| BPD Only? |
|
| B2B/B2C/Both |
|
| Third Party Costs |
|