...
- Have your Openpay account credentials handy (i.e. your base and handover URLs and Authorisation Token).
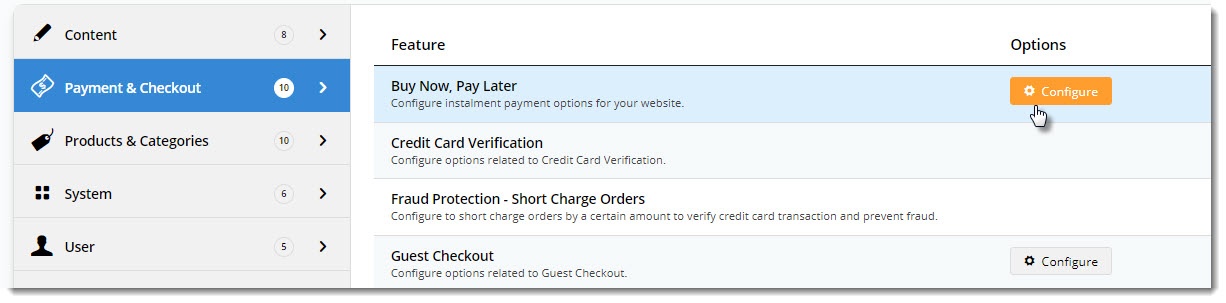
- In the CMS, navigate to Settings → Feature Management → Buy Now, Pay Later.
- Ensure the Buy Now, Pay Later toggle is ON.
- Click Configure on the Buy Now, Pay Later feature.
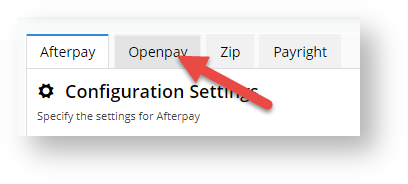
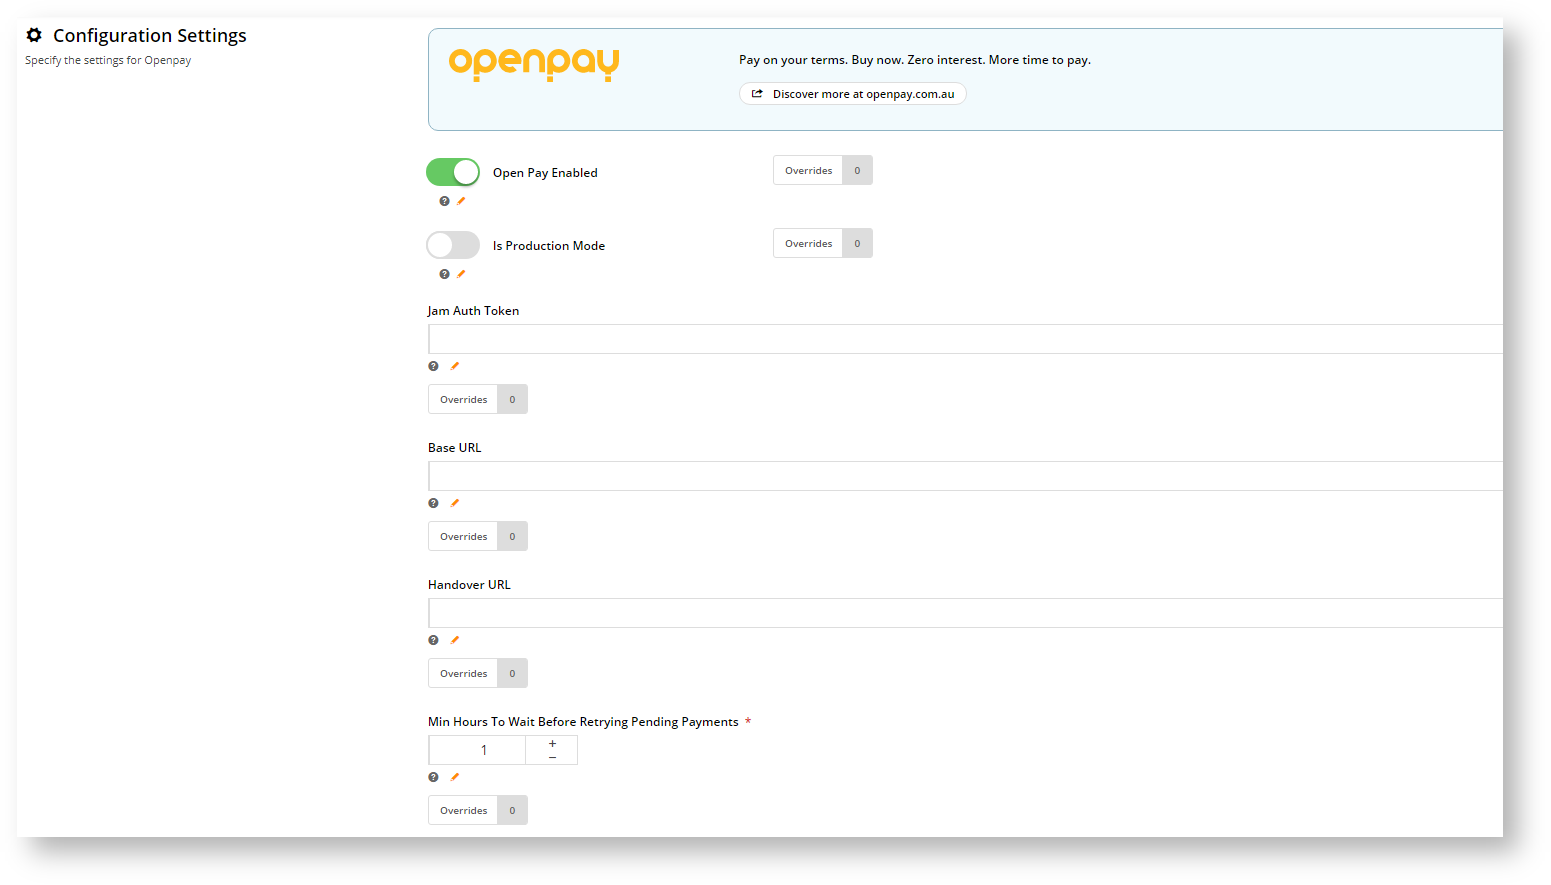
- Click the Openpay tab for Openpay Configuration Settings.
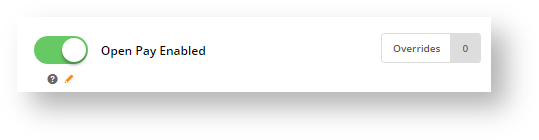
- If OpenPay is to be enabled for all users, toggle ON Open Pay Enabled. If you want to enable OpenPay only for specific roles, e.g., B2C users, leave this toggle OFF and set one or more Role overrides.
- If you are configuring Openpay for your LIVE site, toggle ON Is Production Mode. Otherwise, leave this toggle OFF. You can also use the Role Override feature for this setting.
- Enter the other settings. The Override feature can be used with each setting.
- Jam Auth Token - the unique character string issued to you by Openpay that identifies your website as the origin of the sale.
- Base URL - the API URL supplied by Openpay.
- Handover URL - the URL used by the Javascript plugin supplied by Openpay.
- Min Hours to Wait Before Retrying Pending Payments - for Openpay payments left at a pending status (the user session has timed out or browser window closed, for instance), the system will wait a specified time before retrying the 3rd API call.
- Once you have entered the settings, click Save, then Test Settings to test that the base URL is correct. If correct, the following popup message will display:
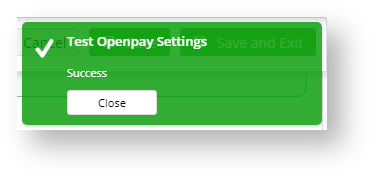
Note - the test will not check whether the Jam Auth Token is correct.- Next, in the Display Options section, set when and where you want OpenPay branding to display or be available as a payment option:
- Min. Price of Products to Show Content - the minimum price a product must be for OpenPay branding content to display on its Product Detail page.
- Max. Price of Products to Show Content - the maximum price a product can be for for OpenPay content to display on its Product Detail page.
- Min. Order Total to be Available - the minimum an order must total for OpenPay to be available as a payment option.
- Max. Order Total to be Available - the maximum an order can total to use OpenPay as a payment option.
- Number of Installments - specify the number of installments to be used in the placeholder for the OpenPay summary message.
- Deposit Percentage - specify the deposit percentage to be used in the placeholder the OpenPay summary message.
- Order Total Not Within Range Message - the message displayed to advise the user that their order amount does not fall within the min./max. required for OpenPay checkout. The placeholders will be replaced with the min/max values you specify in settings.
- Display Content in Product Detail - determines whether the Openpay branding message and popup link is displayed on the Product Detail page for eligible products.
- Once settings have been configured, scroll back to the top and click Save or Save & Exit.


...
If you use the Product Purchase Details Widget on your product detail page, you'll notice the Openpay Summary and Openpay Popup tabs on the left hand side when you edit the widget. Openpay Summary is where you can customise the messaging and URL displayed in the content box under the product price. (These settings are also available in the Cart Summary Widget.) Openpay Popup is where you customise the marketing popup message that opens when the user clicks 'Learn More'.
...