Overview
| Multiexcerpt |
|---|
| MultiExcerptName | Feature Overview |
|---|
|
| Excerpt |
|---|
Product Variants are best explained with a Colour / Size scenario. Imagine that product CV149 is a High-vis Safety Vest. It's available in several different sizes and colours: - 'CV149SMYY' might represent size small, colour yellow
- 'CV149MDYY' is size medium, colour yellow.
- In fact, when you list all the possible colour and size combinations, you might have upwards of 20 SKUs just for this one product.
But uploading and maintaining 20+ variations for dozens of products on your site isn't very efficient. The end result would probably overwhelm your customers, too. That's where Product Variants come in. Instead of putting all 20+ variations on the web, you can display one product (the 'master') online, and then allow your customers to select from available variants (the 'child' products). |
|
This guide will step you through the process of maintaining variants online via the CMS.

| Info |
|---|
|
Before you can take advantage of Product Variant functionality in the CMS, you'll need the feature enabled. Contact Commerce Vision to have us switch this on for your website. |
First, you'll want to ensure the Product Variant feature is configured correctly for your site.
- In the CMS, navigate to Settings → Feature Management.
- In Products & Categories → Product Variants, ensure it is on and click Configure.
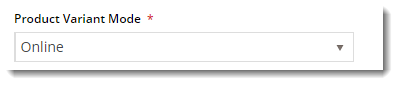
- Switch the Product Variant Mode to 'Online'.
- Select the 'Default Display Type' as 'DropDown' or 'Radio Buttons'.
- This sets the interface for users when they are selecting options.
- Toggle 'Allow Product Matrix Mode' on/off as required.
- Toggle 'Allow Display Type Override' on/off as required.
- This will allow the default display type (that you just set in Step 4) to be overridden on a product-by-product basis.
- Toggle 'Allow Child Products As Note Line' on/off as required.
- This will allow child products to be added without a product code. Instead, the selected variants are added as notes against the master product on the order.
- Toggle 'Enforce Stock Security for Variants' on/off as required.
- Toggle 'Update Master Products With Child Images' on/off as required.
- This adds child images to the master product gallery automatically, so that as the user selects different options, the image will change to reflect them. See our guide on Automatic image tagging for variants for further detail.
11. Toggle 'Allow Manual Sort of Products Attributes' on/off as required.
- This allows the user to sequence product attributes by drag-and-drop.
12. Toggle 'Enforce Tag Order Comparison' on/off as required.
13. Click 'Save'.
The Product Variant feature has now been configured and is ready to use during product maintenance.
2. Edit Variants (optional)
The CMS stores a list of Variants (for example, 'Size') and their associated Values ('Small', 'Medium', 'Large') in a table. This lookup table is referenced when you add a child product to a master.
| Tip |
|---|
You can enter new variants and values directly on the Product Maintenance screen when you're setting up products, so this step is not mandatory. Entering a new variant/value on the Product Maintenance page will automatically add the option to this lookup list, but you may need to come here to edit or correct existing options. |
- In the CMS, navigate to Settings → Feature Management.
- Configure the Product Variant feature.
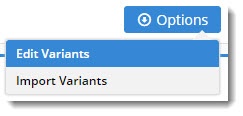
Hover over the 'Options' button and select 'Edit Variants'.
| Info |
|---|
Don't see an 'Options' button? Check that the Product Variant Mode is set to 'Online', then click Save before navigating away.
 |
- Click 'Add' and enter a Variant in the input field. In our example we'll add 'Size' as a variant.

- Click 'Save'. You'll notice the button updates from 'Save' to 'Values'.

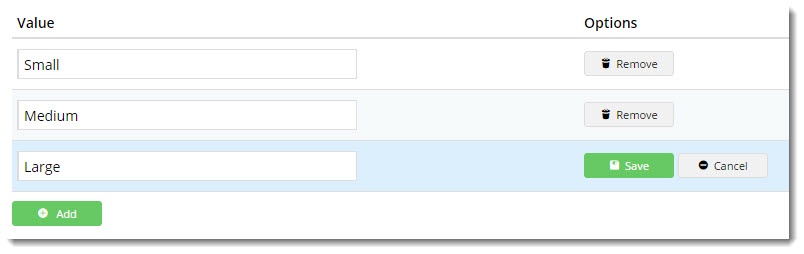
- Click 'Values' and then 'Add' to add a value. Our example values for 'Size' are 'Small', 'Medium', and 'Large'.
- 'Save' and repeat to add another value. Continue until all values have been entered.
- Click 'Back' to exit values maintenance and return to your Variant list.
- You can repeat this process for any other Variants you may require, such as Colour, Capacity, Weight, Length, and so on.
| Info |
|---|
If you are running version 4.13.00 or later, you can configure your CMS to enable a reorder of your master product variants by dragging each variant to a different position in the list. Refer to the Manually Sort the Product Variants in CMS knowledge base article. |
3. Add Variants to Master Products
Now let's set up some variants!
- In the CMS, navigate to Products & Categories → Product Maintenance.
- Search for the required product and click 'Edit'.
- At the bottom of the maintenance page, you'll find a new section labelled 'Master Product'.

- Toggle the 'Is Master Product' setting on. Additional maintenance fields will appear.
- The 'Child Products' section is where you define the options for this master product.
- To add the first child, either search for the product code to be used as the child SKU, or leave blank to use the master code for pricing.
- Note - you can only leave blank if 'Allow Child Products As Note Line' is enabled in the Feature Settings.
- Enter the Variant name in the first Variant box. The dropdown list will be populated as you type, with data from the Variants we edited earlier (see section 2 above).
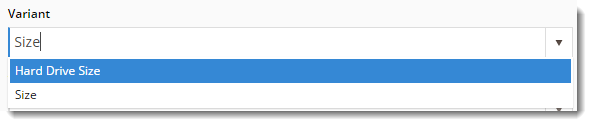
- Select the correct option from the list, or simply enter a new one.
- Next, enter the Variant Value in the corresponding box. Again, the dropdown list will be populated from values in the lookup table. Handy!
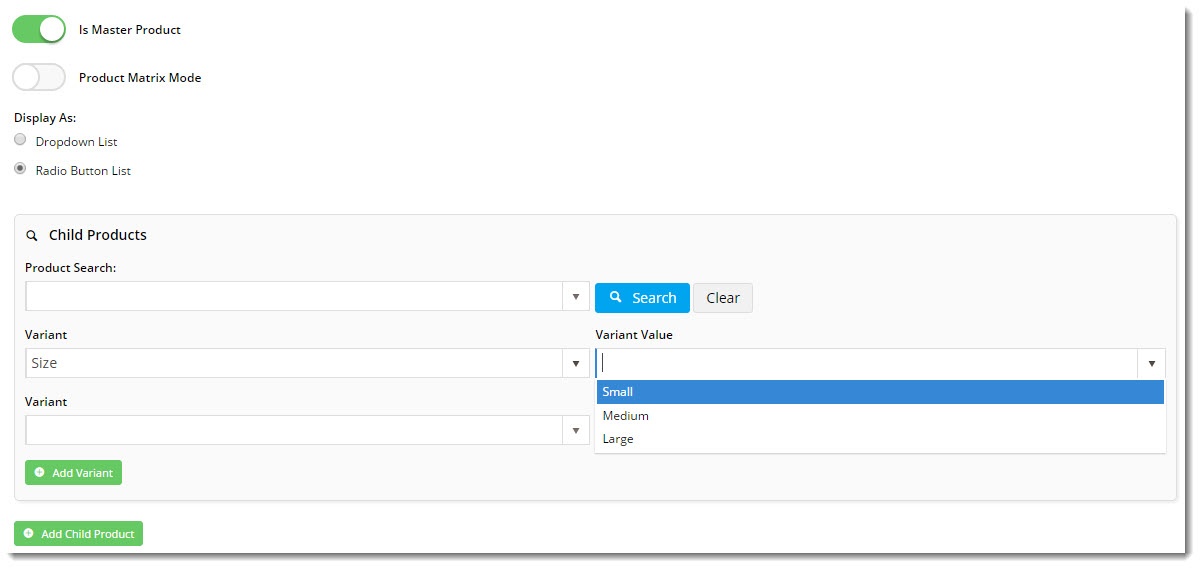
- If there is another variant applicable to this product, enter it on the next line, repeating steps 7 -9.
- If there is a third variant dimension available, click the 'Add Variant' button.
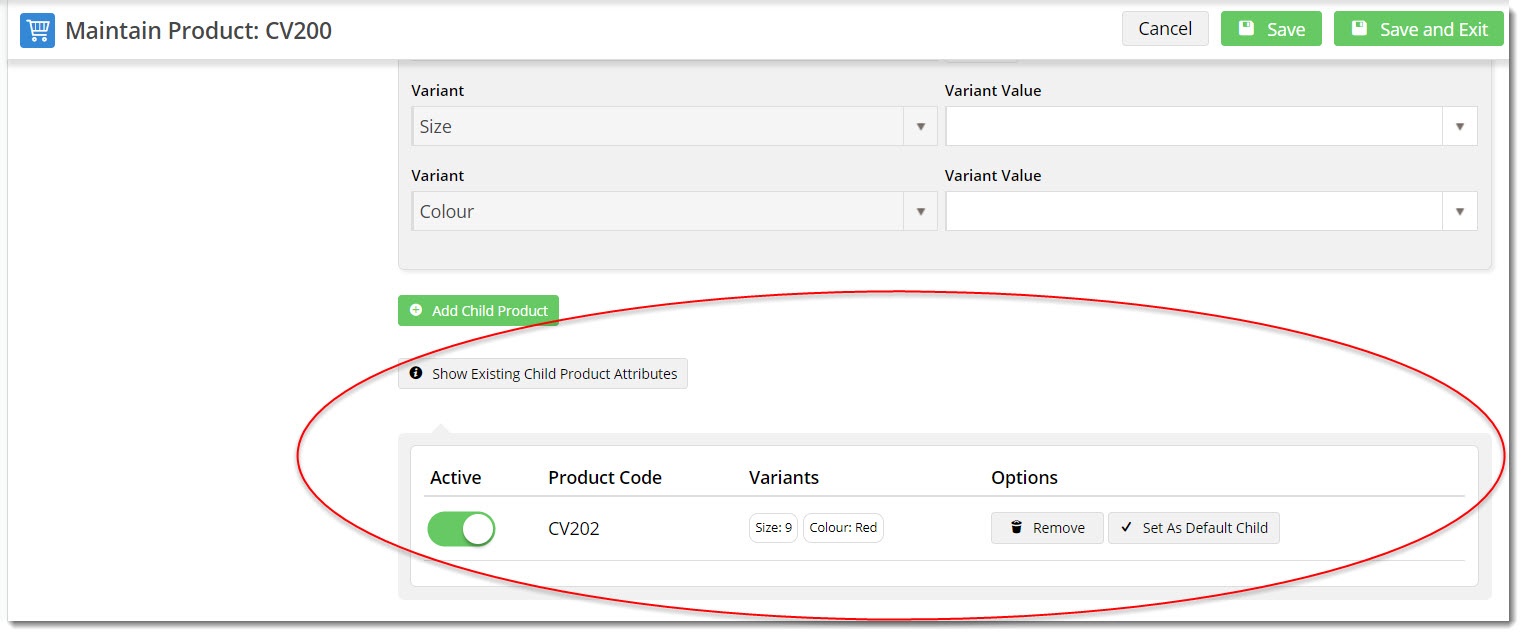
- Once all variants have been entered, click 'Add Child Product'.
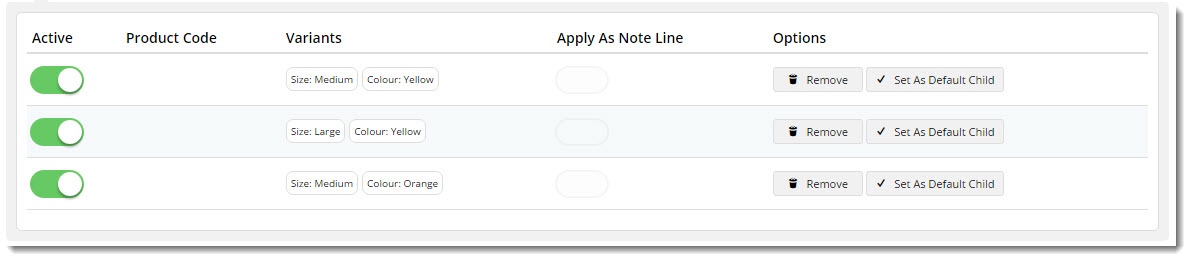
- The child product will now be listed below, along with options to Remove it, or set it as the Default Child.
- A child product can also be marked inactive if, for example, that particular combination becomes temporarily unavailable. Simply use the 'Active' toggle against the required child product.
- Don't forget to click 'Save' at the top of the maintenance page after adding your child products!
4. Importing Product Variants
To perform a bulk upload of product variant data, you can use the import function.
- Navigate to Settings → Feature Settings and Edit the Product Variant feature.
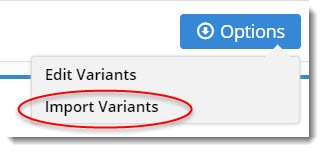
- Select Options → Import Variants.
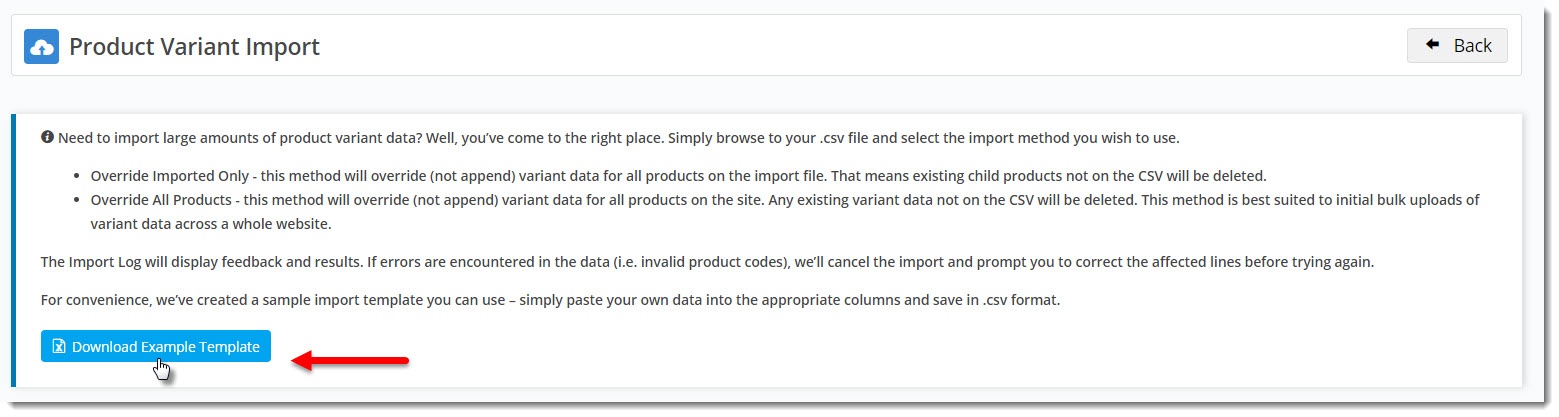
- If you'd like a CSV file template to work with, click Download Example Template.
- Paste your data into the spreadsheet, re-entering the master product once for every variant combination available.
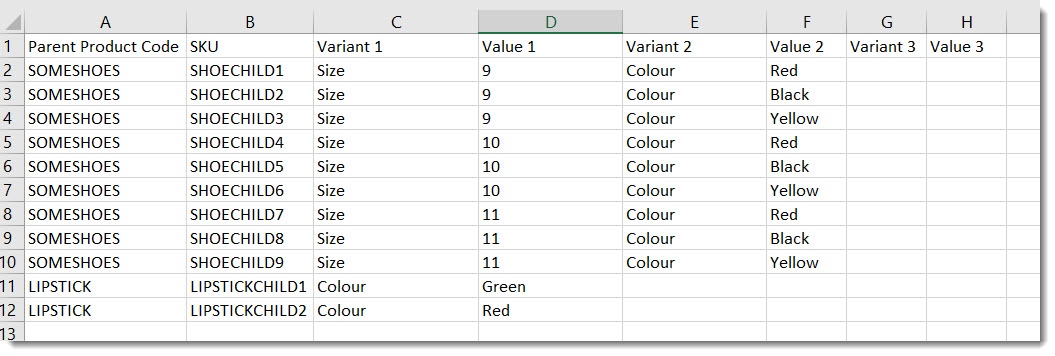
- Save the file somewhere locally as .csv format.
- Select your Import Type from the dropdown:
- Override Imported Only - all master products in the spreadsheet will have their variant data replaced with what's in your spreadsheet. No other products will be affected.
- Override All Products - the product data in in the spreadsheet will become the COMPLETE product variant data for your site. Current variants not in the spreadsheet will be deleted.
- Click 'Select files...' to browse to your saved .csv file.
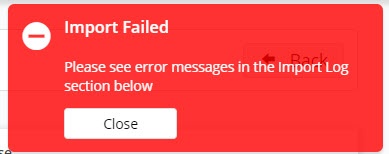
- The import will process and a notification will advise whether the import was successful. If errors occurred, fix the data and try again.

- To verify a successful import, navigate to Product Maintenance and search for one of the master products on your .csv file.
Check the variant data to ensure it matches up with what you've just imported.
Related articles
| Content by Label |
|---|
| showLabels | false |
|---|
| max | 5 |
|---|
| spaces | KB |
|---|
| showSpace | false |
|---|
| sort | modified |
|---|
| reverse | true |
|---|
| type | page |
|---|
| cql | label in ("settings","how-to","cms") and type = "page" and space = "KB" |
|---|
| labels | how-to cms settings |
|---|
|
| Multiexcerpt |
|---|
| MultiExcerptName | Additional Info |
|---|
|
| -- |
| Minimum Version Requirements |
| Multiexcerpt |
|---|
| MultiExcerptName | Minimum Version Requirements |
|---|
| **.**.** |
|
|---|
| Prerequisites | |
|---|
| Self Configurable |
| Multiexcerpt |
|---|
| MultiExcerptName | Self Configurable |
|---|
| Yes |
|
|---|
| Business Function |
| Multiexcerpt |
|---|
| MultiExcerptName | Business Function |
|---|
| Products & Categories |
|
|---|
| BPD Only? | |
|---|
| B2B/B2C/Both |
| Multiexcerpt |
|---|
| MultiExcerptName | B2B/B2C/Both |
|---|
| Both |
|
|---|
| Ballpark Hours From CV (if opting for CV to complete self config component) |
| Multiexcerpt |
|---|
| MultiExcerptName | Ballpark Hours From CV (if opting for CV to complete self config component) |
|---|
| Contact CV Support |
|
|---|
| Ballpark Hours From CV (in addition to any self config required) |
| Multiexcerpt |
|---|
| MultiExcerptName | Ballpark Hours From CV (in addition to any self config required) |
|---|
| Contact CV Support |
|
|---|
| Third Party Costs |
| Multiexcerpt |
|---|
| MultiExcerptName | Third Party Costs |
|---|
| n/a
|
|
|---|
| CMS Category |
| Multiexcerpt |
|---|
| MultiExcerptName | CMS Category |
|---|
| CMS Category |
|
|---|