...
| Multiexcerpt | ||||
|---|---|---|---|---|
| ||||

Step-by-step guide
...
- Go to Content → Custom Pages.
- Click Design on the selected Custom Page. (NOTE - If the 'Design' button is not there, your page is not widget-based. It will need to be converted via page Options.)
- Click Add Widget.
- Add the Questionnaire widget.
- Click Edit for the widget.
- Configure options. See: Questionnaire Widget.
- Click Save.
- Navigate to the custom page and view your new questionnaire!

| Tip | ||||||||||
|---|---|---|---|---|---|---|---|---|---|---|
| ||||||||||
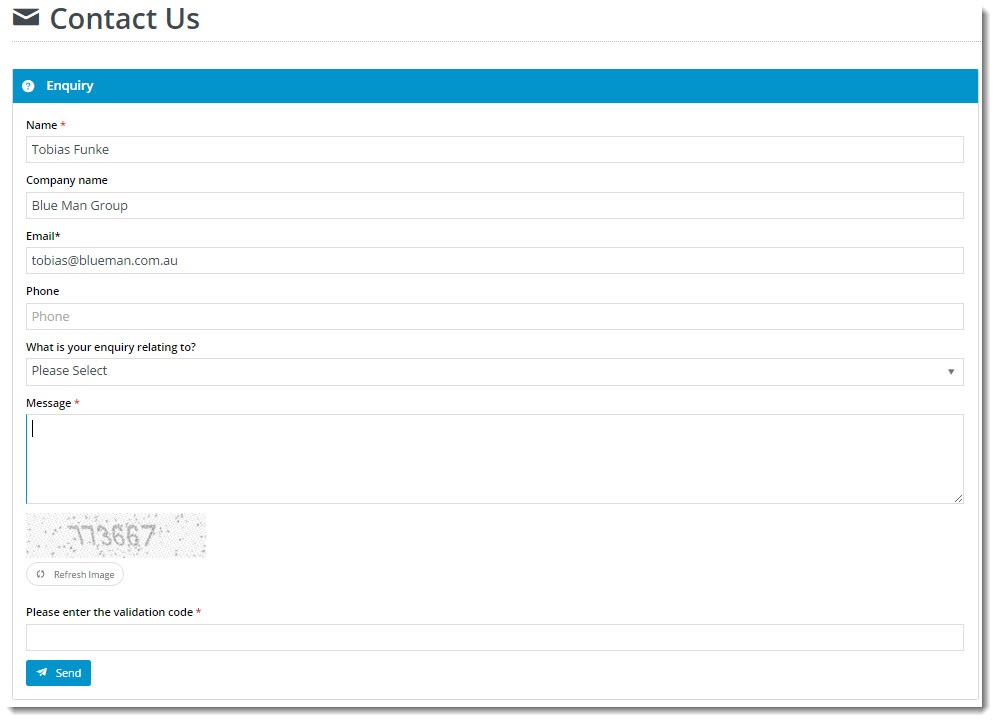
Make your customers' lives easier by prefilling some of the questionnaire fields for them! From version 3.92+, you can pre-populate fields based on customer/user data, or page parameters. Examples: Name and Company Name (for logged in users), or Product Code (in a stock enquiry form on a product detail page). Here's a quick how-to:
If you don't see the token you're after, contact Commerce Vision. |
...