...
- Login to the CMS.
- Navigate to Content --> Standard Pages.
- Select the 'Guest Checkout Template'.

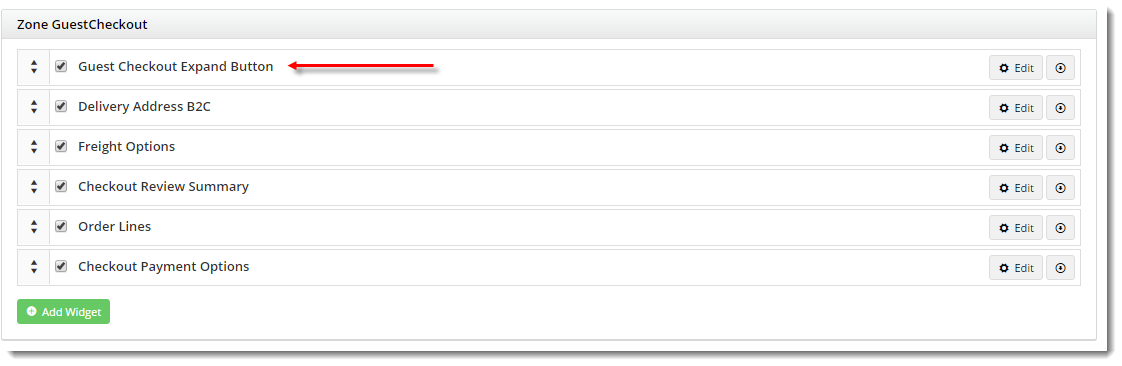
- The default widgets will be listed in each of the zones.
- Drag and drop widgets to reposition them in the layout if required.

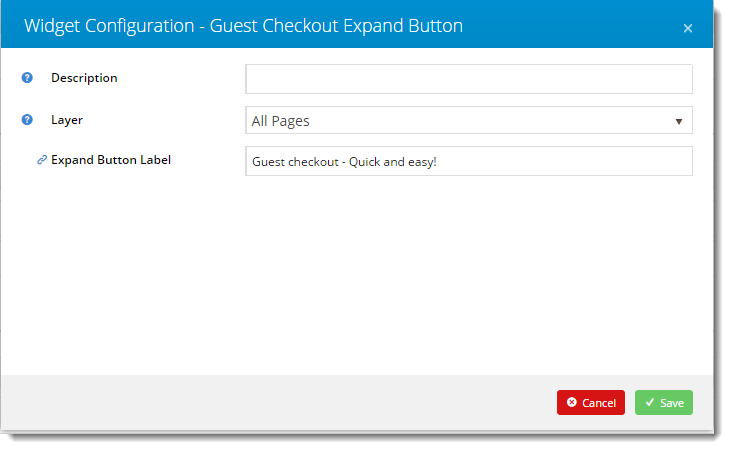
- To customise the text on the Guest Checkout button, add the 'Guest Checkout Expand Button' widget to the Zone Guest Checkout.
- Click 'Edit' on the widget to update the text, then click 'Save'.
The Guest Checkout template also contains 2 zones - Options Left and Options Right - which can be used to customise the layout in conjunction with the 'Guest Checkout Expand Button'.
In the example below, a link to the Registration page has been placed in the Left zone. Then the Guest Checkout button has been placed in the Right zone.

(The actual Guest Checkout fields - Delivery Address, Freight Options, Payment - remain in the Zone Guest Checkout, and are only revealed when the button is clicked.)
...