Overview
| Excerpt |
|---|
Who would use this functionality and when? |
For businesses that handle warranty claims, the process has traditionally been manual and full of paperwork. But not anymore - BPD websites now offer the ability to enter warranty claims, integrating them to your ERP as returns or credit requests. |
This guide will walk you through the process of implementing Warranty Claim functionality for your site.
Contents
| Table of Contents | ||
|---|---|---|
|
...
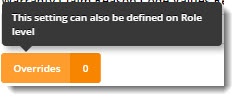
- Each setting has an 'Overrides' option. The number of current overrides for that setting is also displayed (in the image below, there are zero).
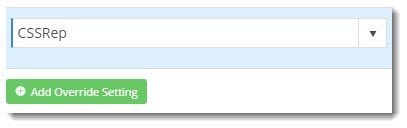
Click Overrides for the setting you wish to change.- A popup will open. Click Add Override Setting and enter the name of the role you're overriding for. This field is a lookup, so you can select the role from the list that appears as you type.
- Enter the value for this role in the Override Value field.
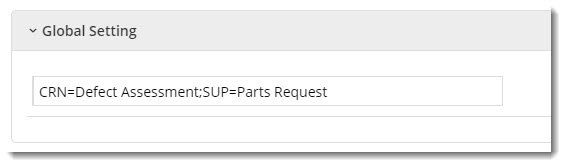
You can refer to the Global setting value, which is also shown (and can be edited) on the popup.- Repeat these steps for any other roles that need to override the global setting, then click Confirm.
- Don't forget to Save / Save and Exit when you've finished!

Integration
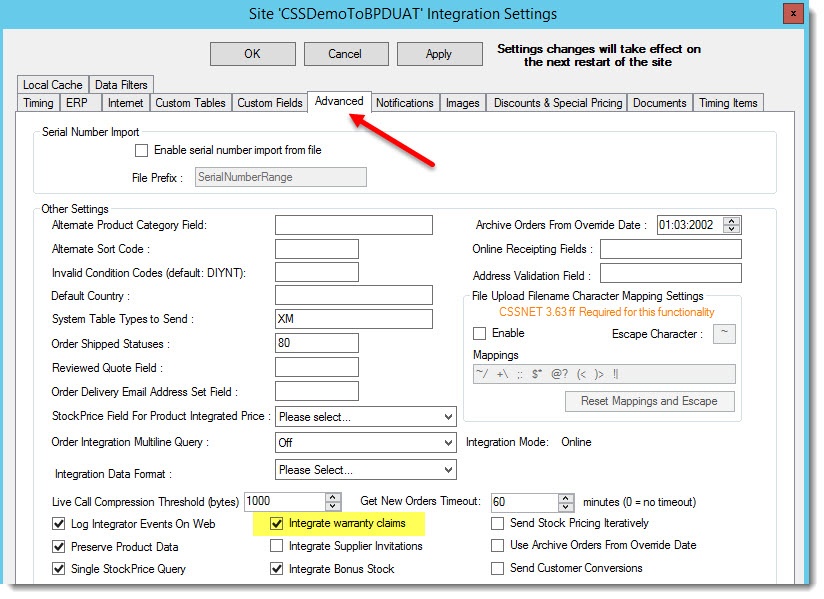
In order to integrate web-based warranty claims to your ERP, you'll need to enable the function on your integrator.
- Open the integrator client.
- Select the Settings gear icon.
- Select the Advanced tab.
- Tick 'Integrate Warranty Claims'.
- Click Apply, then OK.
- Stop and Re-start the integrator for that site. If you're unsure how to do this, see Integrator - Stop and Start.
Submitting a claim
The end user logs in (with a role that has access to warranty claims), and navigates to Submit a Warranty Claim on the dashboard menu.

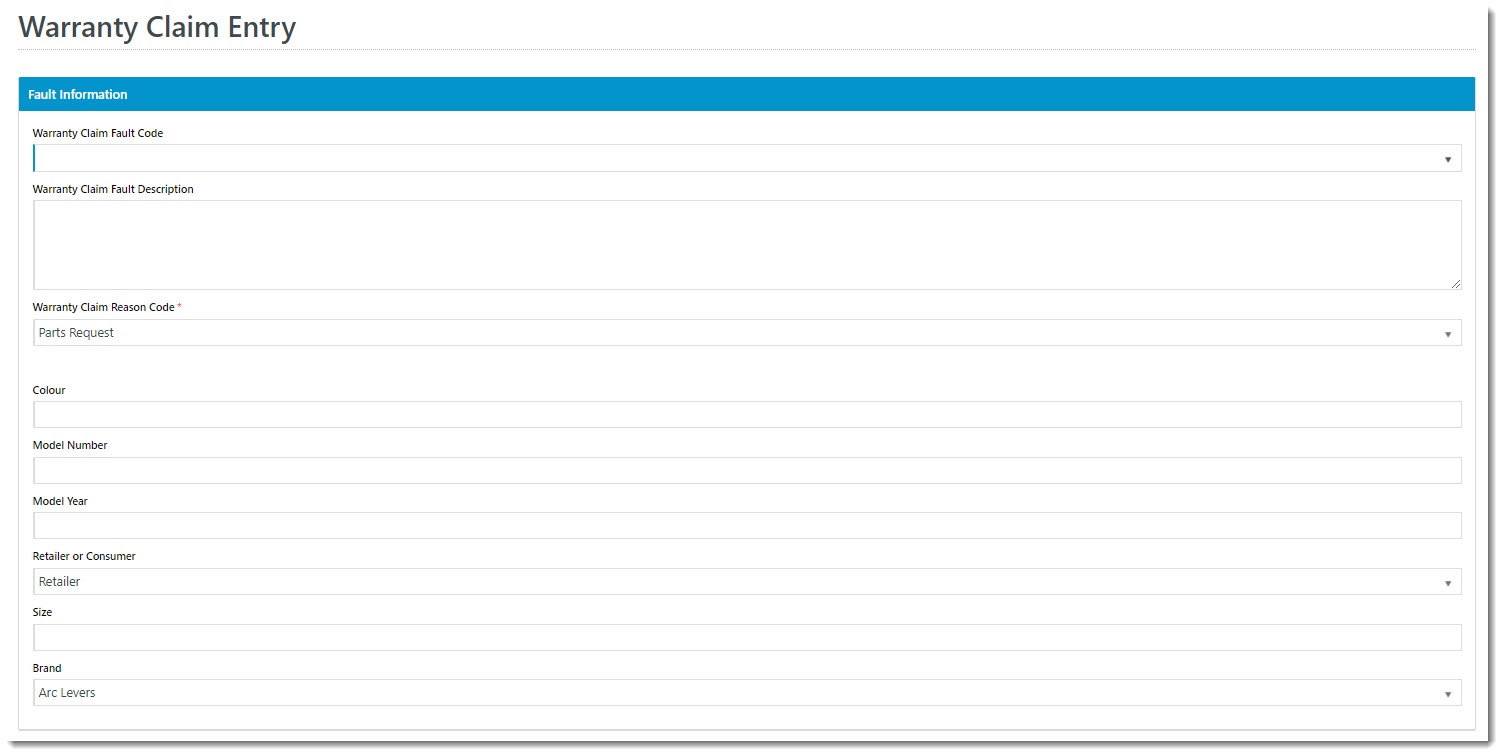
The Claim Entry page is loaded, with the fields here defined by the Claim Entry Field Group in Feature Settings.
The user enters information related to the claim, such as fault code, reason, and description, for example.
The user then adds the relevant product code(s) to the claim. Documents can also be attached if required (such as scanned copies of invoices or other proof of purchase).
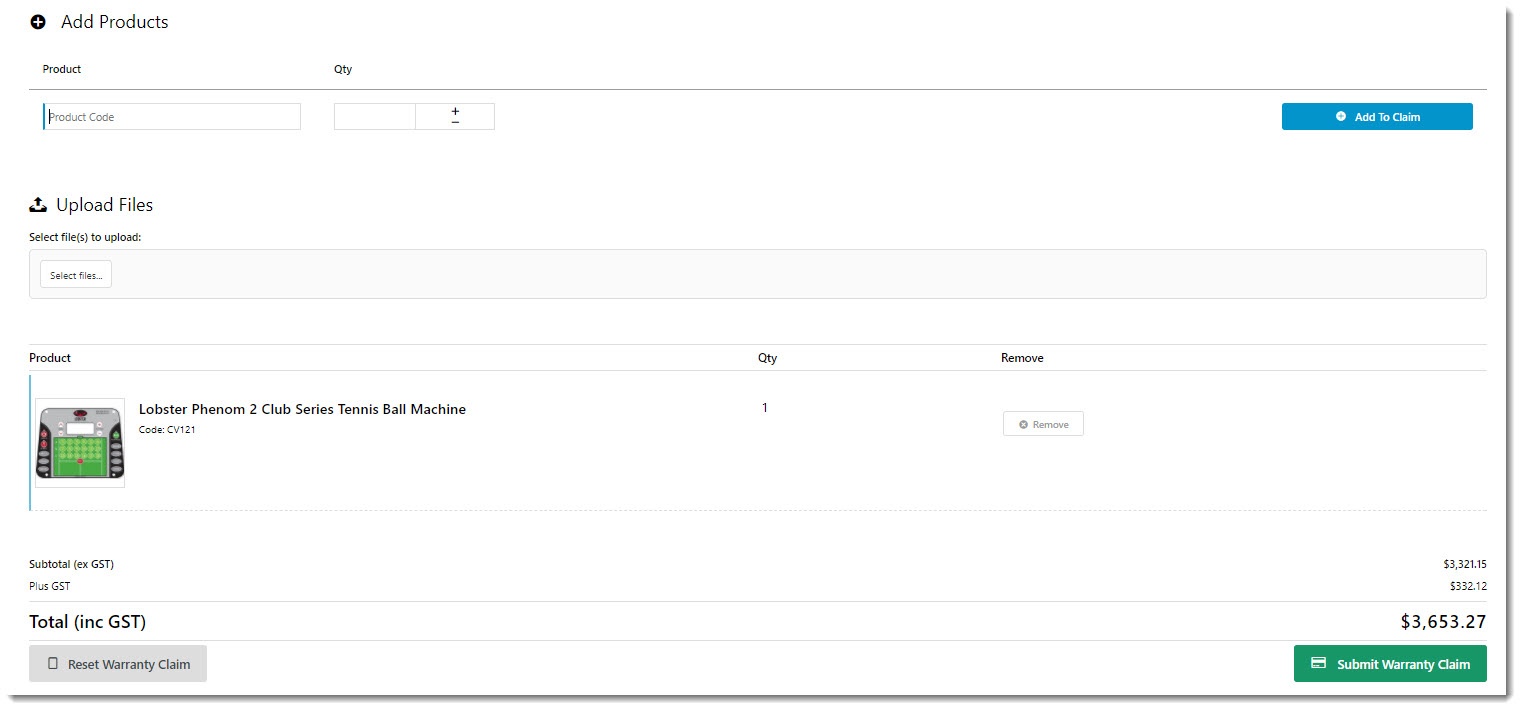
When finished, the claim is submitted and integrated to your ERP as a sales order (either a return or a credit note, depending on the reason code selected). From here, your normal business workflow is used to approve and process the claim.
