...
| Multiexcerpt | ||
|---|---|---|
| ||
|
1.
...
The Feature Settings page in the CMS is where the permitted file types are specified. You can update the comma-separated list to add or remove file formats as required.
...
Enable Product Documents
Configure the Product Documents feature.
- In the CMS, navigate to Settings → Feature Management → Products & Categories → Product Documents.
- Toggle on Product Documents, then
- click Configure.

2. Define File Types
In 'Allowed File Types', toggle on/off the file types as required.
The full list of allowable file types is as follows:
- jpg
- jpeg
- png
- gif
- html
- htm
- txt
- ogg
- rar
- xlsx
- csv
- css
- gz
- ico
- js
- lzh
- mp4
- xls
- svg
- webm
- woff
- woff2
- doc
- docx
- zip
xls xlsx csv
- Don't forget to Save your changes!
...
3. Upload and Tag Documents
With the feature on and your file types specified, it's time to upload some product documents.
- Navigate to Products & Categories → Product Maintenance.
- Search for the product you require, and click Edit.
- Scroll down to the Documents section (it should be below 'Media'. If it's not there, the feature hasn't been enabled - contact us).
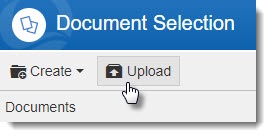
- Click Add Files. The File Manager will open.
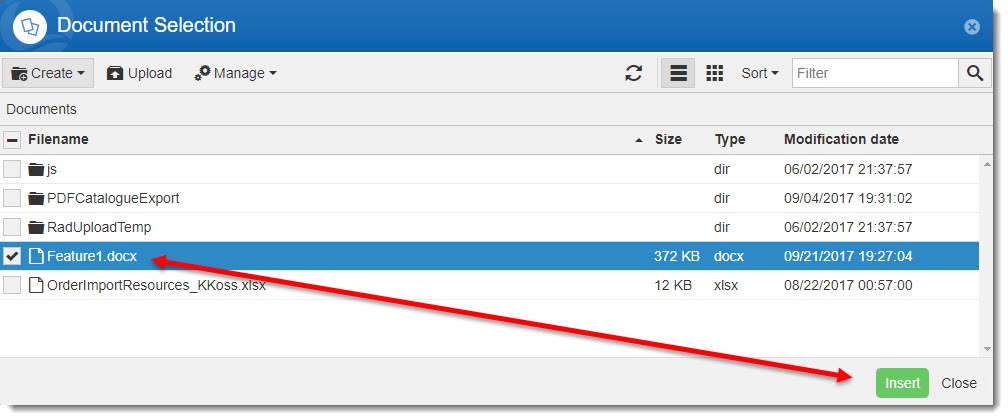
- Select your document from the list, or click Upload to browse to a local file. You can also drag & drop a file from your PC straight into the file manager.
- With the document selected, click Insert.
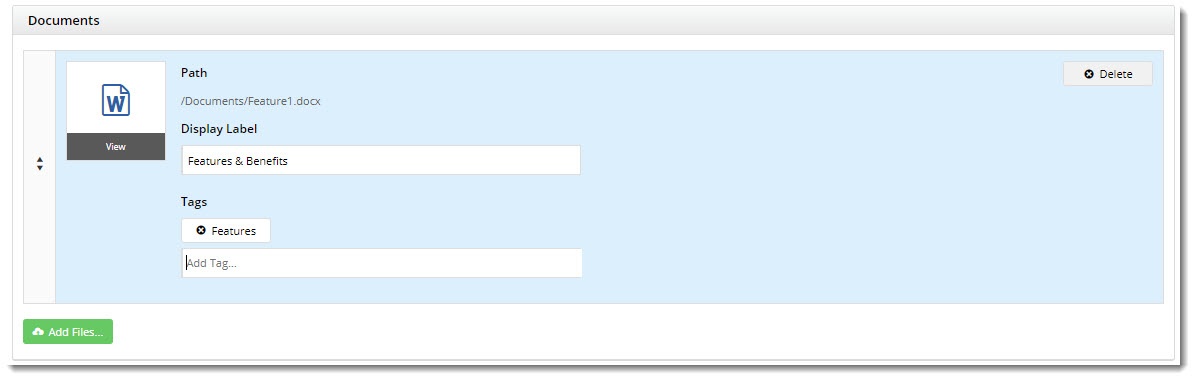
- Now that the document has been added, update the Display Label (the document name shown to users). By default, the file name will be displayed.
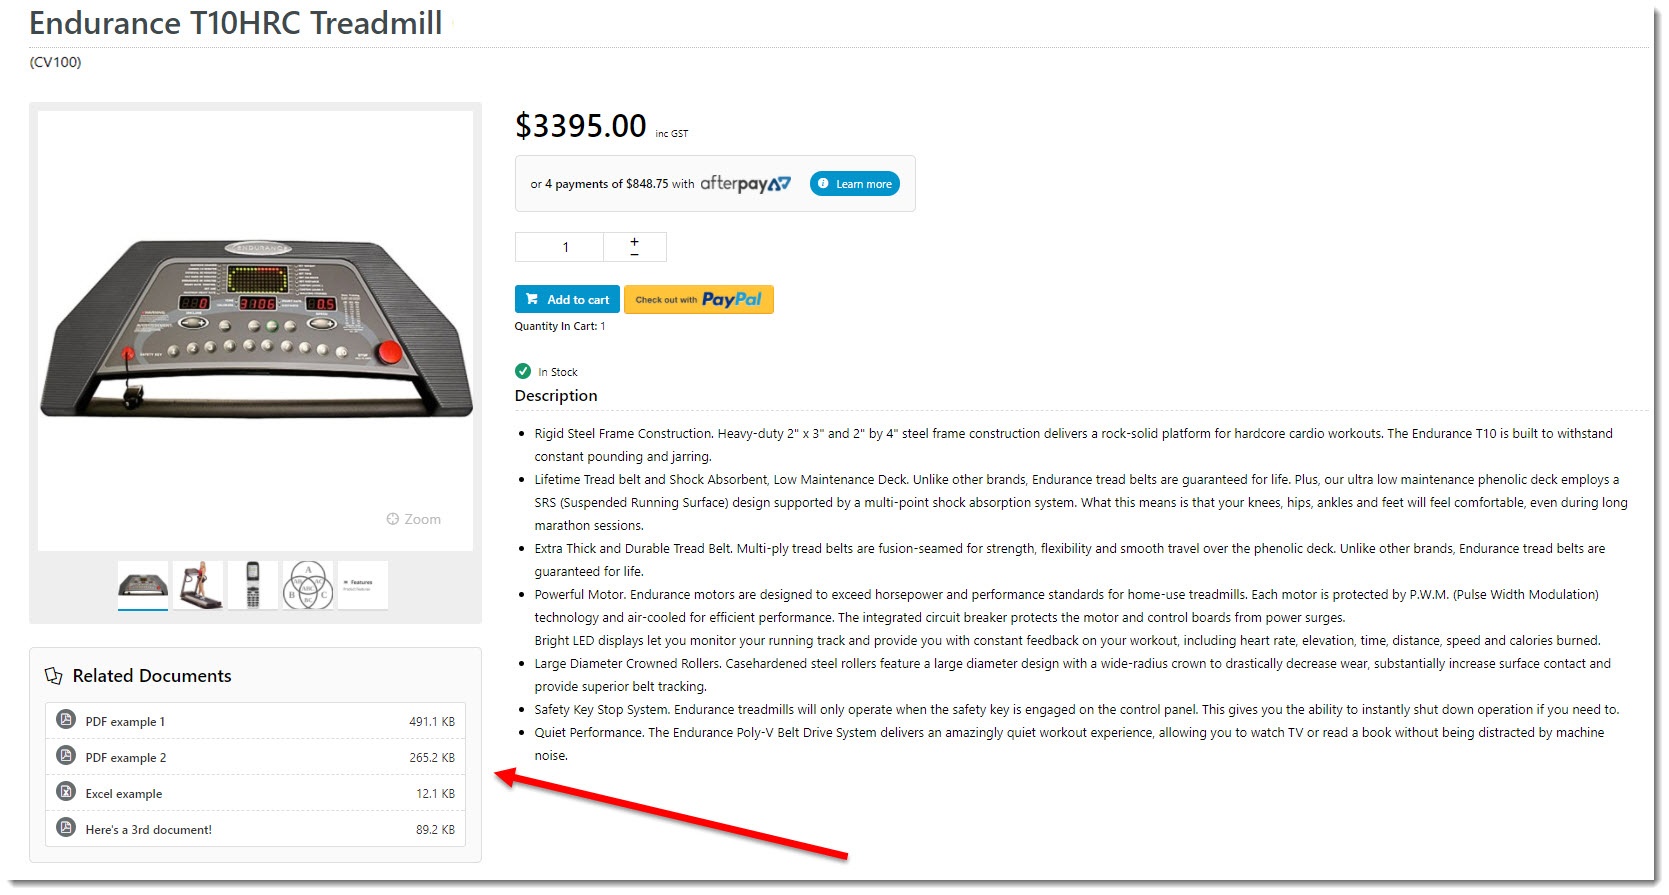
- Here, you can also add Tags to the document. This is handy if you want a widget on the Product detail page to show ONLY documents with a particular tag. (You can see I added a 'Features' tag below - we'll use that later).
- Repeat these steps for any other documents you wish to add to this product.
- Click Save / Save and Exit.
...
4. Add
...
a Product Document Widget
Now you'll need a widget on the product detail page to actually display these handy documents.
- In the CMS, navigate to Content → Standard Pages.
- Select the Product Detail page template.
- Based on your page layout, find the zone you'd like the Documents displayed in and click Add Widget. (We placed ours just under the image gallery.)
- Search for and select the Product Documents widget, and click Add Widget. Drag the widget to the correct spot in the zone, if needed.
- Click Edit to update the widget options:
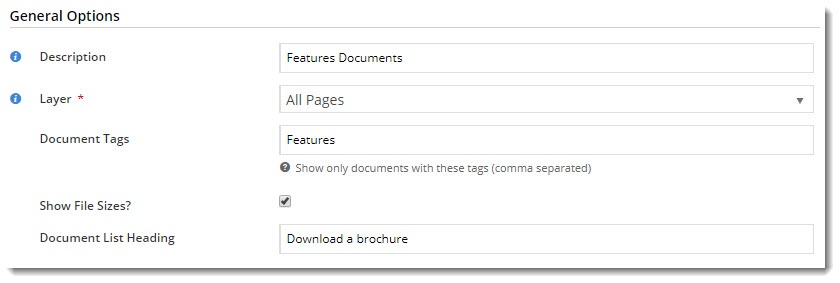
- Document Tags - leave blank to display all documents, or enter tag(s) that match your uploaded file(s).
For example, I entered a 'Features' tag here, so this widget will only display documents with that tag. I can add another Product Documents widget to show Technical Specs docs separately, if I wish.- Show File Sizes - displays the size of each file to the right of it. This is a great courtesy to show your mobile users, who might not want to download large files on the go.
- Document List Heading - the title displayed at the top of the widget.
- Click Save.

...