| Table of Contents |
|---|
Overview
| Multiexcerpt | ||
|---|---|---|
| ||
Payright is a Buy Now, Pay Later option that is supported on the Customer Self Service eCommerce Platform (versions 4.24+). Your customers can get their goods now , and but pay for them over time in manageable instalments negotiated with Payright.Configuring |
Integrating Payright
...
into your website is quick and easy, provided you have already established a merchant account with Payright. For further information, visit the Payright website.
| Excerpt | ||
|---|---|---|
| ||
Configure Payright for your website. |
| Info | ||
|---|---|---|
| ||
Before you can begin offering Payright to your customers, your website must be running version 4.24+, and you'll need a merchant account with Payright. Contact Commerce Vision if you'd like to request a site version upgrade for your site. |
Step-by-step guide
1. Enable and configure Payright
Before you start, have your Payright account credentials handy.
- In the CMS, navigate to Settings → Feature Management → Payment & Checkout.
- Ensure Buy Now, Pay Later is toggled on, then click Configure.
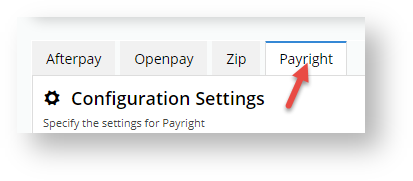
- In the 'Buy Now, Pay Later' screen, click on the 'Payright' tab.
- To switch on enable Payright for all user Roles on your site, toggle on Payright Enabled. Leave this global toggle off and add Role overrides if Payright is to be offered only to specific roles, e.g., B2C customers. See Step 2 below for help on setting overrides.
In Mode, select 'Sandbox' if you are setting up Payright on your testing site (Stage), or 'Production' for your 'Live' site. Leave this global toggle off and specify either mode for Role by setting overrides if required.
- In Payright Activate Plan Immediately allows you to set when the user's Immediately, decide when a Payright plan starts. Ensure the toggle is OFF for the Payright plan to be activated only when the order is shipped. If ON, the plan will be activated immediately after the order is placed. Note - 'OFF' is recommended by Payright. Note - the eventual repayment agreement terms including plan commencement are negotiated between Payright and the purchaser.
Enter your Settings and integration credentials provided by Payright in either one or both 'Production Settings' or and 'Sandbox Settings' depending on whether your site is Live or Stageusing Production, Sandbox or both (e.g., if Role overrides have been set for Modes).
Set the following options:
- New Loan URL
- API Base URL
- Client ID
- Client Secret
- API User Name
- API Password
- Merchant User Name
- Merchant Password
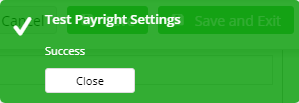
- Once you have finished entered the Settings, click Test Settings. A popup message informs you whether the settings APIs called are correct or not. Continue if you see the Success message:
If you see the 'Failed' message, re-check your settings.- Once all settings have been configured and tested, scroll back to the top left and click click Save.
2. Setting Overrides (optional)
You can override any of the feature settings based on the user's roleWebsite User Role.
For example, you may wish to display the Payright info box branding on the Product Detail page for B2C users, but not for B2Bthe B2C Role only. In this case, you could leave the global setting off and set B2C on as an override.
- Select Click the 'Overrides' icon next to the setting you want to customiseset.
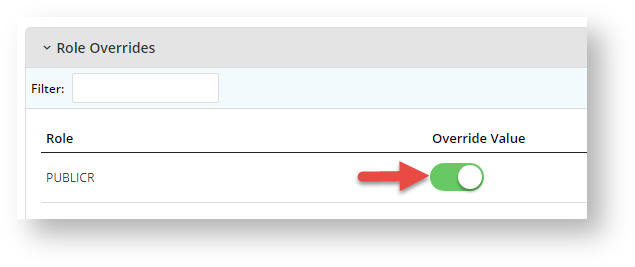
- A popup will open, with your current Global setting displayed at the bottom. Click Add Override Setting in the Role Overrides section.
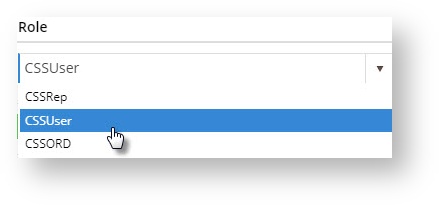
Enter- In Role, start typing the role name into into the lookup and select the role from the options presented.
- Set the role override value for this setting.
for this setting. Remember that this overrides the global setting value.- Repeat steps 2-4 if you wish to override the global behaviour for other roles.
- Click Confirm to close the window.
- Don't forget to click Save on the feature settings page to save your changes!
3. Configure Display Options
Options about where Where Payright branding appears on your site and which Payright messages are triggered (depending on minimum and maximum order values set) are configured in the 'Display Options' section of the Payright Settings screen.
| Note |
|---|
Minimum and maximum amounts set here are specific to your business requirements. They only act as limits determining Payright display messages and whether Payright is offered when your site offers Payright as a payment option for that particular order. The Payright product has its own minimum and maximum limits. You should consult and To coordinate with Payright's min/max rules, it is advised that you consult and confirm with Payright before setting these limits for your site. |
...
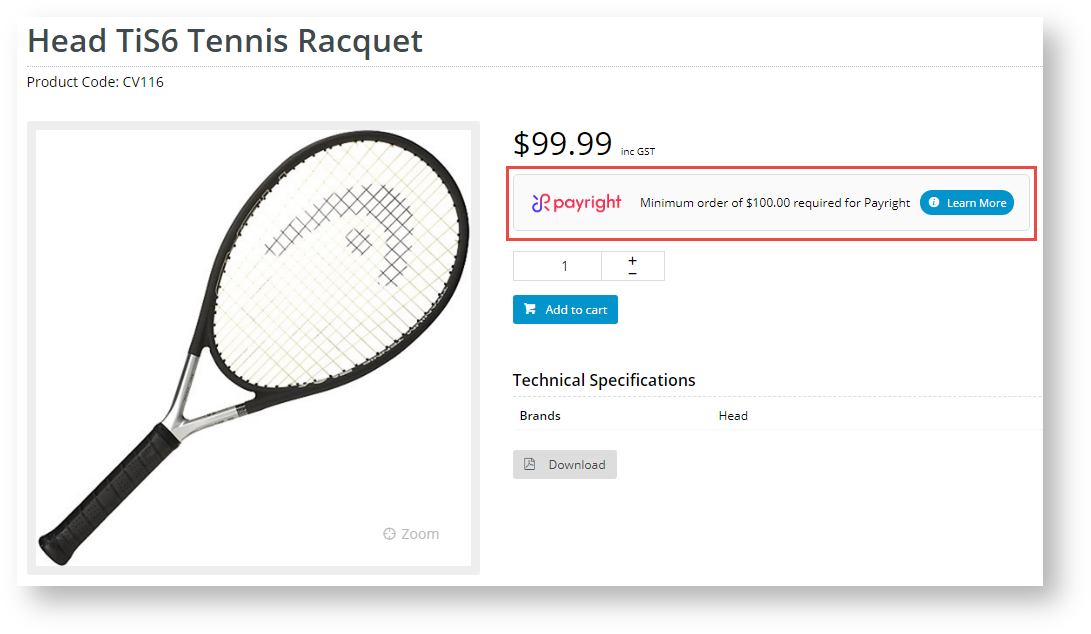
- In Min. Price of Products to Show Content, enter the minimum amount before required to display Payright branding informing the user they can use it as a payment option is displayedfor the product:
Notice if a product's price is less lower than this amount, the Payright branding is accompanied by this displays an alternate message:
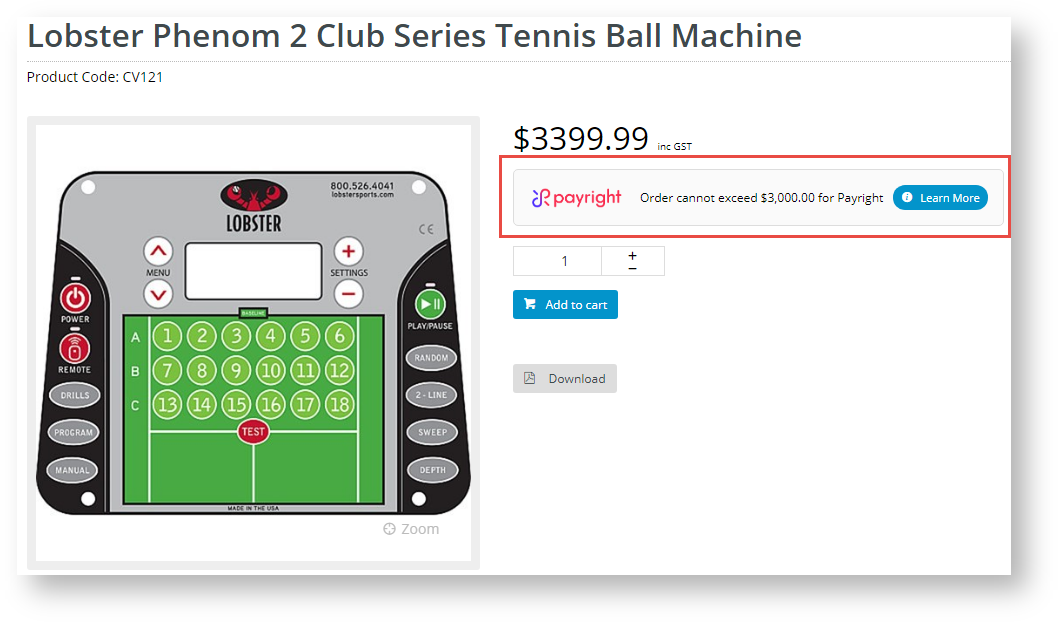
- In Max. Price of Products to Show Content, enter the maximum amount your site allows for Payright paymentsto be offered as a payment option. If a product's price is over this amount, the accompanying 'exceed limit' message is displayed:
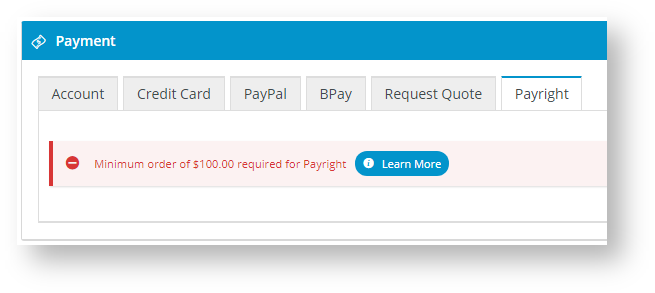
- In Min. Order Total to be Available, enter the minimum amount before your website will allow Payright to be used as payment. If an order is below this amount, the user will see this message when they click on the Payright tab during checkoutduring checkout, when the Payright tab is selected, a message alerts the buyer that the order total is too low:
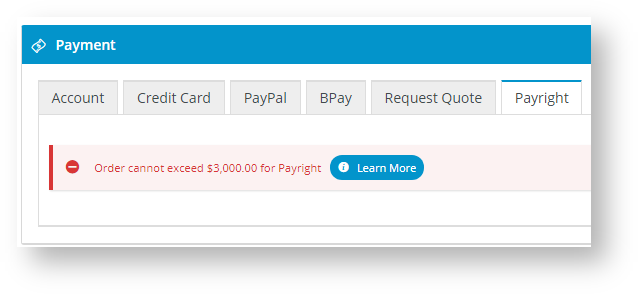
- In Max. Order Total to be Available, enter the maximum amount your website allows Payright to be used as payment. If an order is above this amount, during checkout, the user will see this message under the Payright tab during checkoutwhen the Payright tab is selected, a message alerts the buyer that the order total exceeds the limit:
- In Deposit Percent, enter the percentage of the total order for the deposit to be paid. Note - the actual deposit amount the customer negotiates with Payright will overwrite this value.is negotiated between the user and Payright. The value entered here is not used.
- Toggle on Display Content in Product Detail if you want Payright branding is to appear on the Product Detail page for all Roles (in accordance with min/max values). The Override feature can be used instead.
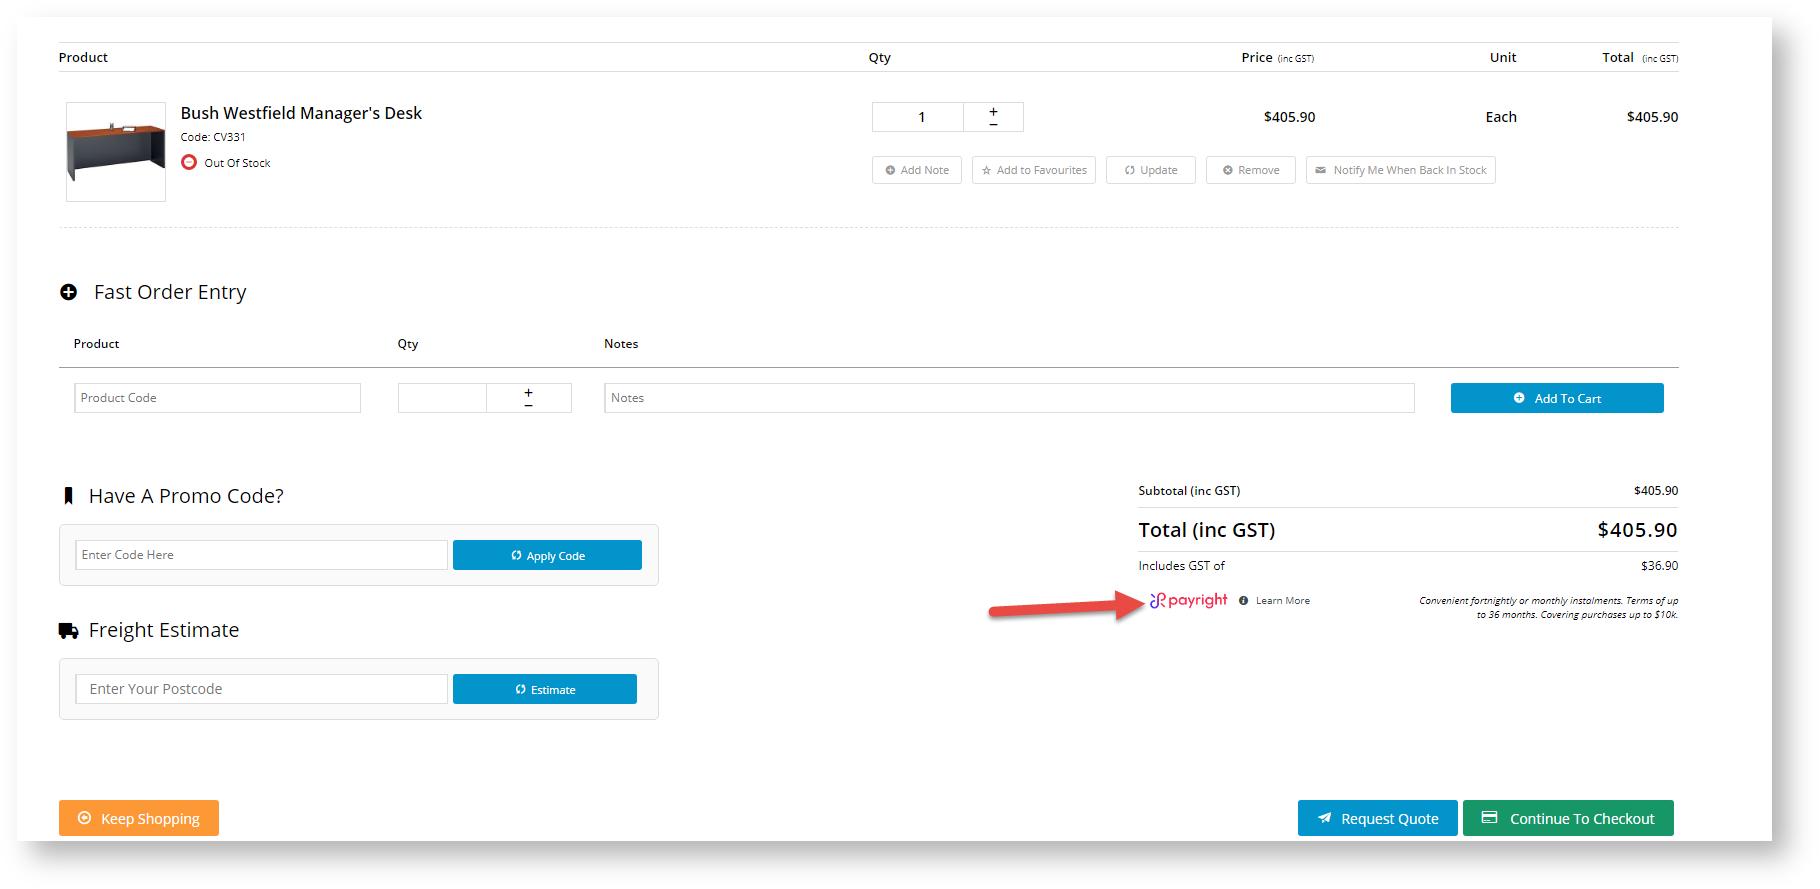
- Toggle on Display Content in order and cart summary if you want Payright branding is to display be displayed in the order and cart summary (as well as in Cart Hover) for all Roles:
- To save your settings, click Save or Save & Exit.
...


