Overview
| Multiexcerpt | |||||
|---|---|---|---|---|---|
| Link an internal
| ||||
| Use an internally or externally-hosted PDF to via a link for an article. |
| Excerptmultiexcerpt | ||
|---|---|---|
| ||
| ||
| ||
Use an internally or externally-hosted PDF linked to an article. |
Instead of creating the content of an article using the CMS article template system, in an article
In Article Maintenancepage, you can link externally-hosted PDFs you can loaded into your file manager that just add a link to a PDF hosted on your website or externally. The linked pdf will open in a pop up popup screen on your site just like one created on your website. This option is a useful way to give site visitors access to articles and other content pages that are already prepared or when you really want ultimate control of content, layout and formatting.
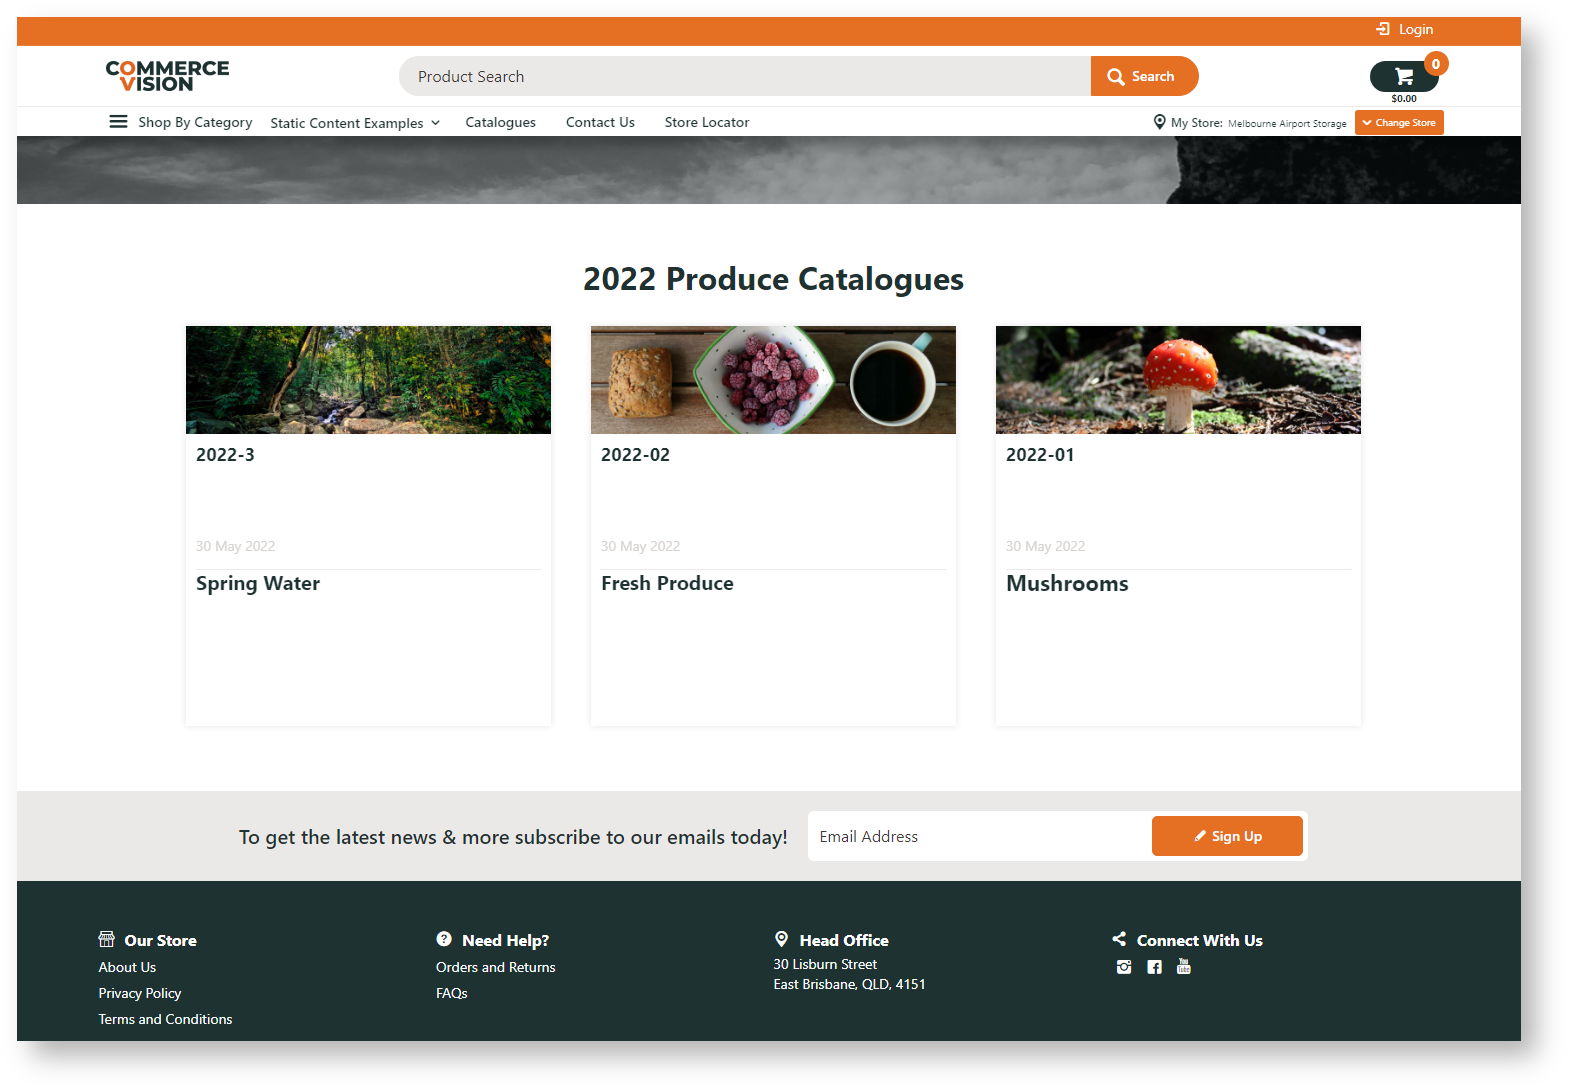
Example: You want to make your product catalogues available on your website. Just add links to the catalogues by creating linked pdf articles and, then using article display templates or widgets.
| Panel | ||||
|---|---|---|---|---|
On this page:
|
Step-by-step guide
1. Create Article Type
An 'article type' groups together articles of the same kind, much like a category folder. So before you create a set of can display the linked PDF articles, e.g., catalogue pagesa set of catalogues, create and name an article type that suits these pages. Herethis content type. In our example, we want to create a set of catalogue pagescatalogues.
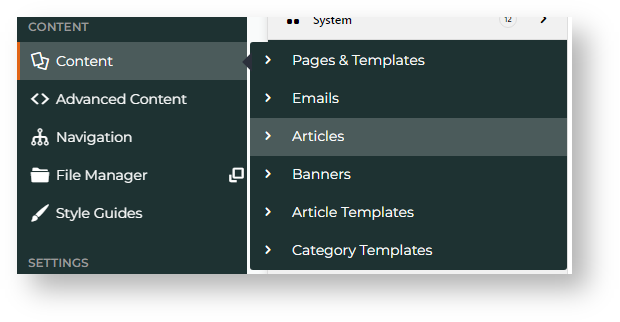
- In the CMS, go to Content → Content → Articles.
- Select the Add a New Article Type
 button.
 - In Code, enter a unique Code as the identifier for the article type. It must be one continuous string with no more than 10 characters.

- In Name, enter a
- title that will clearly identify this article type. Example: 'catalogues'.
- (Optional) In Icon, select a suitable icon. This is displayed only in the CMS.
- (Only for 4.32+) Content Schema Type helps search engines work out the kind of content this article type contains. It may also help return more informative results for users. If used, Google search results can recognise the article content type and pull in details from the article's title and SEO description, thumbnail image, date published/modified. Select a content schema type available: 'article', 'news article' and 'blog posting'. If this is not used, select 'Not Set'.
- By default, the article type name (usually the article list page name) is excluded in the article's breadcrumb. But you might like your customers to be able to go back to the list of articles available. To include article type, toggle ON Is Included As Breadcrumb.
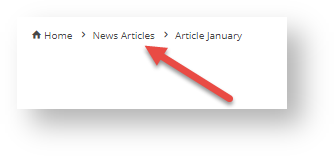
- IMPORTANT - Do not use this field If your catalogues will be displayed by the Article List Slider Widget. Relevant only if you are going to use an Article List page to display the catalogue list. If article type will be part of the breadcrumb, enter the breadcrumb URL. This is usually the 'SEO Friendly URL' for the Article List page. NOTE - The article list page must exist as this is the the landing page. If it doesn't, the user will see a 'Page Not Found' error.
- Click Save. Once the article type has been added, it appears in the article type list.
2. Create Article
- Click into the article type (category) you just created.
- Select Add New Article
 .
. - Give your article a meaningful name, e.g. '2022 Product Catalogue'. TIP - The name should match the content for best practice SEO because it will also display in the URL and page title.
- Add a thumbnail image so readers have an idea what the PDF contents are.
- Scroll down to Custom Fields.
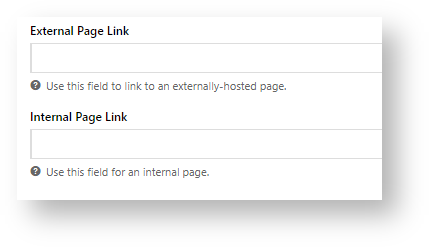
- Choose a link type:
- External Page Link - page/file is not on your website. The link will be the URL for the website where the PDF is hosted, e.g., https://www.commercevision.com.au/BPD
Internal Page Link -
file path is on your website
3. Add the PDFs
These need to be prepared separately.
Use available widgets to add and display the PDFs, e.g.,
Prepare your CSV file
If your document file(s) haven't already been uploaded to the CMS, do this first. To check the settings and document file types, see: Product Documents.Go to File Manager, select the Documents folder and go to the correct sub-folder. Click Upload, browse to your document(s) or video(s) and click Upload.

Next, get your CSV file ready. You can download an example template on the import page, or use this one - product-document-example.csv.
Check the CSV file has 5 columns:
Column A - ProductCode: Product code a document/video is for in this import.
Column B - Label: Text the user clicks to open the document/video. Example:"Size guide"
Column C - Path: Path to document on website. Use folder path + file name.Example: "/Documents/Size-Guide-Womens.pdf". For a video, just enter the Video ID, e.g., 3kN8n-ZavKg
Column D - Tag: (optional) Words you want to associate with this product and document combination. Tags can be used as a filtering device in the Product Documents Widget on the product page.
Column E- Type: File type: document, Vimeo or YouTube.
If you have more than one tag for a product document, separate each one with a comma. Example: shirts, womens

Save your file in .csv format.
In the CMS, go to Products & Categories → Product Document & Video Import.
In Default Media Type, enter the default media type for this download. If no 'Type' is entered for a product in the CSV file, this default is used.
If tags are used, in the Default Tag dropdown, select an existing tag to use for this import.
| Warning |
|---|
If you do not choose a default, you'll need to make sure the 'Tag' column is populated for every item on your spreadsheet. |
 Select the Import Type you're after:
 Append - Adds documents to the products on the CSV file, but does not affect existing product docs IMPORTANT- Make sure there are no duplicate lines in the CSV file or that the product does not already have this file as this will result in duplicate document links in the product's page.
Overwrite - Replaces existing documents on products in the file with the new documents specified. It will only do this where the tag on the existing document matches what is on your CSV file (or the default tag if none is specified on the spreadsheet). NOTE - Duplicate lines will be skipped and noted in the Import Log. We will not cancel the import.
Delete - Removes all existing specified documents. Here you can choose to delete by tag (where there is a match), or by file path (where there is a match)
Click 'Select files' to browse to your saved CSV. Once you select the file, the import will begin automatically.

Additional Information
| hidden | true |
|---|---|
| MultiExcerptName | Additional Info |
| Multiexcerpt | ||
|---|---|---|
| ||
**.**.** |
| Multiexcerpt | ||
|---|---|---|
| ||
-- |
| Multiexcerpt | ||
|---|---|---|
| ||
Yes |
| Multiexcerpt | ||
|---|---|---|
| ||
Products & Categories |
| Multiexcerpt | ||
|---|---|---|
| ||
Yes |
| Multiexcerpt | ||
|---|---|---|
| ||
Both |
| Multiexcerpt | ||
|---|---|---|
| ||
n/a |
/documents/filename.pdf
You can upload this page to your website's 'Documents' folder using the CMS File Manager.Info title Add Custom Fields to Article Template If these fields are not available in your article template, they need to be added as custom fields. Use the following fields:
- External link custom field name - CUS_ExternalLinkURL
- Internal file path custom field name - CUS_FilePathToCatalogue
- Click Save.
3. Add the PDFs
Your PDFs need to be prepared separately. Ensure they can be accessed on the Web via the added URL or pathname.
Add the set of catalogue links (with thumbnail images, heading and summary) to an Article List page template and/or a use a suitable widget such as the Article Slider Widget to display them on any page to your customers.
Related Resources
| Content by Label | ||||||||||||||||||
|---|---|---|---|---|---|---|---|---|---|---|---|---|---|---|---|---|---|---|
|
| hidden | true |
|---|---|
| MultiExcerptName | Features List Headers |
Macro Instructions for carrying Article Information through to Feature List
Minimum
Version
Requirements
BPD
ONLY
Business Function
CMS Category
B2B
B2C
BOTH
Feature
Feature Description
(Written for our customers and can be pasted into comms sent to them)
Additional info
Pre-Reqs/
Gotchas
Ballpark Hours
From CV
(if opting for CV to complete self config component)
Ballpark Hours
From CV
(in addition to any self config required)
Third Party Costs
Instructions for carrying Excerpts through from this page to the Feature List
Article Page:
Add macro / Multiexcerpt (or copy and existing excerpt and edit) or (Copy existing page and place content into existing excerpt macros)
On Features List page:
Click in the Cell to be populated / add macro / Multiexcerpt Include / Select the Article page and the excerpt (or copy another feature line and edit the 'Article page' source.