Overview
| Multiexcerpt | ||
|---|---|---|
| ||
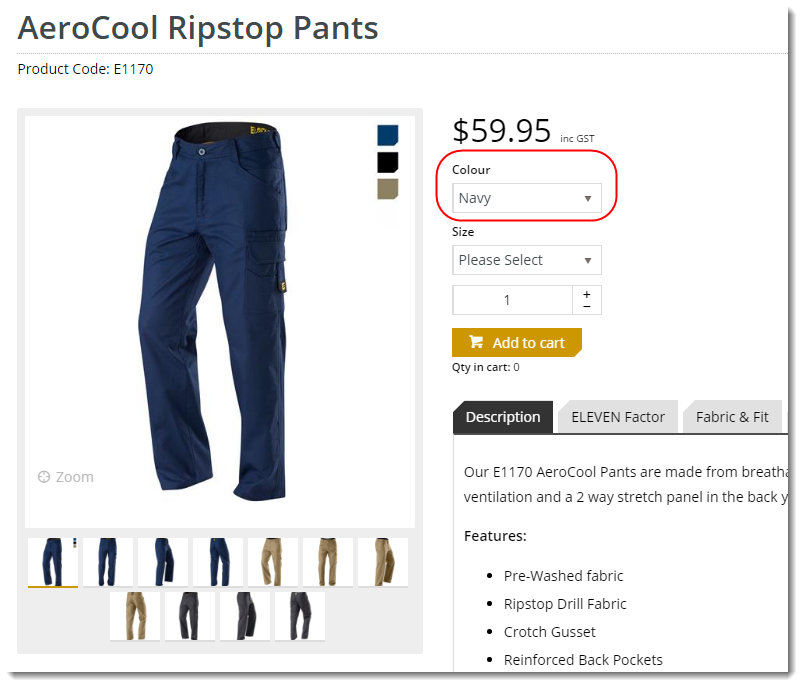
Product images can be tagged in the CMS so that the image in the gallery changes |
To see an example of this, visit https://www.elevenworkwear.com.au/men-s/pants/pant-cargo-cool-ripstop and select a colour option from the dropdown list.
You'll notice the image in the gallery updates according to the colour you choose.
...

...
For this functionality
when your customer selects a style or colour option. |
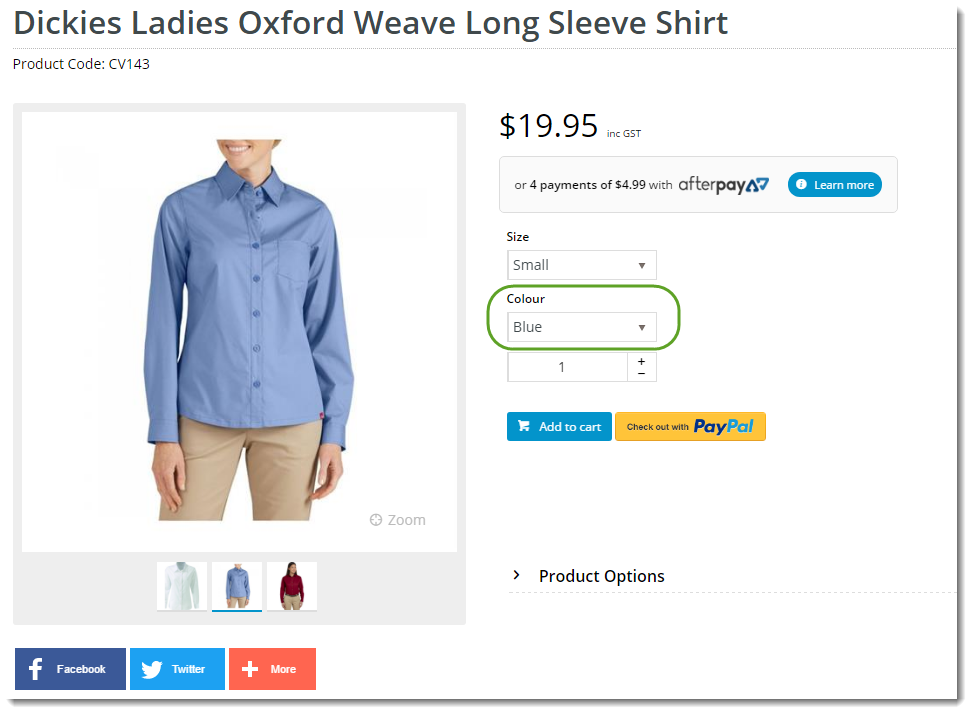
An example of image tagging in action is shown below.
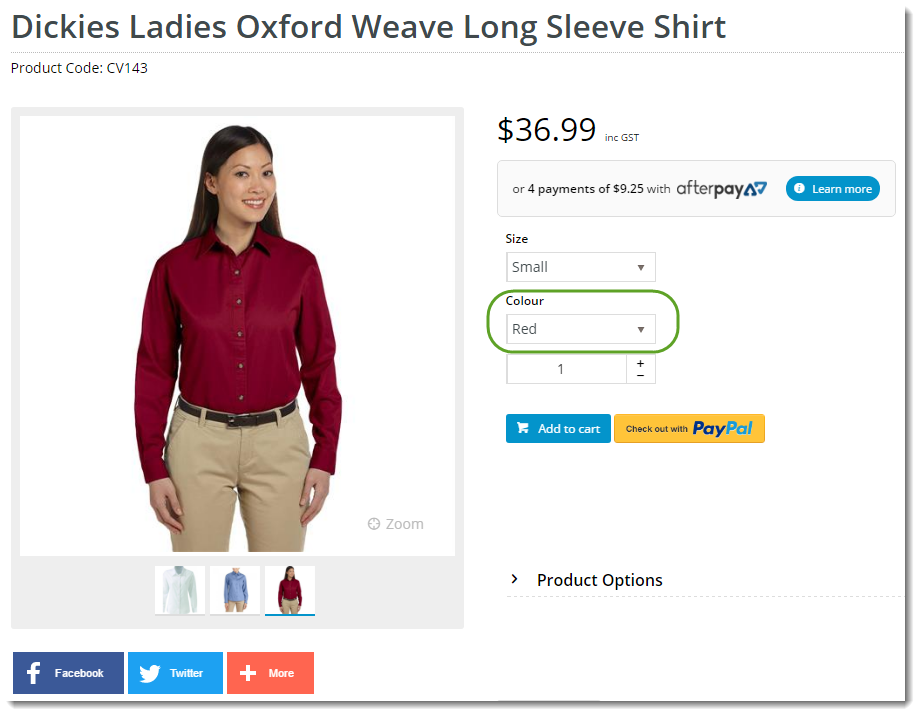
This long sleeve shirt is available in several different colours. When the user selects a colour from the dropdown list, the image automatically changes (as long as there is an image tagged to match that colour option).
|
|
To take advantage of this image tagging, all you need is a master product with multiple images loaded (or have images against your child products), and tags on each image to match the product option / variant.
| Tip |
|---|
If your child products have images |
...
| Info |
|---|
This article assumes you are already using Product Variants on your site. If you're not, or you need information on how to set this up, see our guide - Product Variants. |
Upload and Tag product images
...
already loaded, you can tell the CMS to update the master with those images and tags automatically! You must be on version 4.04.01+ and enable the option to 'Update Master Products with Child Images' in the Product Variant feature settings.“ This guide shows you how - Automatic Image Tagging for Variants |
If you're not yet on version 4.04+ or haven't got your images tagged, read on...
Step-by-step guide
If you already have all of your product images uploaded, all that's left to do is tag those images. The steps below will guide you through, whether or not your images are already in the CMS.
- In the CMS, navigate to Products & Categories → Product Maintenance.
- Search for a your master product and click 'Edit'.
- Scroll to the Media section where the product images are displayed.
and click
- If all required images for this product are already there, go to step 7.
- otherwise, continue to the next step to upload your images.
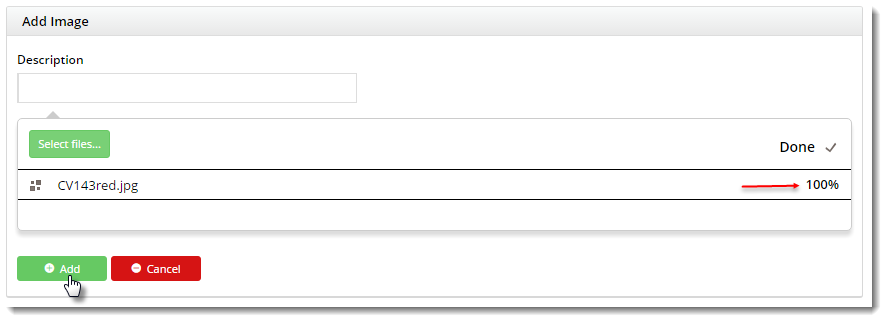
- Click 'Upload Image' to add a new image.Browse to the image file and select it. Once it's 100% loaded, then 'Select Files' to browse to your image file.

- Select the file and let it load (unless the file is unusually large, this should be very quick). Once complete, click 'Add'.
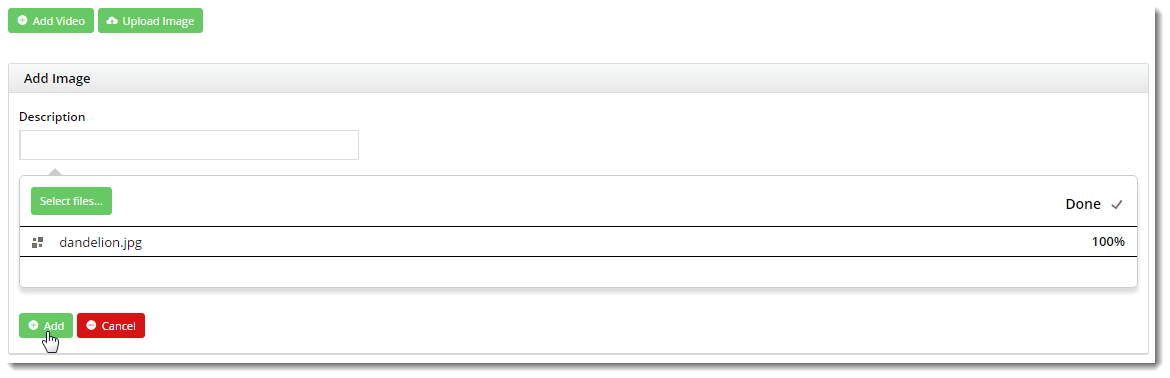
- The image should now appear in the list. Add thumbnail will be displayed, along with an 'Add Tag' input field.
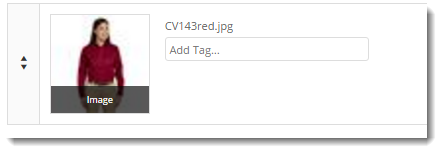
- Now, we add a Tag to the image. The tag should correspond to a match a variant value of one of your the child products (e.g. "BlueRed").
Repeat Steps 3-6 as necessary for additional
Note - if you're using Integrated variant maintenance, see our guide on Variant Tags for additional info.
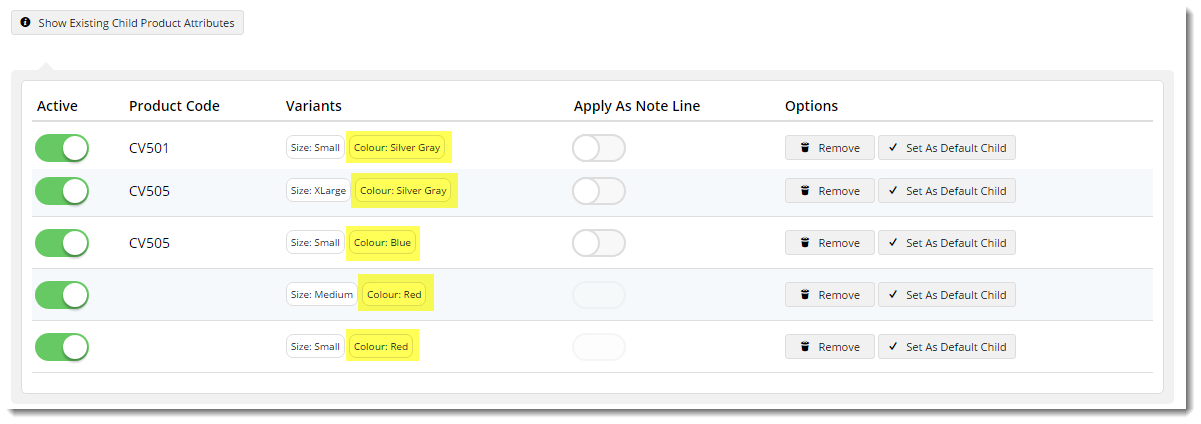
For those of you using Online variant maintenance mode, scroll to the 'Master Product' section of the maintenance page and click 'Show Existing Child Product Attributes' to see the options for your product.
- Repeat the above steps to upload / tag remaining product images.
- Click 'Save' or 'Save and Exit' when finished.

| Tip |
|---|
Feel free to add multiple tags to an image if required. Say your product has 3 options: style, colour, and size. There could be one image for 'Relaxed fit' in Red, and another for 'Slim fit' in Red. In that case, one image would get the tags 'Red' and 'Slim fit', and another image would get the tags 'Red' and 'Relaxed fit'. As long as the wording of the tags matches the options the customer selects, the image switching will work. |
Voila!
Load your product page in another browser (or incognito tab), and admire the way the image automatically updates as you select from different options.
| Content by Label | ||||||||||
|---|---|---|---|---|---|---|---|---|---|---|
|