...
- Before you start, have your Afterpay account credentials handy.
- In the CMS, navigate to Settings → Feature Management.
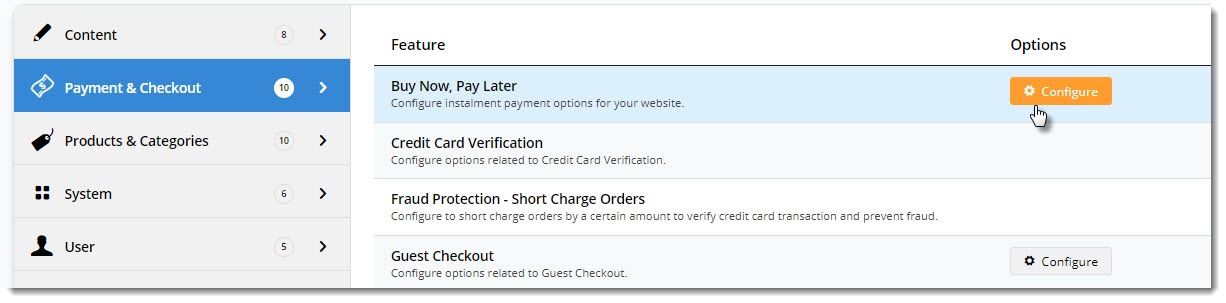
- Search for Buy Now, Pay Later, or select the Payment & Checkout tab.
- Click 'Configure' on the Buy Now, Pay Later feature. (If no Configure option is visible, click the 'Contact to Enable' button and our support team will be notified of your request.)
- Scroll to the Afterpay configuration settings section.
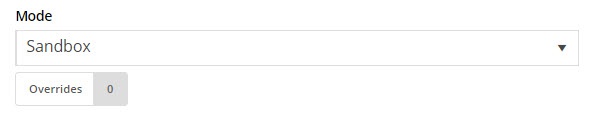
Set the Mode based on whether you're configuring Afterpay for your Live site (Production), or Stage site (Sandbox).
Enter your Merchant IDs and Keys in the relevant fields (Production / Sandbox).
- Set the following options:
- Event Logging - toggle this ON (recommended).
- Auto-Integrate Pending Orders - integrates the orders to the ERP prior to receiving a response from Afterpay.
- Display Content in Product Detail - toggle on to show the Afterpay logo & info on the product detail page, which launches a pop-up explaining the payment option.
- Once all settings have been configured and you're ready to go, scroll back to the top, set the Afterpay status dropdown to Enabled, and Save.


| Tip |
|---|
Some other Buy Now, Pay Later payment providers ask that you specify the order and product $ values required to trigger their payment option at checkout. With Afterpay however, these values are set automatically, based on the terms of your merchant account and the user's borrowing power. |
About Overrides
You can override any of the feature settings based on the user's role.
...