Overview
BPD websites now offer the ability to enter warranty claims, integrating them to your ERP as returns or credit requests.
For businesses that handle warranty claims, the process has traditionally been manual and full of paperwork. But not anymore.
You can specify the reasons a user might submit a claim, and determine whether they can have replacement parts sent to 3rd party addresses. You can also require supporting invoice numbers for any warranty reason, with or without validation.
This guide helps you implement the Warranty Claim functionality for your site.
Contents
Prerequisites
To use BPD's Warranty Claim functionality, your website must be running version 3.94+. Commerce Vision also need to enable the feature for you in the CMS. If you require assistance with either of these points, please contact Support.
1. Enable and configure Warranty Claim
- In the CMS, navigate to Settings→ Feature Management → Payment & Checkout.
- Toggle on the Warranty Claim feature.
Click Configure.
Configure settings as required.
Setting Description Prevent Editing of Delivery Address? This prevents the user submitting the claim from changing the default delivery address (loaded from the account info in your ERP). Default: ON Claim Entry Field Group This is the field group listing questions displayed on the claim form, for example 'Model Number' or 'Size'. As field groups are generally maintained by Commerce Vision, please contact us if the default field group does not meet your needs. Default: WarrantyClaimEntryHeaderCustomFieldGroup Claim Reason Lookup A semicolon-separated list of reason codes and their descriptions (for example: "PRQ=Parts Request;DOA=Dead on Arrival"). The descriptions will appear to the user in a dropdown selector. Reason Codes Requiring Invoice # If the user selects a reason listed here, a mandatory 'Invoice Number' field will appear on their claim form. Reason Codes Requiring Invoice Validation If the user selects a reason listed here, the invoice number they enter will be validated against the ERP during claim submission. Reason Codes Requiring Price Display If the user selects a reason listed here, pricing for products on the claim will be displayed. Products Not Requiring Invoice Validation If the user submits a claim for a product on this list, the invoice will not need to be validated. For example, a claim for supply parts, which aren't associated with a previous purchase/invoice. Add any overrides required.
Overrides
Global settings apply to everyone, but you can override them at the Role level if required.
For instance, you might have one set of reason codes that reps can use, and another for retailers. In this situation you could create overrides for these roles.
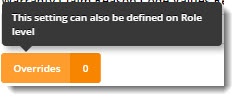
- Each setting has an 'Overrides' option. The number of current overrides for that setting is also displayed (in the image below, there are zero).
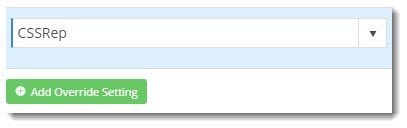
Click Overrides for the setting you wish to change.- A popup will open. Click Add Override Setting and enter the name of the role you're overriding for. This field is a lookup, so you can select the role from the list that appears as you type.
- Enter the value for this role in the Override Value field.
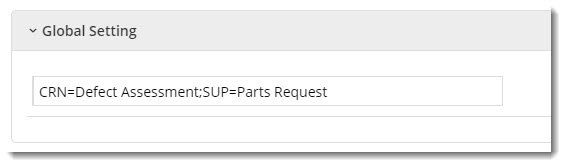
You can refer to the Global setting value, which is also shown (and can be edited) on the popup.- Repeat these steps for any other roles that need to override the global setting, then click Confirm.
- Don't forget to Save / Save and Exit when you've finished!
When you're ready, toggle 'Enable Warranty Claims' on.
Click Save or Save and Exit.


2. Integrate online warranty claims to your ERP
In order to integrate web-based warranty claims to your ERP, you'll need to enable the function on your integrator.
- Open the integrator client.
- Select the Settings gear icon.
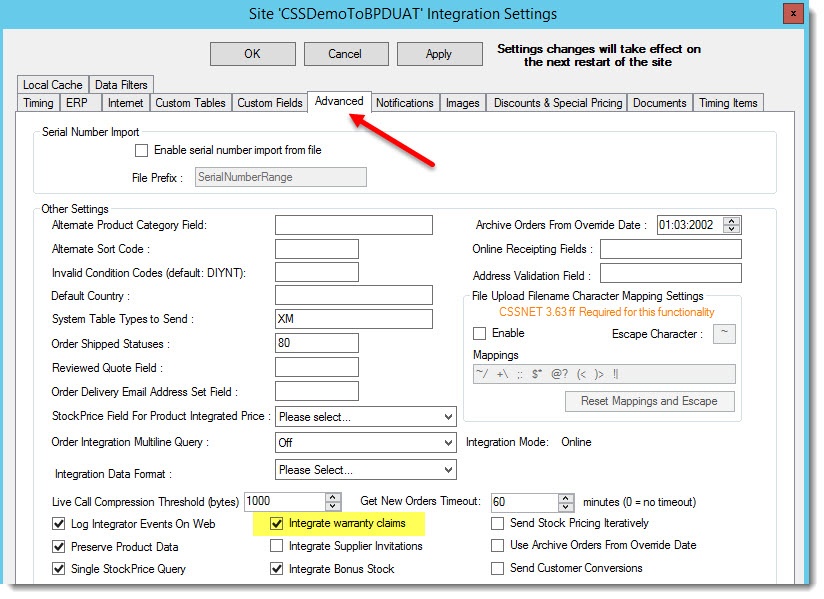
- Select the Advanced tab.
- Tick 'Integrate Warranty Claims'.
- Click Apply, then OK.
- Stop and Re-start the integrator for that site. If you're unsure how to do this, see Integrator - Stop and Start.
3. Edit Warranty Claim templates
You will have access to warranty claim templates once the Warranty Claim feature is enabled for your website. You can edit the display text and buttons in the widgets designed for warranty claims. (See Related widgets below.)
How your customer submits a warranty claim
- The customer logs in (with a role that has access to warranty claims), and navigates to Dashboard → Submit a Warranty Claim.

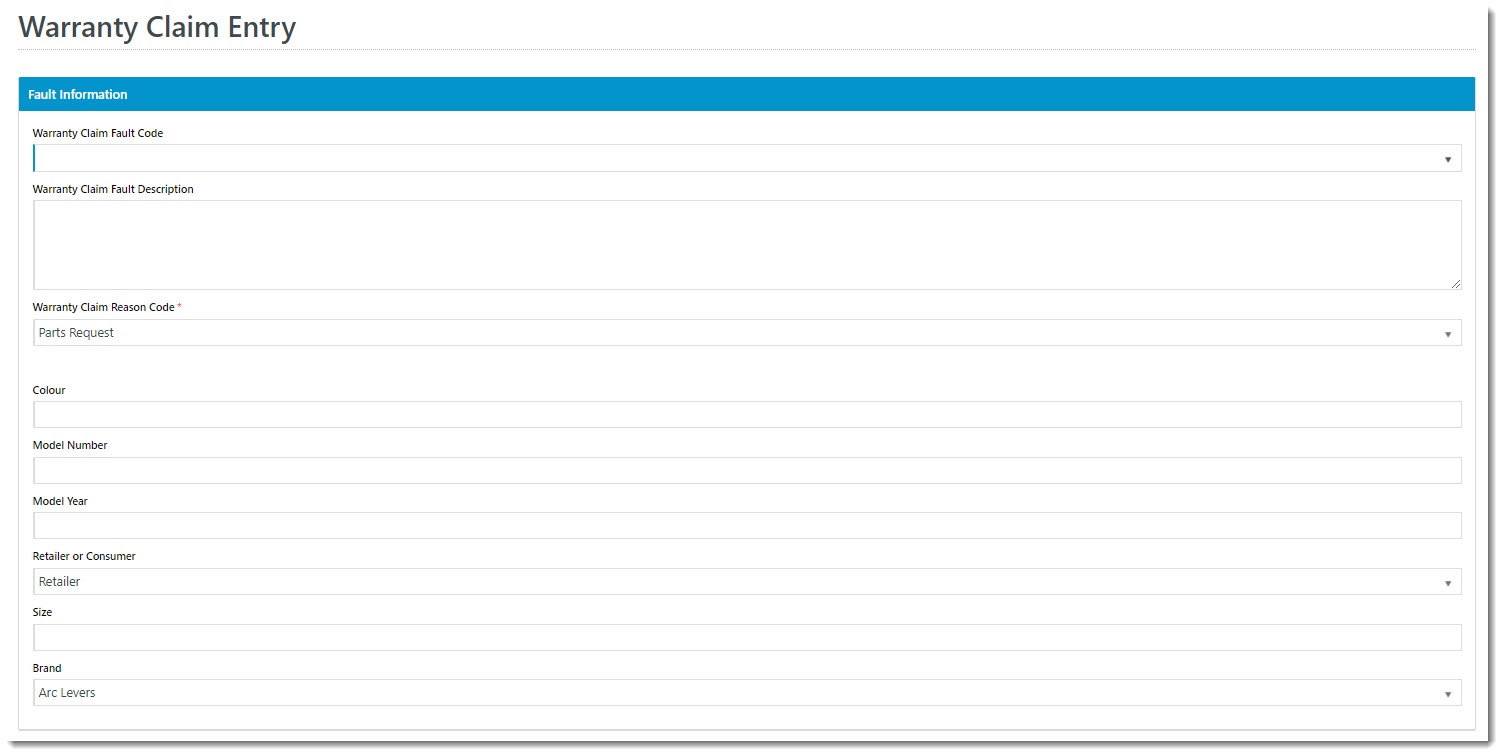
2. The Claim Entry page is loaded, with the fields here defined by the Claim Entry Field Group in Feature Settings.
3. The customer enters information related to the claim, such as fault code, reason, and description.
4. The customer then adds the relevant product code(s) to the claim. Documents can also be attached if required (such as scanned copies of invoices or other proof of purchase).
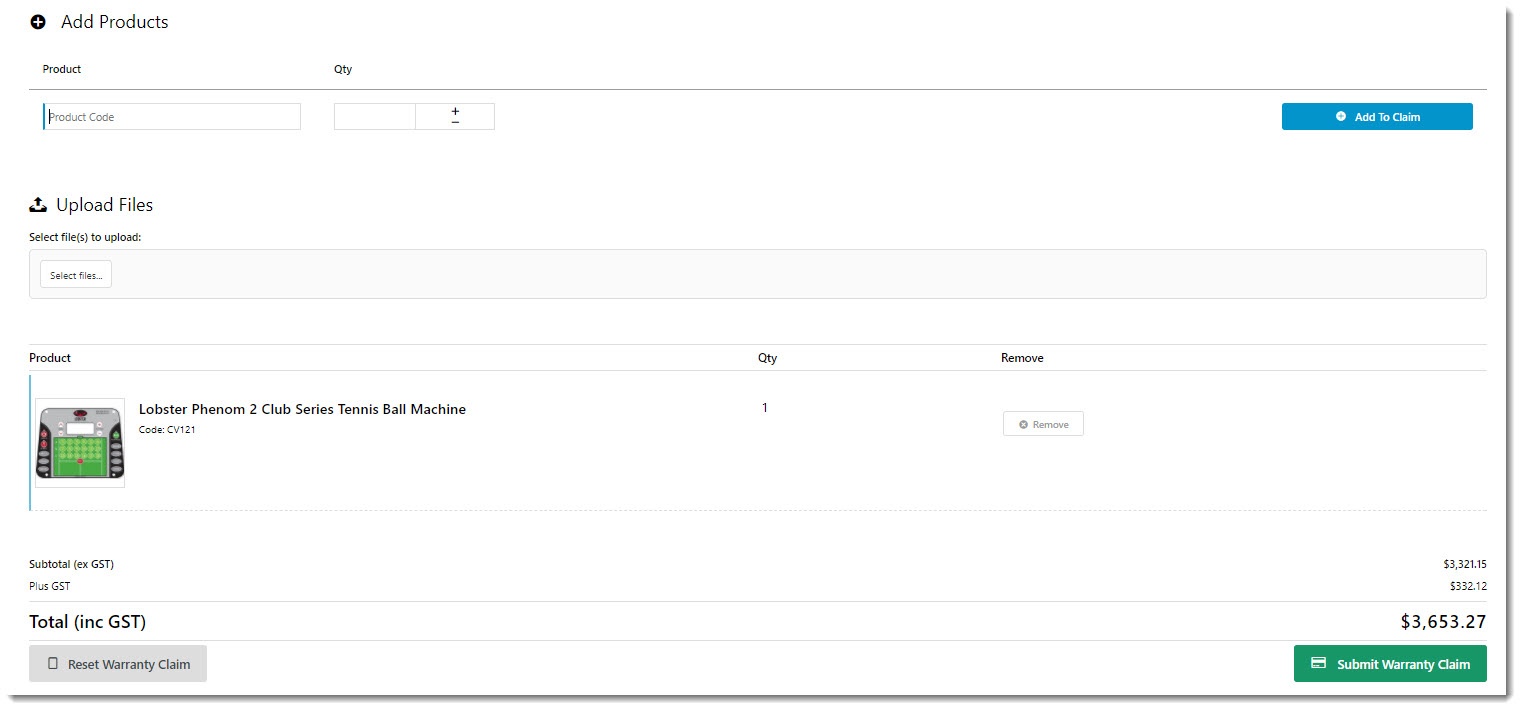
5. The claim is submitted and integrated to your ERP as a sales order (either a return or a credit note, depending on the reason code selected). From here, your normal business workflow is used to approve and process the claim.

Always test out new functionality on your Stage site first! If you require assistance with any of the above, please contact our Support team.
Related help