...
First, add the widget to the Cart template:
- Login to the CMS.
- Navigate to Content --> Standard Pages.
- Select the Cart template.
- Locate the optimal position in the layout and click 'Add Widget' (in this example, we've added it to Zone Bottom Left)
- Search for Order Documents and click 'Add Widget'.
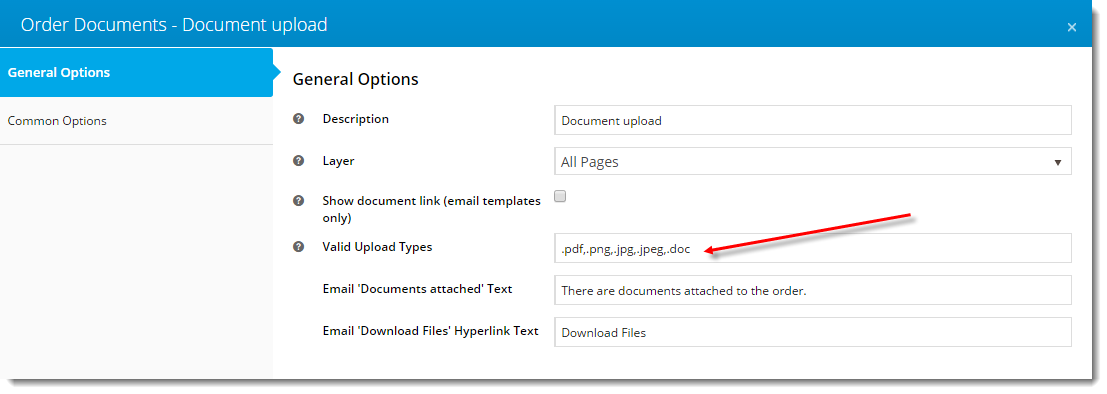
- Edit the widget to customise options, such as accepted file types. Widget documentation can be found here - Order Documents Widget.
- Click 'Save'.
- Refresh your shopping cart in another browser (or incognito window) to verify the File Uploader now displays.
Next, add the widget to the Order Lines Information template:
- In the CMS, navigate to Content --> Standard Pages.
- Select the Order Lines Info template.
- Click 'Add Widget'.
- Search for Order Documents and click 'Add Widget'.
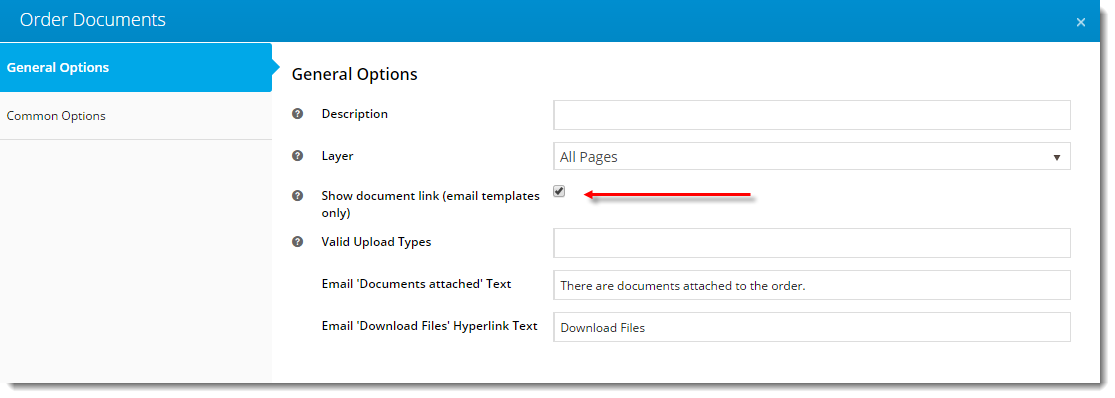
- Edit the widget to customise options, such as ticking the 'Show document link' option for email templates. Widget documentation can be found here - Order Documents Widget.
- Click 'Save'.
- The link to the user's document will now appear on the Order Placed email, as well as in the user's Order History when viewing the order details.
...
Related articles
| Content by Label | ||||||||||||||||
|---|---|---|---|---|---|---|---|---|---|---|---|---|---|---|---|---|
|