...
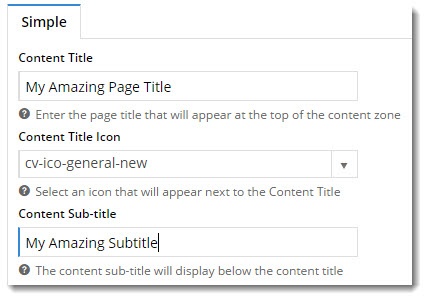
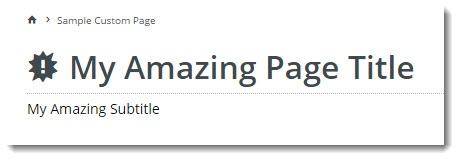
Start by giving the page a Title, Icon, and Subtitle.
Data input Resulting output
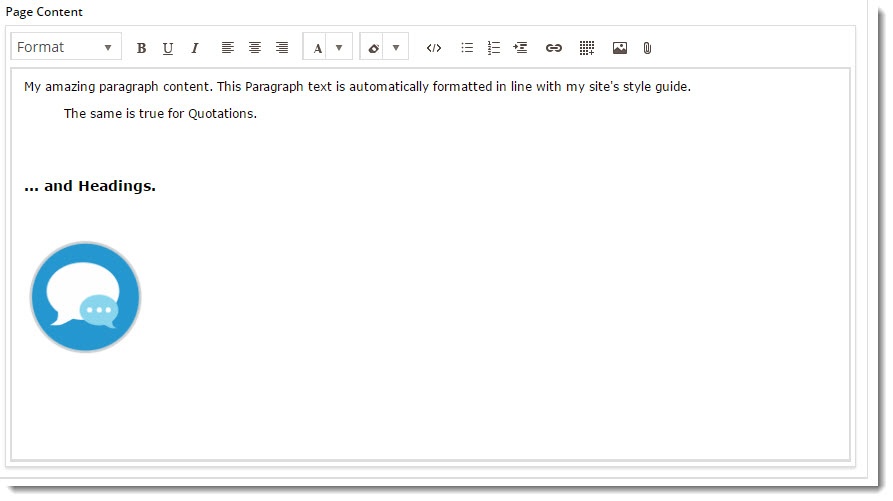
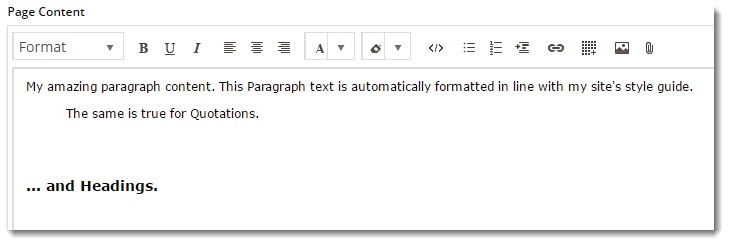
Next, add some text to the Page Content area.
Below is obviously a very simplified example, but you can play with font sizes, colours, and formats. The editor is very much like what you've used in Microsoft Word or OpenOffice.
Text input Resulting output
Now, add some images to your page content. Click the image icon (
) to begin.
- The Image Selection window will open, where you can browse images already in the image folder.
- Alternatively, click 'Upload' to add a new image from your local directory.
- Once you've located or uploaded your image, highlight it and click 'Select'.
- The selected image will now be inserted into your page content.
- For greater control, you can edit your content via the HTML code editor:.
- Click the </> icon to access the code view.
- Here you can edit text formatting tags, resize images, or add other content directly into the HTML.

- Click 'Save' to return to content editor mode, where you can see a preview of your slick coding skills.
- Once you're happy, click 'Save & Exit' to save the page.
- Load your page in another browser or incognito tab and admire your work!
Tip There are plenty of online tutorials if your HTML knowledge is minimal or a bit rusty. Try http://www.w3schools.com/html/ on for size.


Adding Content - Widget Based Pages
...