...
This guide will step you through the process of creating, editing, and displaying a product campaign.
Creating
...
a Campaign
- In the CMS, navigate to Campaigns & Promotions → Campaigns.
- Click Add New Campaign.
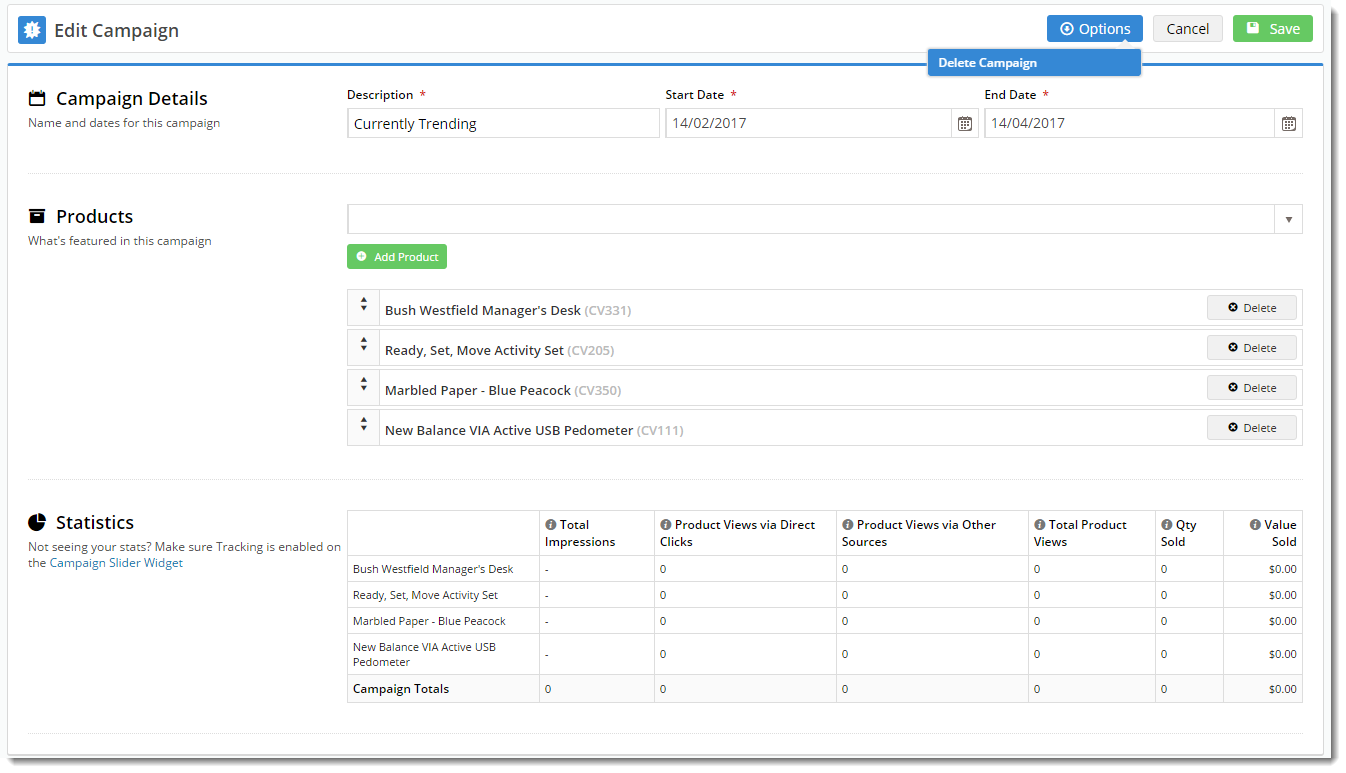
- Give the campaign a Description and define the Start and End Dates.
- Now to add products. Enter the product code or description into the lookup field. Suggestions will appear as you type.
- Select the correct item from the list and hit Enter or click 'Add Product'.
- Repeat Steps 4 & 5 for all required products in the campaign.
- Drag and drop the products in the list to reorder them. This reflects the order in which they'll appear to your customers.
- To remove a product, use the 'Delete' option on the right hand side.
- Click 'Save' at the top of the page, and you're finished!
...
Once your campaign is created, it will appear as the latest tile on the Campaigns page (the most recently edited campaign appears first).
Select the tile to view the campaign details.
On this page you can:
- Edit the Description, Start, and End Dates.
- Add / Remove / Resequence products.
- View Campaign Statistics (as long as tracking is enabled on the Campaign Slider Widget)
- Delete Campaign
Don't forget to Save your changes!
Displaying
...
a Campaign
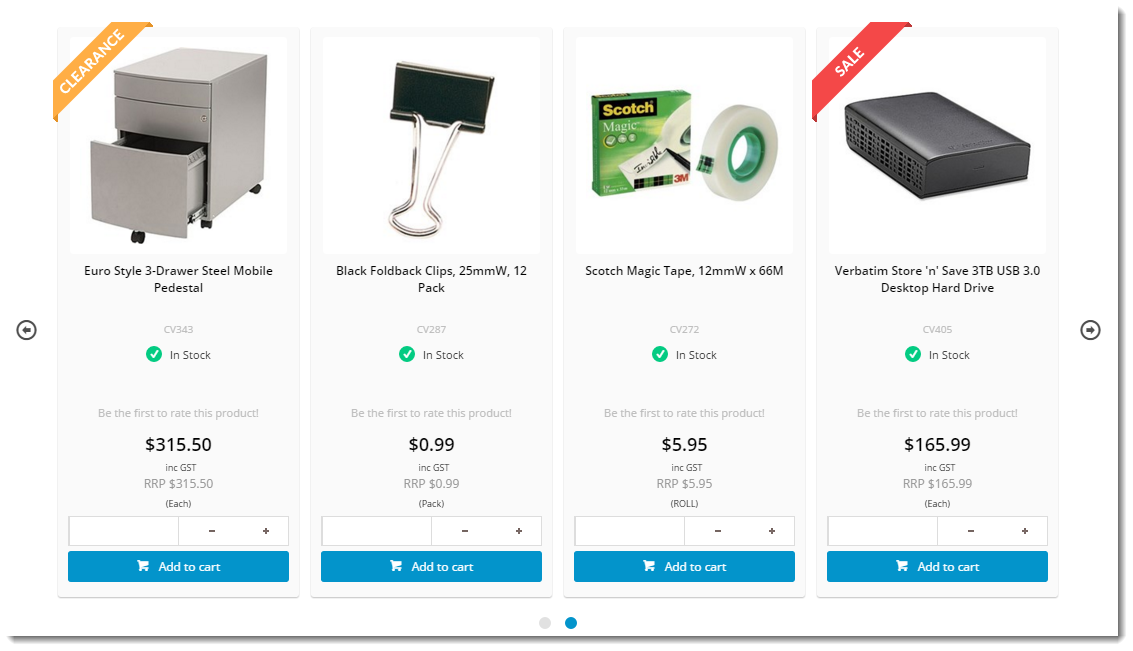
Once your campaign is created, you can display it on your site with a widget!
...


