...
- Navigate to Users → User Groups.
- Find your group in the list and click Users. (We're assuming you've already created your Group; if you haven't, follow the steps above for "Creating a User Group").
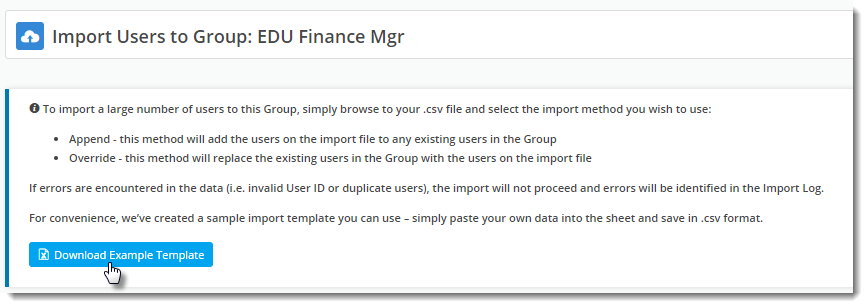
- Click 'Import User Group Users'.
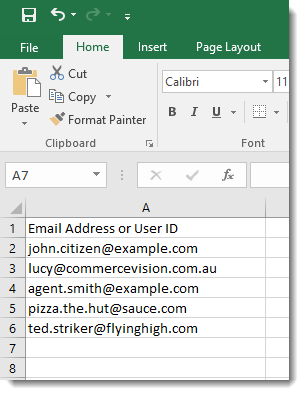
- Click the Download Example Template button to get a pre-formatted CSV file.
(Admittedly, the format is pretty simple - 1 column with a header, consisting of the user's email address or numeric User ID)- Copy and Paste your own data into the spreadsheet and save it somewhere you can access it.
- Now, decide whether you want to add these users to any existing members of the group (Append), or replace any existing members with the ones on your list (Override).
- Click 'Select files' and browse to your saved CSV.
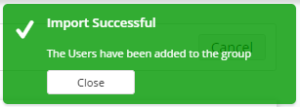
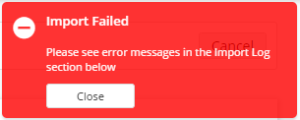
The import will start automatically once your file is selected. Failure or Success messages will be returned, along with feedback in the Import Log.
Note If your import fails, correct your data (errors noted in the log) and try again.


Related Articles
| Content by Label | ||||||||
|---|---|---|---|---|---|---|---|---|
|