...
- In the CMS, navigate to Settings → Store Locator.
- Select the 'Store Locator' tab.
- Click 'New'.
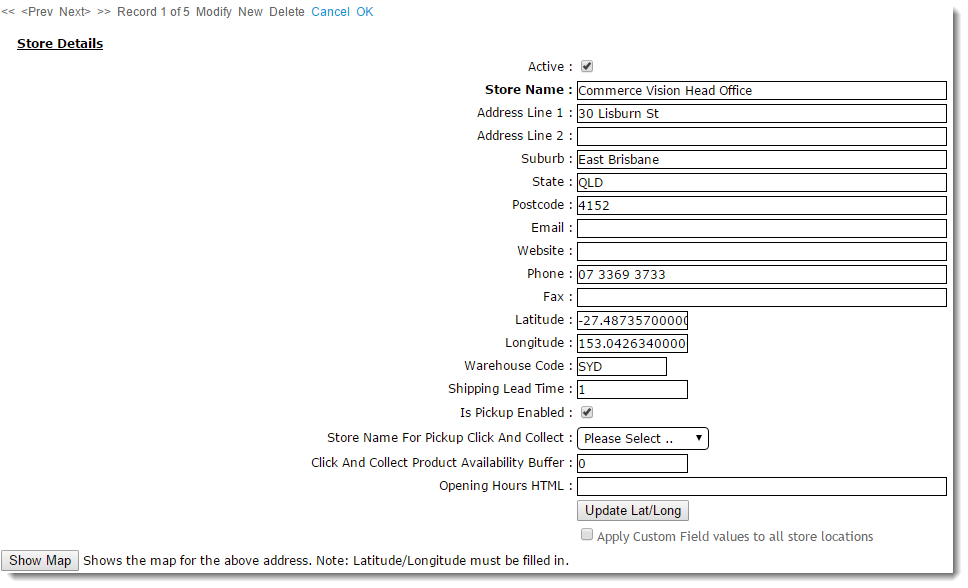
- Populate the Store Name, Address, and contact fields.
- Populate the 'Latitude' and 'Longitude' values (this site may be helpful - http://www.latlong.net/)
- Populate the 'Warehouse Code' - PRONTO warehouse value.
- Populate the 'Shipping Lead Time' - the number of days required to process and ship an order from this warehouse from when it is first submitted.
- Optional - tick 'Is Pick-up Enabled' to activate this location for Click & Collect.
- Optional - Set the 'Store Name For Pickup Click And Collect' - sets an alternate pickup warehouse for this location (e.g. in some cases, a default warehouse may be ok for delivery, but not suitable for pickup. In this instance, an alternate warehouse is used).
- Optional - Set the 'Click And Collect Product Availability Buffer' - an optional product buffer value specific to this warehouse, overriding the value in System Settings.
- Click 'OK' to save.
To Maintain Pickup Warehouses / Store Locations
...
The 'Is Pick-up Enabled' setting will integrate to the PRONTO 'StoreLocation' table for the edited Warehouse Code/Store Location.
| Tip |
|---|
If you're implementing Store Pickup functionality for the first time, contact us to verify your site's pickup availability calculation is correct. |
Related articles
| Content by Label | ||||||||||||||||||
|---|---|---|---|---|---|---|---|---|---|---|---|---|---|---|---|---|---|---|
|