| Multiexcerpt |
|---|
| hidden | true |
|---|
| MultiExcerptName | Feature Title |
|---|
|
Categories group together products on your website and display as menu items in the navigation menu. While categories are usually associated with product types (Product Categories), you You can also create a category and enable it to contain clustersbe in cluster mode. A category with clusters functions just like any other category in that products are assigned to it and it can appear in the navigation menu. But a cluster is designed to group together products for the specific purchasing condition where certain products are expected to be selected or selectable and bought in one go. For example, suppose a site supplies school items needed by students in a school year. A category cluster can be configured so that all such items are grouped together so it is easy for the customer to view, select and buy them. To support this type of purchasing, clusters have some other built-in features and options. For every product, the conditions of buying, i.e., whether it is compulsory or not, or is one option out of two or more items, must be specified. Cluster Maintenance allows you to create and configure clusters, and add products to them. Sub-categorisation of products Ordering and sorting in a cluster is done by assigning each to a adding user-defined cluster section sections through line type types (a 'headerheaders'). The Category Cluster feature is available for versions 4.17 and higher. |
...
You can also create a cluster section around products that are grouped together, from which the customer can select one.
| Expand |
|---|
| title | Click here for more detail. |
|---|
|
Create a cluster section with product choicesYou can configure a section to contain a list of products from which the customer can select one (or more).
- In the Cluster LineType Maintenance page, create a line type header with an appropriate name, e.g., 'Choose One'.
- Navigate to the Category Cluster (Products & Categories → Category Maintenance), hover over Options next to your cluster and select Cluster.
- In Description, enter a suitable heading. For our example, we will enter 'Pens: select one'.
- In Type, select 'Choose One' (or the line type you created in step 1).
- Add the products that are under this cluster section. Drag and drop them to make sure they appear under this heading. In our example, those products are: _.

Click Edit for each product to configure its cluster properties:
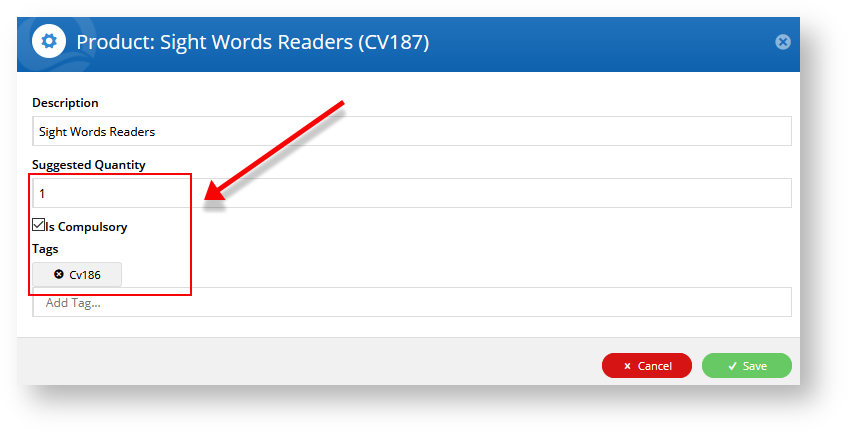
Description: the product's current description will default but you can change it to something more meaningful for this cluster if you wish.
Suggested Quantity: leave at '0'.
Is Compulsory: leave box unchecked.
Tags: add the product code of each linked product separately. Type in a product code, then hit 'Enter' on your keyboard. This must be done for each linked product.
| Note |
|---|
You must hit return so each product code displays under the field header 'Tags'. To remove a product code, click on the 'x' next to a product code. |
- Save your changes.
- Repeat steps 6-8 for each product.
|
...