...
This procedure adds new users. The first row of the CSV file will list the fields you can bulk import for user records. Each subsequent row contains a user record. Fields that are marked with * are mandatory. Some fields may not be in use on your site.
...
- Open this CSV file in Excel. The header text (fields) should be displayed in Row 1 (Line 1) of the first 22 columns.
The CSV file should look like this (in Excel):
- Enter one user record per row. This means User 1 occupies Row 2 (Line 2), etc. NOTE - Some fields are mandatory. If a mandatory field is not populated for a user record, the user will not be uploaded. Also, your site may not be using all optional fields. If not used, leave blank.
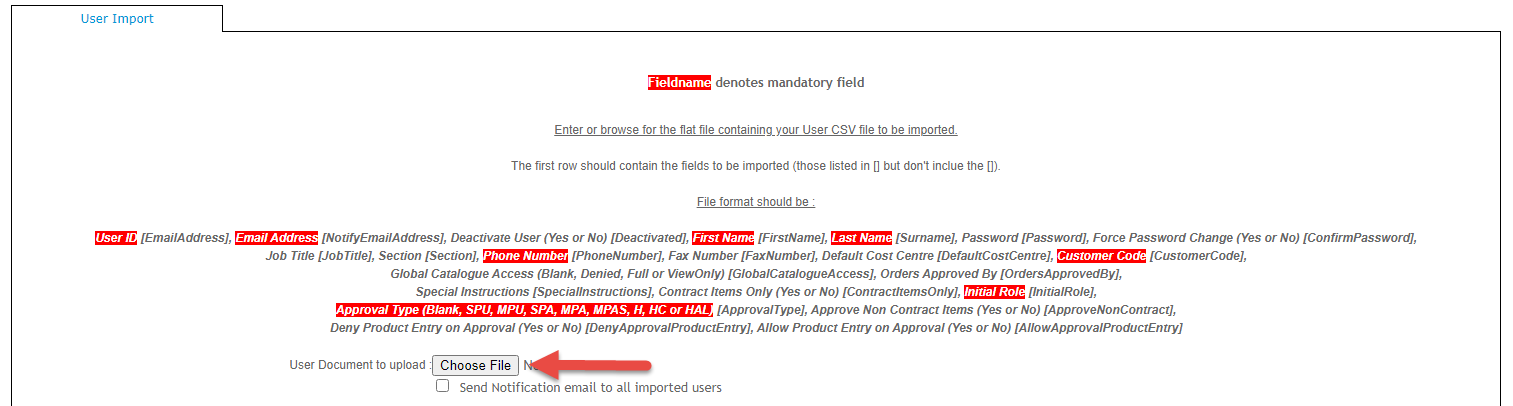
Fields marked with * are mandatory.
- EmailAddress*
- NotifyEmail*
- Deactivated (Yes or No, If blank, defaults to No.)
- FirstName
- LastName
- Password* ConfirmPassword (Yes or No. If blank, defaults to No.)
- JobTitle
- Section
- PhoneNumber*
- FaxNumber
- DefaultCostCentre
- CustomerCode*
- GlobalCatalogueAccess (Blank, Denied, Full or ViewOnly)
- OrdersApprovedBy
- SpecialInstructions
- ContractItemsOnly (Yes or No)
- InitialRole*
- ApprovalType (Blank, SPU, MPU, SPA, MPA, MPAS, H, HC or HAL)
- ApproveNonContract (Yes or No)
- DenyProductEntry (Yes or No) AllowApprovalProductEntry (Yes or No)
- When all records have been entered, save the file.
...
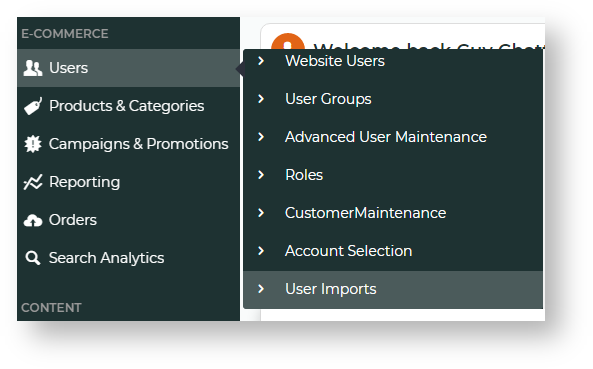
- In the CMS, navigate to Users → User Imports. Or when logged in as Administrator on your site, Accounts → User Import (/zUserImport.aspx). NOTE - If this page has not been set up for your website, please contact Commerce Vision for assistanceyou can add it using the Add New Menu Item function.
- In the first section of the page called 'Enter or browse for the flat file containing your User CSV file to be imported.', click the Choose File button.
- Select the CSV file. Once selected, the file name displays next to Choose File.
- To have a registration notification emailed to every new user, tick Send Notification email to all imported users. NOTE - Users flagged as initially deactivated will not be sent an email notification.
- Scroll down and click the Import Now button.
- Check the message box below 'Import Now' to verify your import is successful. Any skipped rows and errors will be displayed.


...