...
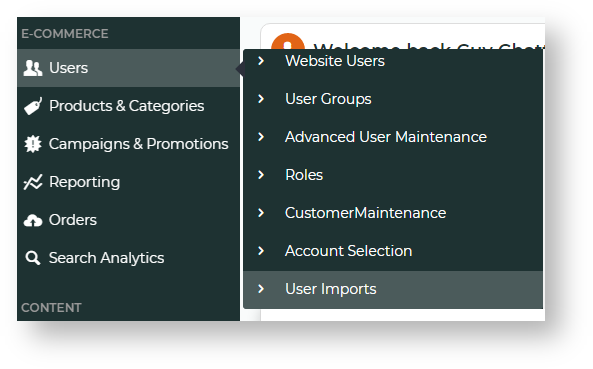
- In the CMS, navigate to Users → User Imports. Or when logged in as Administrator on your site, Accounts → User Import (/zUserImport.aspx). NOTE - If this page has not been set up for your website, you can add it using the Add New Menu Item function.
- In the first section of the page called 'Enter or browse for the flat file containing your User CSV file to be imported.', click the Choose File button.
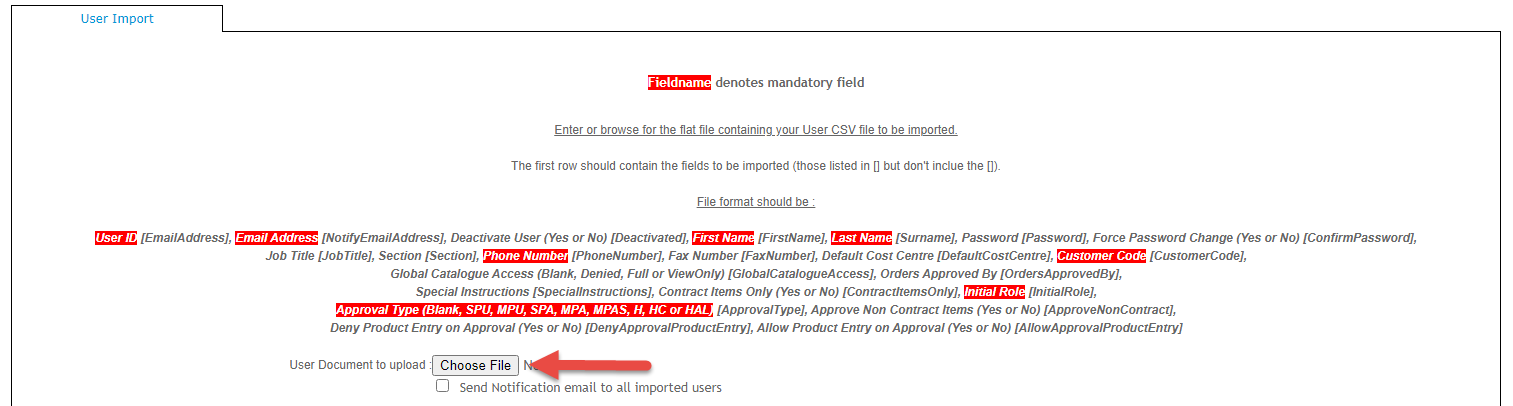
- Select the CSV file. Once selected, the file name displays next to Choose File.

- To have a registration notification emailed to every new user, tick Send Notification email to all imported users. NOTE - Users flagged as initially deactivated will not be sent an email notification.

- Scroll down and click the Import Now button.
- Check the message box below 'Import Now' to verify your import is successful. Any skipped rows and errors will be displayed.

...
The process of bulk importing User ID changes to user records is similar to importing user customers.
| Field Name | Field Description |
|---|
| Current User ID* | Current user ID (in most cases, the User ID is the user's email address) |
|---|
| New User ID* | New user ID |
|---|
| New Notify Email Address | Leave blank if the email address will remain the same |
|---|
The required CSV template is provided here or you can create one yourself.
| Info |
|---|
| title | Fields for User Customer Records |
|---|
|
If you're creating one yourself, copy and paste the following header fields into your file: Current User ID, New User ID, New Notify Email Address
|
| Note |
|---|
|
The import message will always show Line 1 (header line) as skipped.  Image Added Image Added
|
Import User Deletions, Activations and Permanent Inactivations
The process of bulk importing User deletions, activations and inactivations is similar to importing user customers. NOTE - A user can be deleted from a particular customer account only if they have no active orders and they are associated with more than one customer account.
| Field Name | Field Description |
|---|
| EmailAddress* | Current user ID (in most cases, the User ID is the user's email address) |
|---|
| CustomerCode | Enter the customer code if you wish only to remove the user from this customer account. NOTE - You cannot enter a customer code and permanently inactivate a user at the same time. |
|---|
| IsPermanentlyInactive | Enter 'I' for Inactive and 'A' for Active. Leave blank if deleting user from a customer account via the CustomerCode field. |
|---|
| IsPermanentlyInactiveNote | If permanently inactivating the user, enter a note if you wish. |
|---|
The required CSV template is provided here or you can create one yourself. view-file
...
...
| Fields for User Customer Records |
|
If you're creating one yourself, copy and paste the following header fields into your file: EmailAddress, CustomerCode, IsPermanentlyInactive, IsPermanentlyInactiveNote
|
Related help
| Content by Label |
|---|
| showLabels | false |
|---|
| max | 5 |
|---|
| spaces | KB |
|---|
| showSpace | false |
|---|
| sort | modified |
|---|
| reverse | true |
|---|
| type | page |
|---|
| cql | label = "user-website" and type = "page" and space = "KB" |
|---|
| labels | kb-how-to-article |
|---|
|