...
In the CMS, navigate to Settings → Settings → Feature Management.
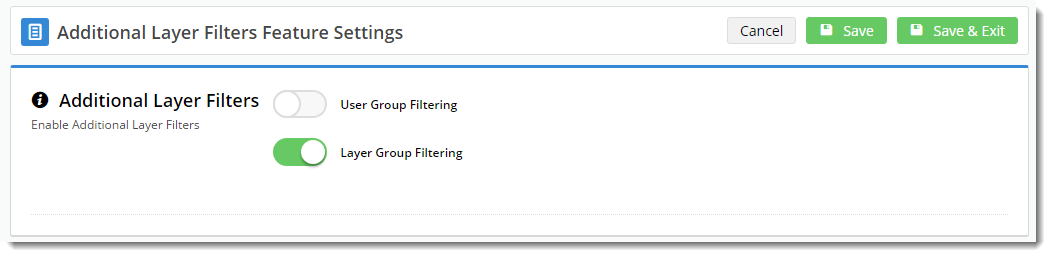
- Configure the Additional Layers Filters feature, and toggle the Layer Group Filtering option on.
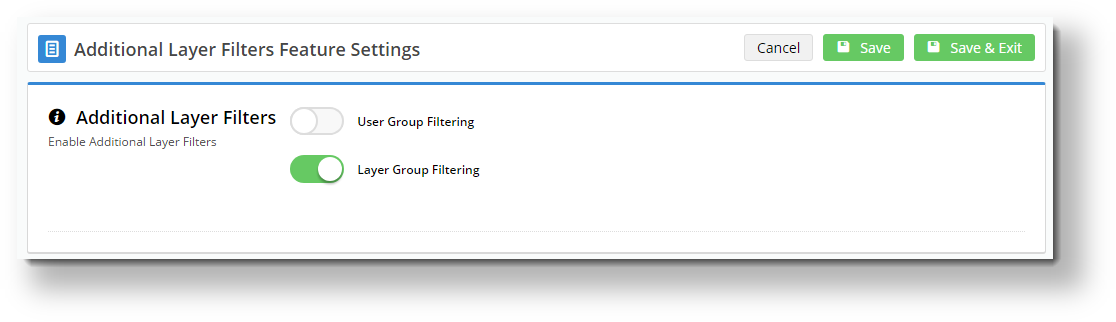
- Click 'Save & Exit'.
Grouping Layers
- Navigate to Advanced Content → Layers.
- You'll see a new 'Group' column on your list of Layers. You can both search and sort by Group, allowing you to see at a glance which layers are related by group.
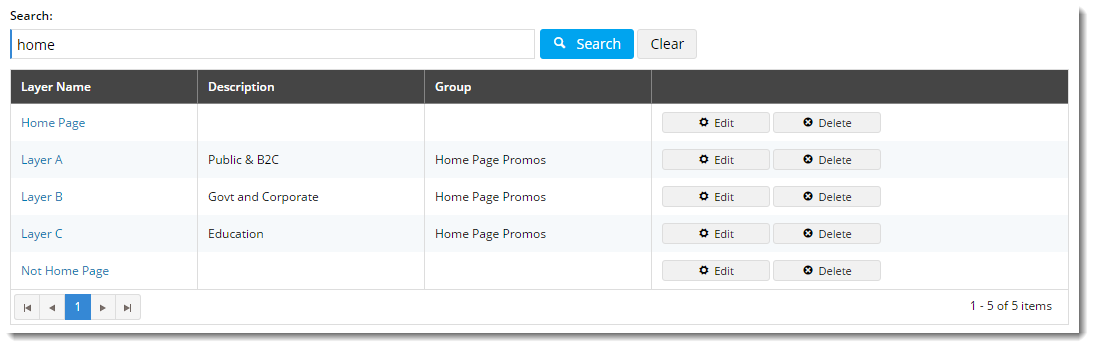
In the example above, you can see that Layers A, B, and C are all in the 'Home Page Promos' group.
- Locate the first Layer you wish to group, and click 'Edit'.
- Scroll to the 'Layer Group' section and enter a name for your group.
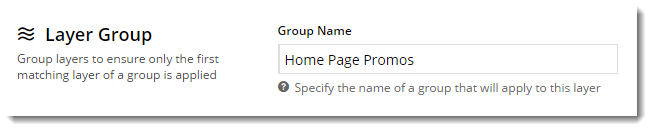
- Click ' Save & Exit'. You've now created a Layer Group (consisting of just one layer at this point).
- Edit the next layer you want to group, enter same Group Name as previously, and Save & Exit.
- Repeat for all remaining layers you wish to add to this group.
...
For example, on my home page template below, I've added 3 Static Content widgets, each containing a targeted promotion message for different segments of my customer base.
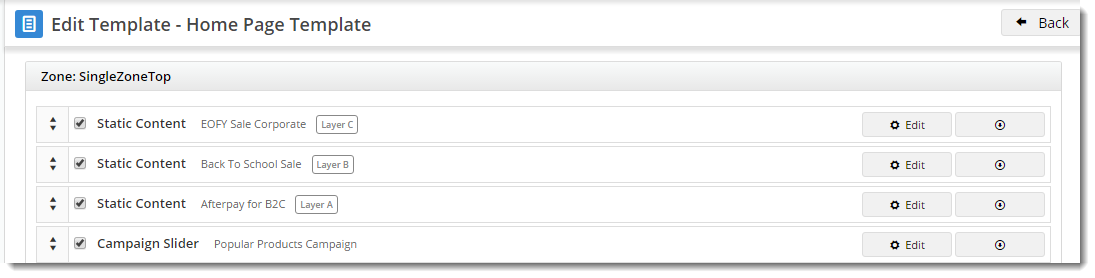

So who sees what?
...