...
- Open the Integrator client and select the correct site (e.g. Stage / Live / Dev).
- Select the Settings gear icon.
- Select the Local Cache tab.
- You want to clear the cached records for tables that have automatic timing set up on the main screen. This ensures your new data is integrated, rather than skipped due to caching.
Tick the boxes for the following tables (you may wish to clear additional tables based on the kind of data you integrate):
- BonusStock
- CategoryProduct
- CategoryProduct_AlternativeCategoryNotes
- ContractProducts
- Customer
- Customer_DeliveryAddress (tick all variations of this if multiple are present)
- DeliveryAddress
- Product
- ProductAlternatives
- ProductSubstitutions
- ProntoBillOfMaterials
- ProntoCustomPricing
- ProntoDiscount
- ProntoSpecialPrice
- ProntoStockPrice
- StockSecurity
- Click 'Empty Selected Tables'.
- Click 'Apply', then 'OK'.
- Stop and re-start integration to the site.
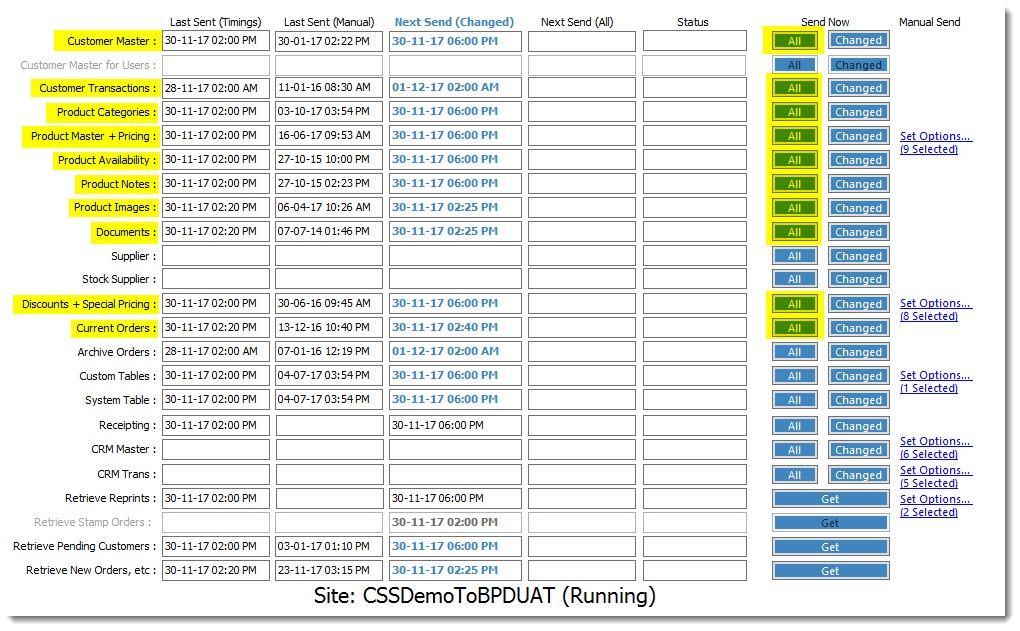
- Once the site has successfully re-started, click the 'All' button against those tables you want to integrate fresh data for excluding 'Archive Orders' (we'll talk about integrating a customer's order history shortly).
- Go grab a coffee, because integrating this much data could take some time.


...