Overview
| Excerpt |
|---|
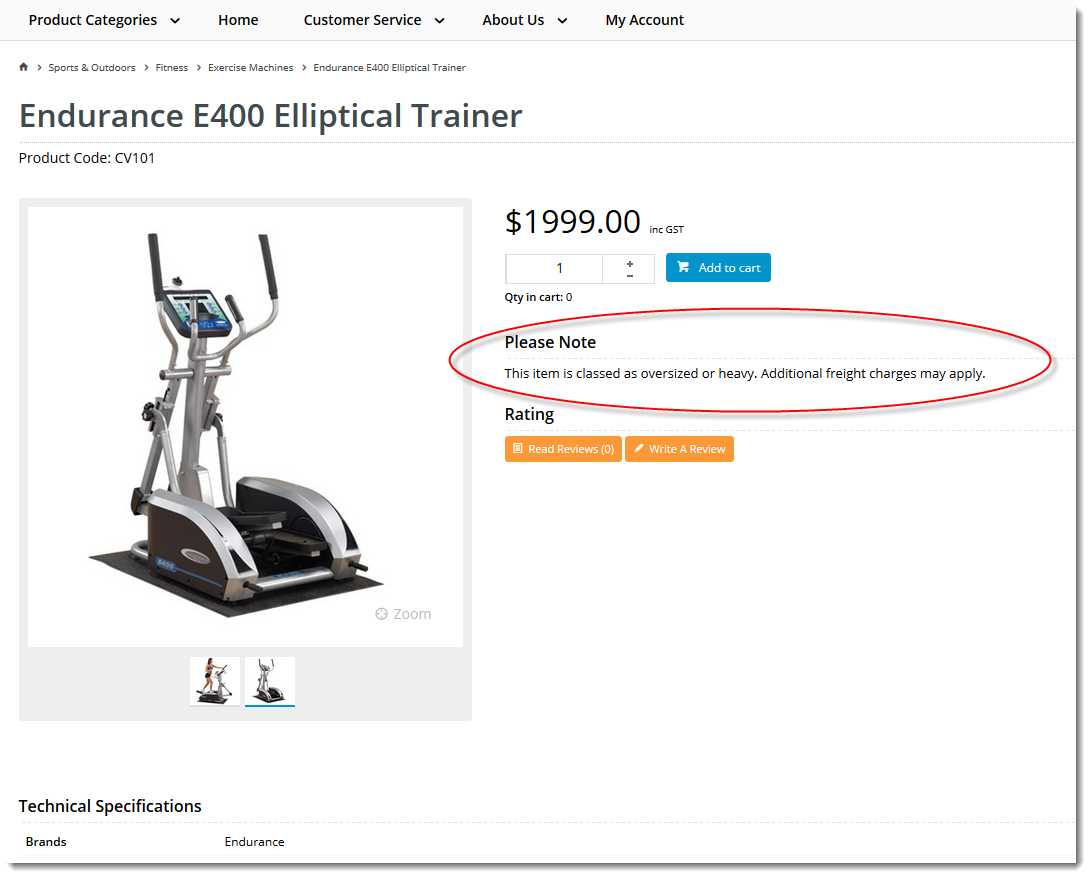
Information-rich product pages can help drive sales. But sometimes, not all the desired data are provided by your ERP. No problem. You can add custom fields to product and category pages as part of product maintenance. |
Uses for custom fields might include:
- product or category-related freight information for oversized items
- special features or benefits, such as certification logos.
...
The Custom Fields features lets you create extra fields for these database tables: Articles, Banners, Categories, Products, Promotions and Users. |
| Info | ||
|---|---|---|
| ||
'field' is a database term. All the bits of information that your website uses are contained and managed in a database dedicated to your business. In this database, information is organised in a collection of tables. A table contains data grouped for a function or feature your website uses. Some examples are Users, Products, and Orders. A table has columns or fields that each contain a data type. Each row contains a record of values a single entity has for each data type. When you add, edit or view a page in the CMS or on your website, you are accessing database fields and values entered for them. Some like Email Address and Default Customer Account for the User table are standard on your website.
Custom fields are fields that are not on pages in the out-of-the-box version of the CV ECommerce platform. |

Your business may want to maintain or display data in non-standard fields for certain functions in the CMS or even on a website page (product or category-related only). You can create custom fields to these tables:
- Articles
- Banners
- Categories
- Products
- Promotions
- Users
The process for adding custom fields is simple:
- Identify the table you want to create a custom field for. (A table groups a set of related data. For example, 'Products' data make up a table, 'Categories', another, etc.)
- Create the new custom field for the table.
- Edit a table's record to include the new data.
- (For product or category custom fields only) Display the field on your website. Add the new product field widget to theProduct Detail and/or Product List templates. For a category field, add the category field widget to the Category template. See: Add Custom Field to Product or Category
Step-by-step
...
Guide
| Multiexcerpt | ||||||||||||||||||||||||||||||||||||||||||||||
|---|---|---|---|---|---|---|---|---|---|---|---|---|---|---|---|---|---|---|---|---|---|---|---|---|---|---|---|---|---|---|---|---|---|---|---|---|---|---|---|---|---|---|---|---|---|---|
| ||||||||||||||||||||||||||||||||||||||||||||||
|


1. Create a New Custom Field
- In the CMS, navigate go toE-Commerce → Advanced Content → Custom Fields.
- Select the table you wish to add your custom field to (e.g. Categories, Products, Users).
In this example, we'll add our field to the Products table.- The page will load, displaying any existing custom fields for the table you selected.
- Click the Add New Custom Field button.
- Populate the In Add Custom Field Details as specified, enter the field requirements (for display and entry of values by administrators):
- Field Name - a code to associate with identify this field in the database. Alphanumeric only, with no spaces or special characters. Underscore ( '_ ') permitted.
- Prompt - the field prompt/title which displays to Administrators on the Product Maintenance screenlabel displayed next to the field.
- Help - additional information which displays to Administrators on the Product Maintenance screenabout the field displayed.
- Data Type:
- Text - alphanumeric characters, including spaces, special characters, and html.
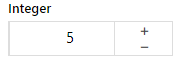
- Integer - whole numbers
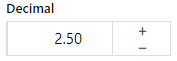
- Decimal - numeric data including fractional components
- DateTime - calendar dates and times
- Boolean - toggle for a 2 valuesvalue option, e.g. True/False
- Allow Unlimited Text (for data type 'Text' only) - ticking this box removes the character limit from the field.
- Length (for data type 'Text' only) - where unlimited data has NOT been allowed, this sets the maximum field length.
- , Yes/No
Display Type
- which displays
- the interface
- Product Maintenance screen. Options here will change depending
displayed to Administrators on the
- earlier. Possibilities include TextBox, DropDownList, and DateTimePicker.
page the field appears in. NOTE - Display Type options depend on the Data Type selected
- Mandatory - ticking this box makes the custom field required in Product Maintenance.
Active - ticked by default. Leave as is.- Click Save to create the custom field.


2. Edit a product (or category) to include this new data
Navigate to Products & Categories → Product Maintenance (or Category Maintenance if you added the new field to the Category table).
Search for the required product (or category) by Code or Description.
.
Expand
title Click here for an explanation of display types...
Tip
title What is...
- integer - a whole number
- boolean - functionality that only has two possibilities: ON or OFF, YES or NO etc
Display Type Available for Data Type Example Text Box Text, Integer, Decimal One line text box
Multi-line Text Box Text
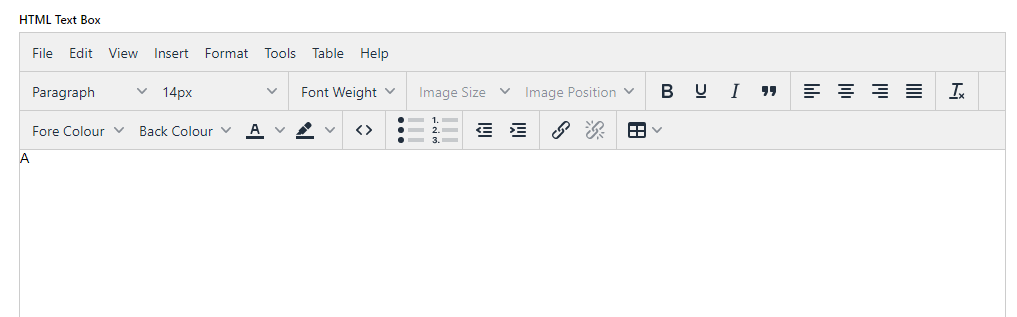
HTML Text Box Text WYSIWYG content editor that allows the text to be formatted
XML Text Box Text
Dropdown List Text, Integer, Decimal
Image Selector Text
Numeric Text Box Integer, Decimal
Date Picker DateTime
Time Picker DateTime
Date/Time Picker DateTime
Check box (toggle) Boolean
NOTE - displays as a toggle
- Allow Unlimited Text - (for Text Display Type only) tick to allow unlimited amount of text
- Mandatory - tick to make the custom field required on the page it displays in.
- Active - leave ticked for the field to be in use. Untick to make inactive.
- To save the custom field, click Save.
2. Edit a record to include data from a custom field
Where a custom field displays depends on the table it was added to.
| Table | Page |
|---|---|
| Article Maintenance → Edit Article |
| Banner Maintenance → Edit Banner |
| Category Maintenance → Maintain Category |
| Product Maintenance → Maintain Product |
| Promotion Codes → Edit Promotion Code |
| Website Users → Edit User |
To add/edit custom field data,
- Navigate to the page the custom field is on.
- Click Edit.
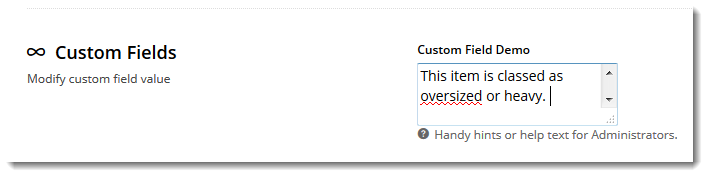
- Scroll to the Custom Fields section.
- Edit the data as required.
- Click Save.
3.
...
Enable website users to view the custom field
...
on your website. (For Products and Categories only)
- Navigate to Content → Standard → Pages & Templates.
- Select the page template you'd like to display the custom field on. In this example we'll use the Product Detail template..
- Custom Product fields are commonly displayed on the Product Detail Template.
- Custom Category fields are commonly displayed on the Product List or Category List Template.
- Locate the appropriate zone for you want the custom field widgetto display in. The optimal location will depend on your layout.
- Click the Add Widget button.
- Search for the required widget (for example 'Product List Field' or 'Category List Field' widget).
- Click the Add button.
- The widget editing popup will appear for you to configure the options:
- Description - a descriptive reference for the Administrator on the layout page. This does not display on the front-end website.
- Layer - this widget can be rendered conditionally based on role or customer, or displayed under all conditions (All Pages).
- Product Field - select the new custom field from the drop-down list. The format will be the Field Name prefaced with 'CUS_'.
- Show Heading - tick this box to include a heading for this widget.
- Heading Text - the heading text displayed to the end user.
- Fallback Information - default text can be entered, to be displayed against products with no data in this field.
- Show Toggle - allows the content to be hidden by default, and displayed when the user clicks on the Heading.
- Show Inline Heading - allows the heading to be displayed in line with the field content (ignored when toggle is in use).
- Configure options for field display:
- Click Save.


The custom field widget will now render on the relevant product relevant template.
Related help
| Content by Label | ||||||||||||||||||||
|---|---|---|---|---|---|---|---|---|---|---|---|---|---|---|---|---|---|---|---|---|
|
...