| Info |
|---|
Warning Notes are available from version 3.51 onwards. |
| Excerpt | ||
|---|---|---|
| ||
Apply a filter to customer account |
Modify Account Selection functionality to allow selection options to be filtered on based on custom criteria.
The current behavior allows for all accounts linked to the specific username to be displayed.
Warning Notes adds a popup message against a customer account and displayed when internal users edit the record and when a new user is added or needs approval in CMS. The message can contain any relevant information such as business rules that apply to the customer, default user budget limits, settings that should not be modified, etc. |
Warning notes are maintained by site administrators.
Examples of warning notes:
When Customer is selected in Customer Maintenance
| In the CMS
|


Warning notes are displayed when:
- a record is selected in Customer Maintenance
- the customer account is selected for a user in CMS
- a new self-registered user is being reviewed by the approver in the CMS
The benefit of warning notes in CMS is that when a default account is added or viewed in the Default Account field for a website user, each warning note from all accounts associated with the user will be displayed.
For the customer user approver, having relevant notes can assist the approval and final account setup process.
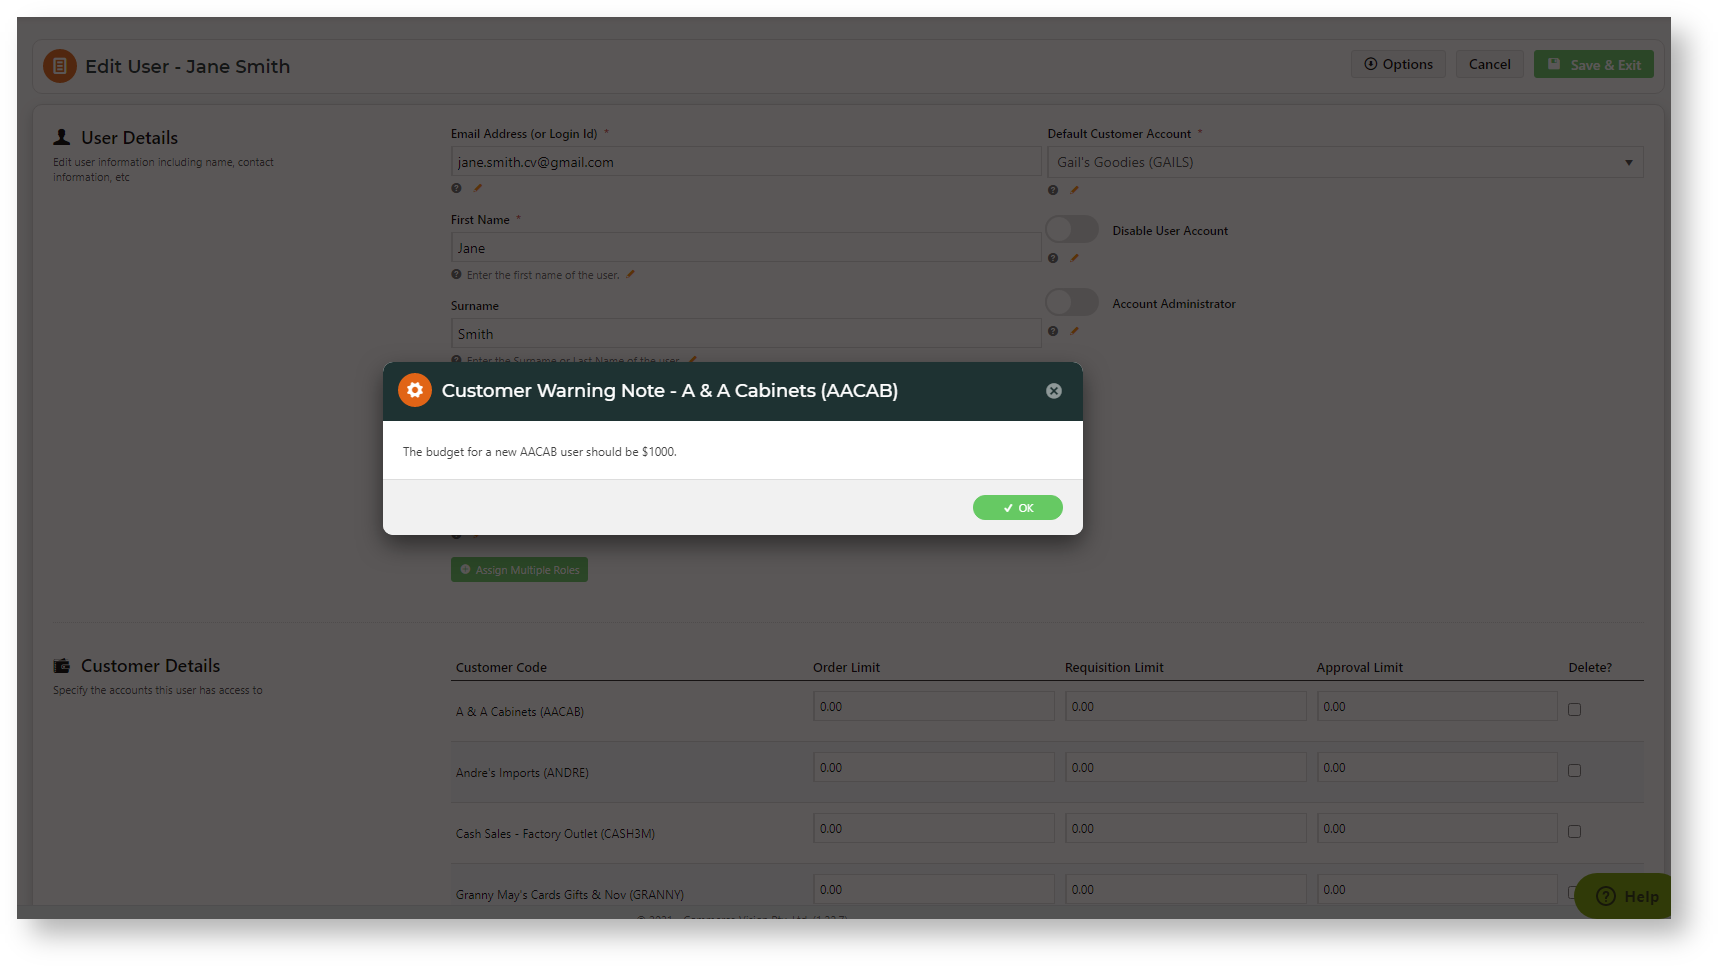
Example:
The approver clicks Approve User to finalise a new customer user who has registered on the website.

The approver is taken to the Edit User's page. But before they are able to edit, the customer warning note displays. Here, the note guides the approver on the user budget limit that should be entered.
Step-by-step guide
1. Enable Warning Notes
- In the CMS or on the website, navigate to Settings → Settings (/zSettings.aspx).
- On the General tab, find and tick the Enable Customer Warning Note checkbox.
- To save the setting, click the Update button.
2. Add a Warning Note to a Customer
- In the Customer Maintenance screen (/CustomerMaintenance.aspx), search for the required customer.
- Click the Customer Details tab.
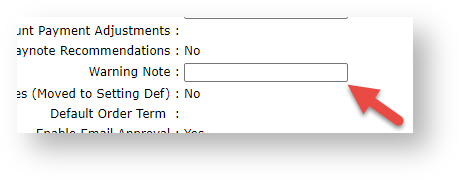
- Click Modify.
- In the Warning Note field, enter the warning text.
- To save it, click OK.
Related help
| Content by Label | ||||||||||||||||||
|---|---|---|---|---|---|---|---|---|---|---|---|---|---|---|---|---|---|---|
|