...
...
...
...
Overview
...
| ||
|
Overview
| Excerpt |
|---|
Do your customers distribute |
...
...
...
...
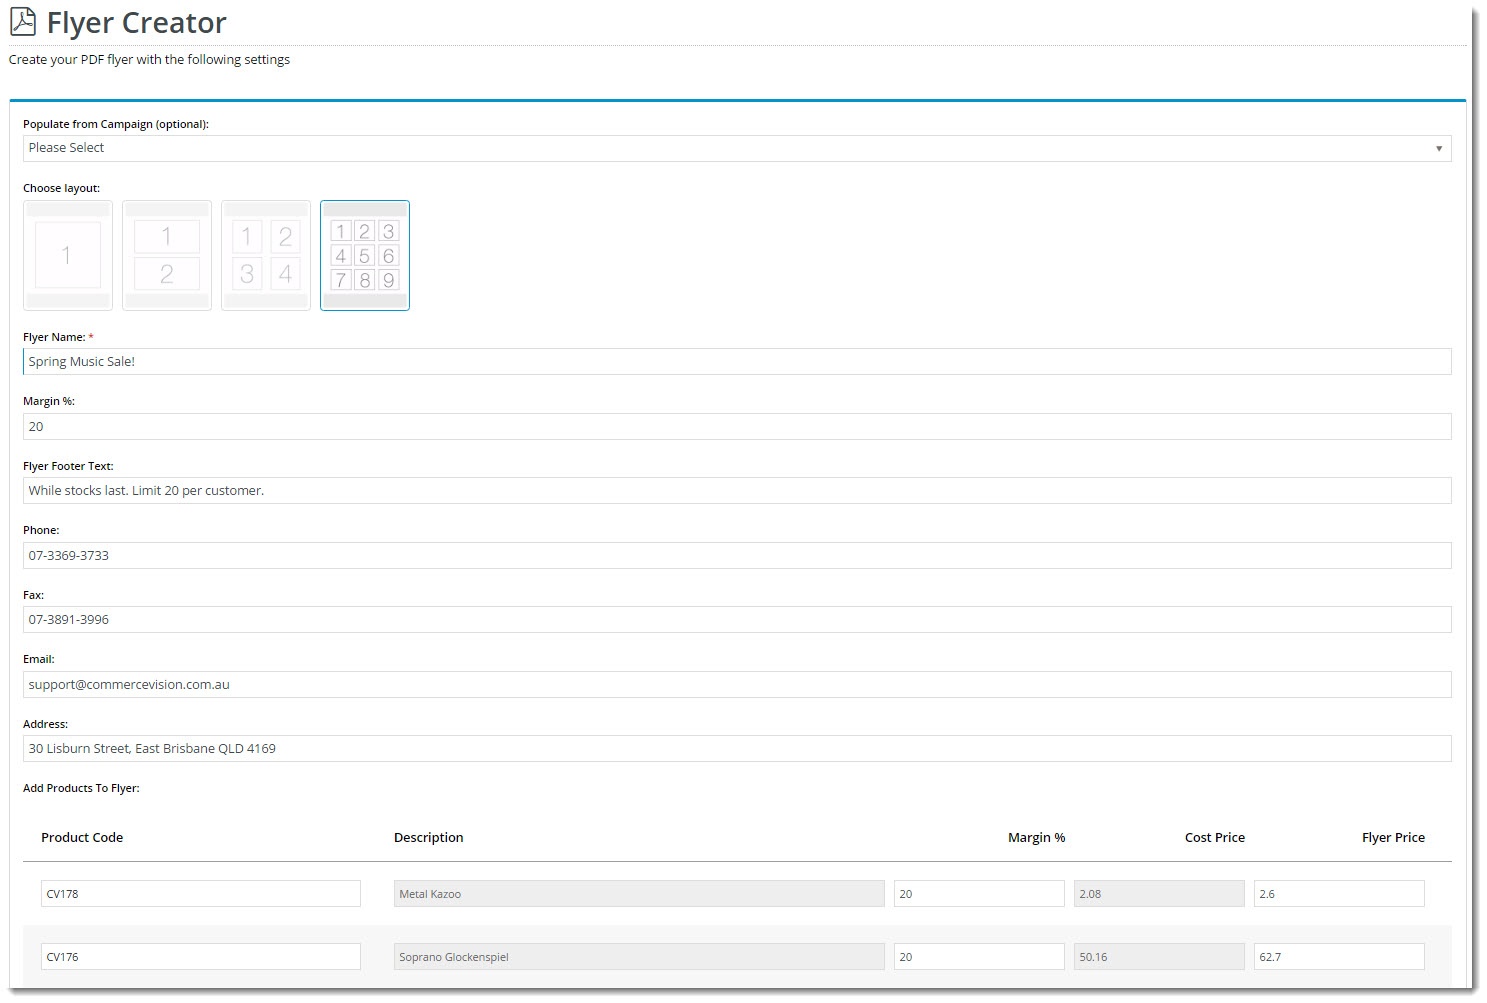
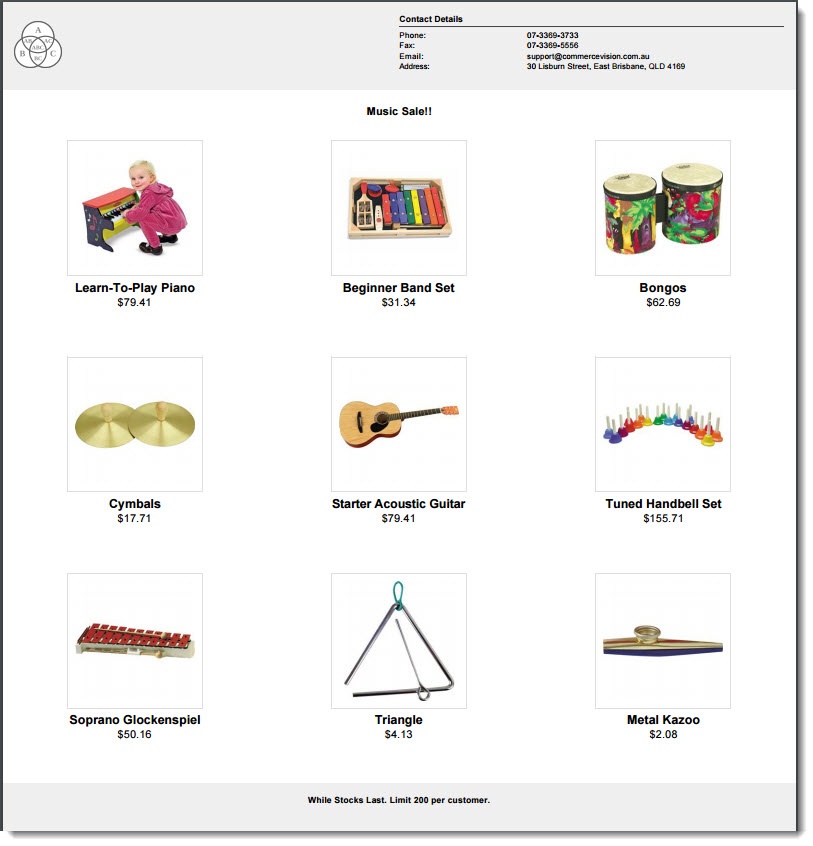
Example
This example uses the out-of-the-box styling to produce a 9 product flyer. Flyer header and footer design can be customised through stylesheet updates in the CMS.
| Flyer Creator Input | Flyer Creator Output |
|---|---|
|
|
...
Step-by-Step
1. Configure Feature Settings
First, add the Flyer Creator to the required menus on your site. If you only want a certain role to have access to this feature, here's where you can specify that.
...
Enable access for specific roles:
- In the CMS, go to Settings → Settings → Feature Management → Content.
- Ensure Flyer Creator is enabled, then click Configure.
Every role on your website is listed. To allow a role access, toggle ON Enable Flyer Creator for the role.
Info Be aware that enabling Flyer Creator for a particular

...
Role will give access to all
...
users with that Role.
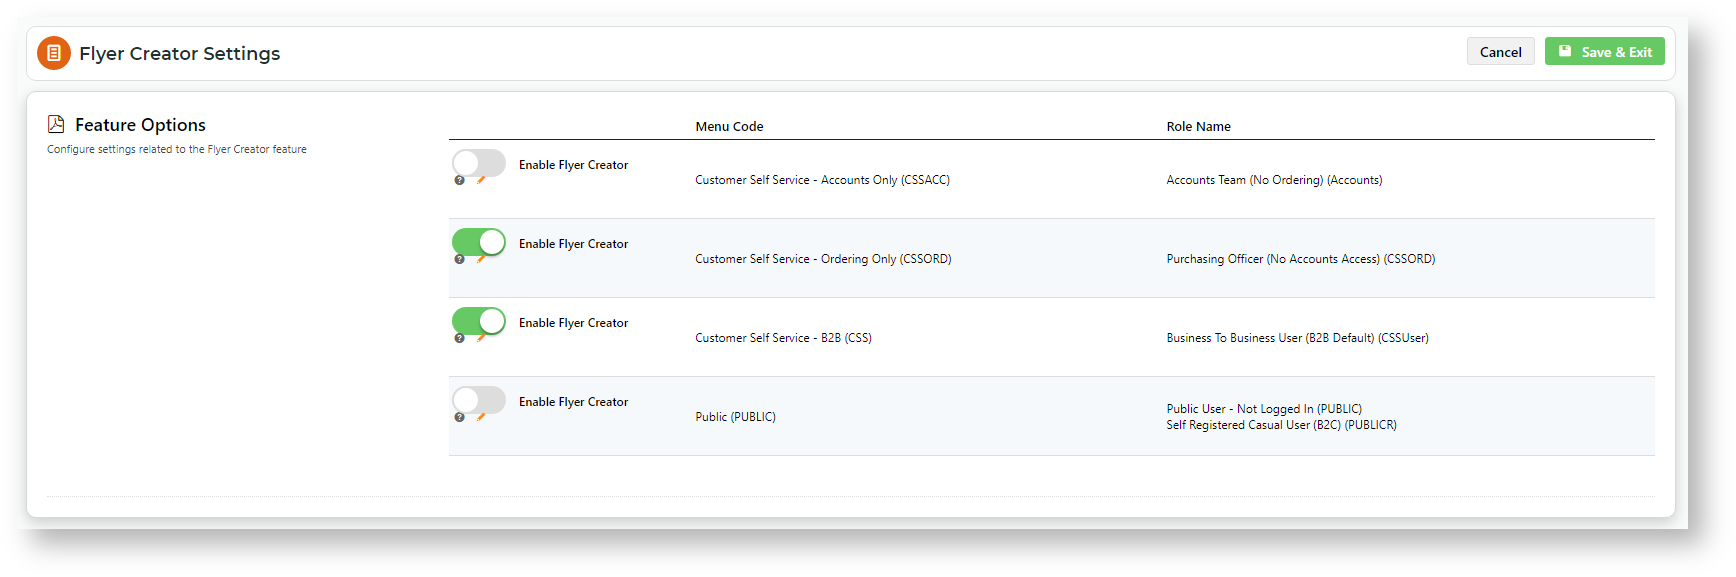
- To save any changes, click Save & Exit.
2. Create a Flyer
...
- Logon to the website
...
- . The user must be in a Role enabled for Flyer Creator access.
...
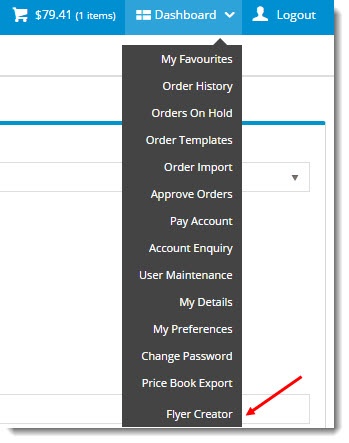
- Go to the Dashboard
...
- menu and select Flyer Creator
...
- .
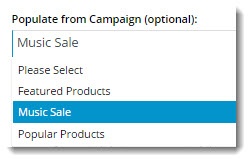
- (optional) Select a Campaign from the dropdown
...
- list. This will automatically populate your flyer product list with products from the campaign.
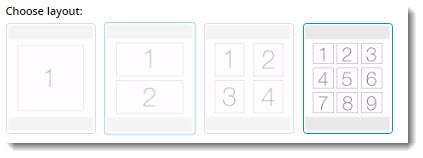
- Choose the appropriate layout, depending on the number of products on your flyer. Remember, flyers are one-page productions!
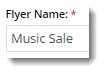
- Give your flyer a Name. If
...
- populated with products from a campaign, the campaign name will appear here
...
- . Feel free to edit it.
...
- In the PDF, it will appear as a heading above the products
...
- .
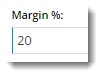
- Enter your Markup or Margin %. (The default Profit Calculation method is 'Markup', but you can change this in the Flyer Creator widget
...
- . See: Customisations section below).
- Enter text to appear on the Footer of the PDF.
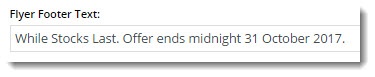
...
- IF the option has been enabled on the widget, enter address information. (See: Customise Options below.)
...
- If these fields
...
- are hidden, the customer's default address will be used.
- If
...
- the flyer
...
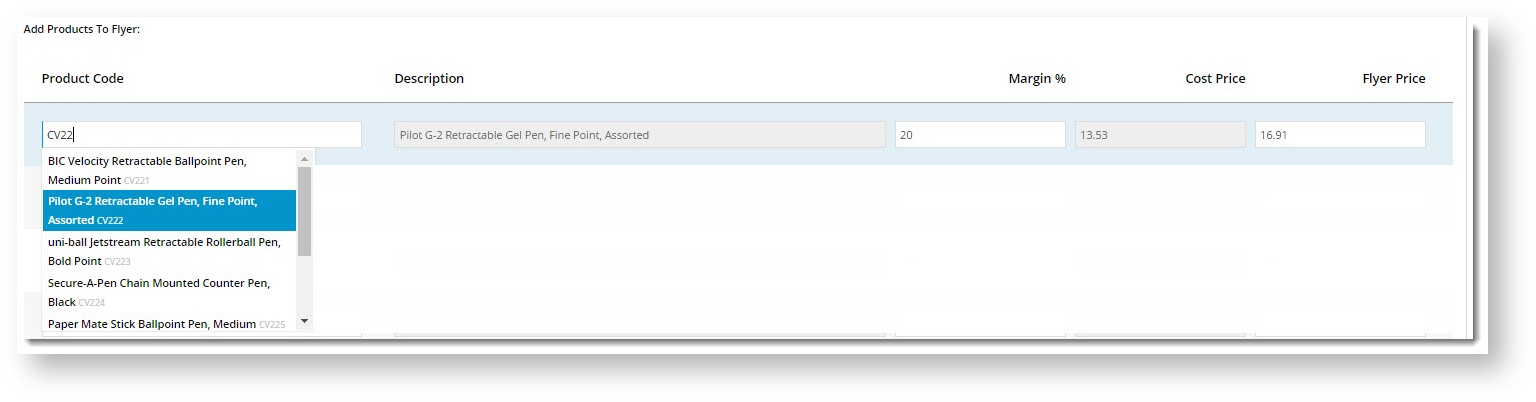
- does not yet have campaign products, enter them in the product lines below.
...
- Product Code
...
- : acts as a search, with the list populating as you type.
...
- Description
...
- : for reference
...
- only. Cannot be edited.
...
- Flyer Price
...
- : calculated based on the customer's price and the method selected.
- Changing the %
...
- : updates the Flyer Price.
- Changing the Flyer Price
...
- : updates the %.
- The Cost Price
...
- : for reference
...
- only. Cannot be edited.
...
- Once all products have been added, click 'Generate PDF Flyer'.
...
- Your file will be downloaded instantly.
...
3. Customisations (Optional)
There are several ways you can customise the look of your flyers
...
as well as the Flyer Creator interface itself. But it's important to note that the following customisations are purely OPTIONAL. Flyer Creator works out of the box, and if you're happy with the defaults, you need do nothing further!
In the CMS,
...
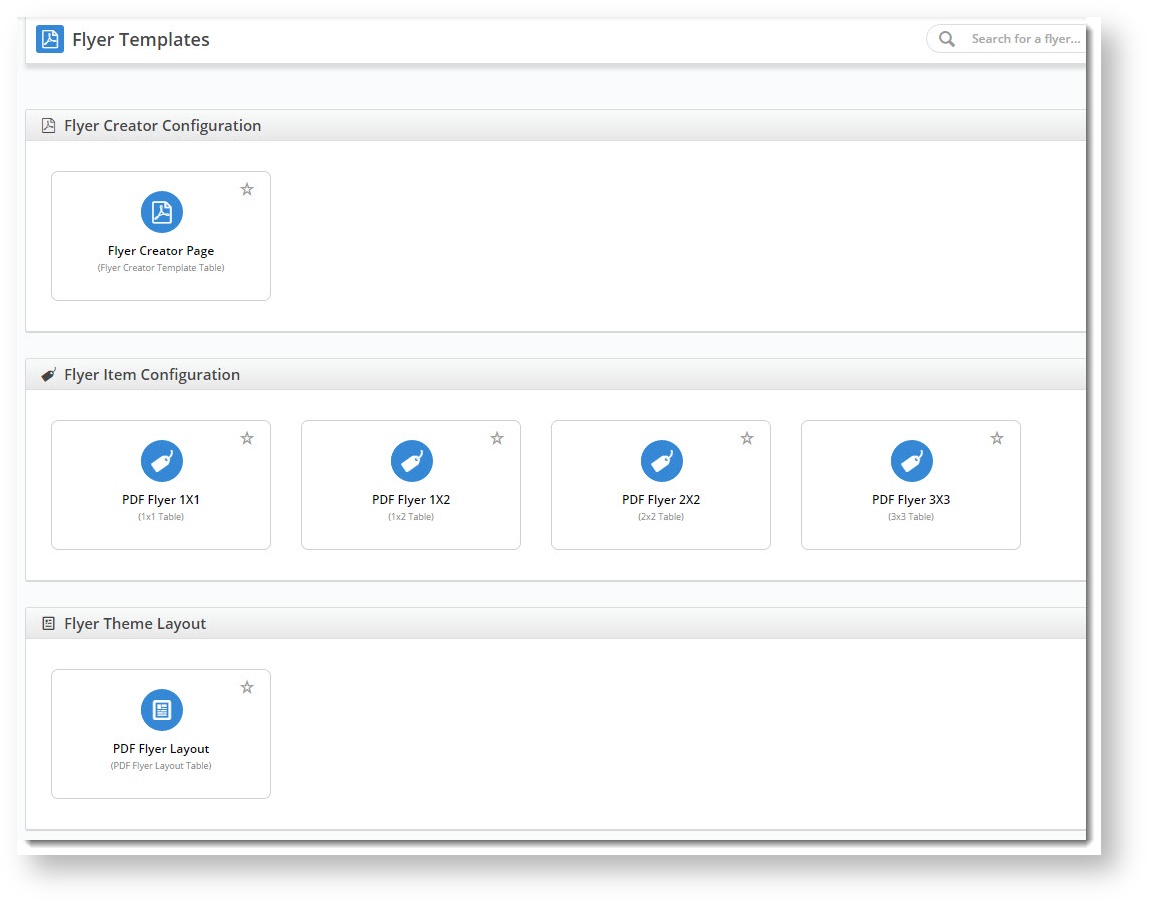
go to Content → Content → Flyers. Here you will find:
- the Flyer Creator page template
- the Flyer item templates for each grid layout.
- the Theme Layout template for the overall styling of the
...
- PDF.
...
| Tip | ||
|---|---|---|
| ||
Margin - the value of sales less the cost of goods. Example: If you bought goods for $70 and then onsold them for $100, you'd make 30% margin. Markup - the amount added to the cost price in order to arrive at the sale price. Example: If you bought goods for $70 and then marked them up by 30%, you'd sell them for $91. If you wanted to sell the goods for $100, you'd need a 42.9% markup. |
...
...
Configure the Flyer Creator
- On the Flyers page, select the Flyer Creator Page template.
- Edit the Flyer Creator widget.
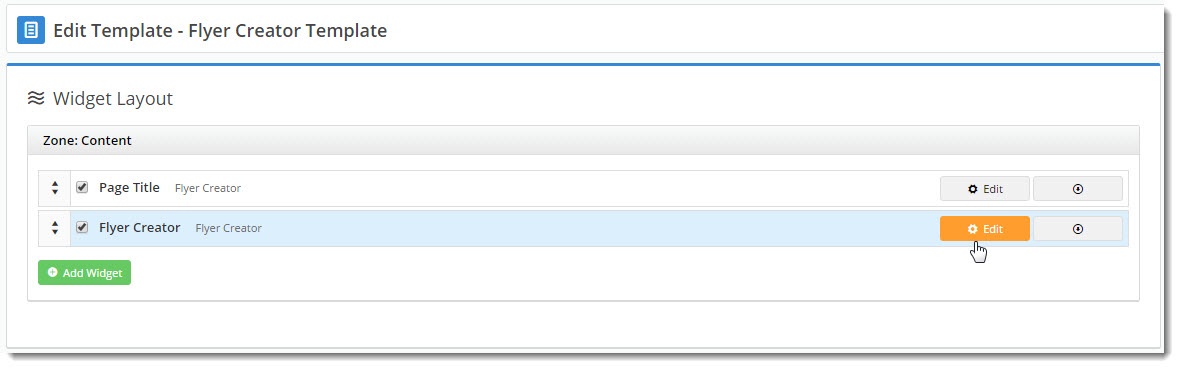
...
- Edit options and field labels as needed. See: Flyer Creator Widget.
- Click Save.
Customise Output
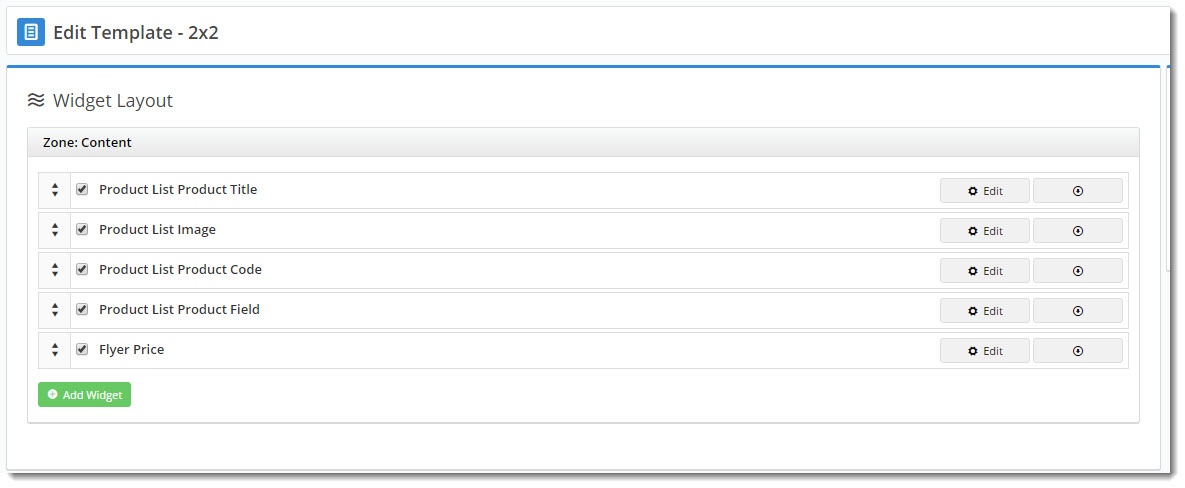
You can also easily configure the content on the PDF. Because each layout is widget-based, you can add, remove, and rearrange widgets as needed.
...
- Go to Content → Content → Flyers.
- Select the layout template you wish to customise.
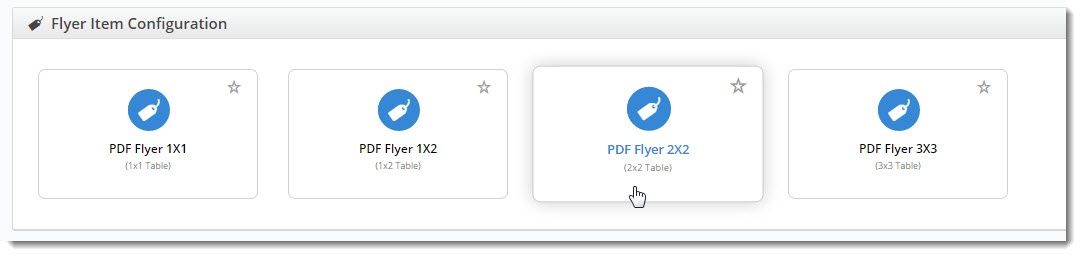
- The template will load
...
- with existing widgets.
- (optional) To add a new widget, click
...
- Add Widget
...
- .
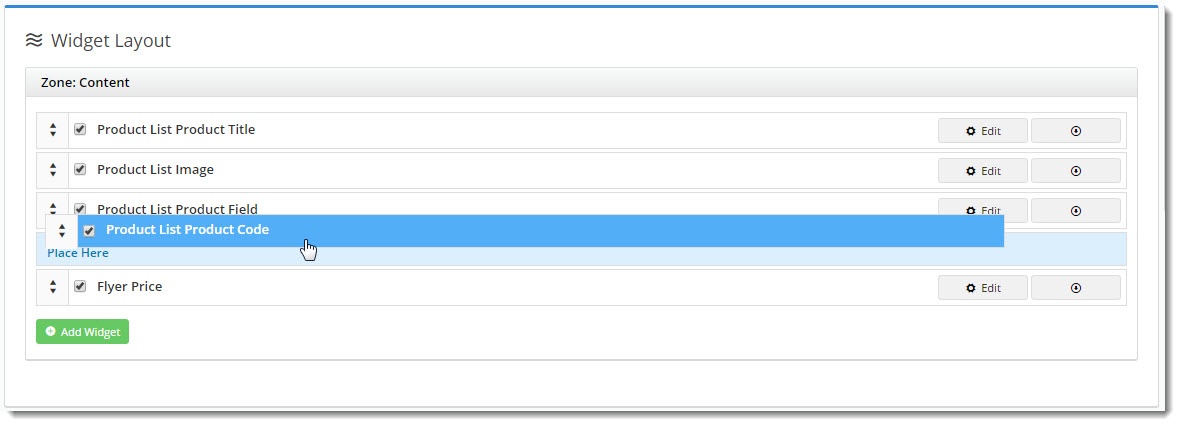
- (optional) To reorder the content, drag and drop widgets to new positions
...
- .
...
- To edit options, click
...
...
- Edit
...
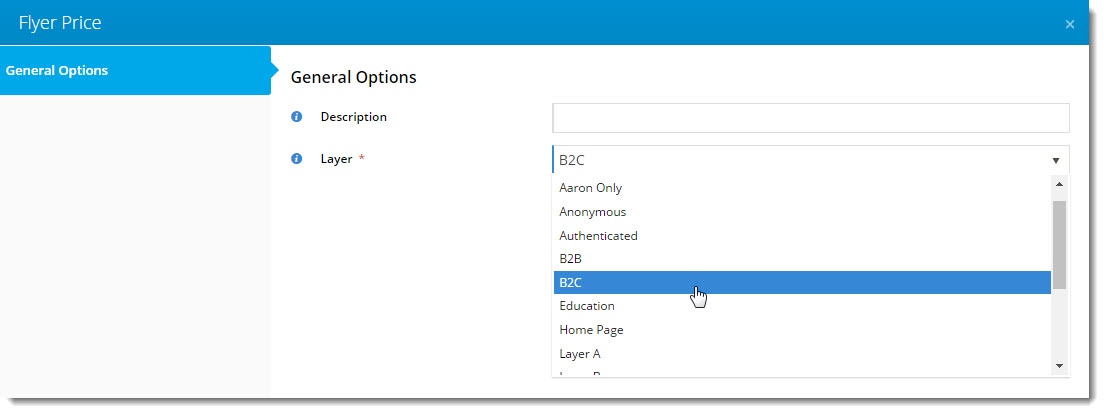
This is where you can also specify content to appear only for certain audiences, using Layers. For instance, you might want pricing hidden on flyers created by B2B users, due to fluctuations between customers.
The Layer setting on each widget allows you to personalise content depending on the user. Check out our guide on Layers for more detail.
- .
Customise the Theme
The 'PDF Flyer Layout' is the Flyer Creator equivalent of your site's Theme Layout. It
...
controls the header and footer content, and the stylesheet used
...
.
...
- Go to Content → Content → Flyers.
- Select the PDF Flyer Layout template.
- The template will load, revealing the list of widgets as follows:
Customer Logo widget - outputs the logo for the logged in customer.
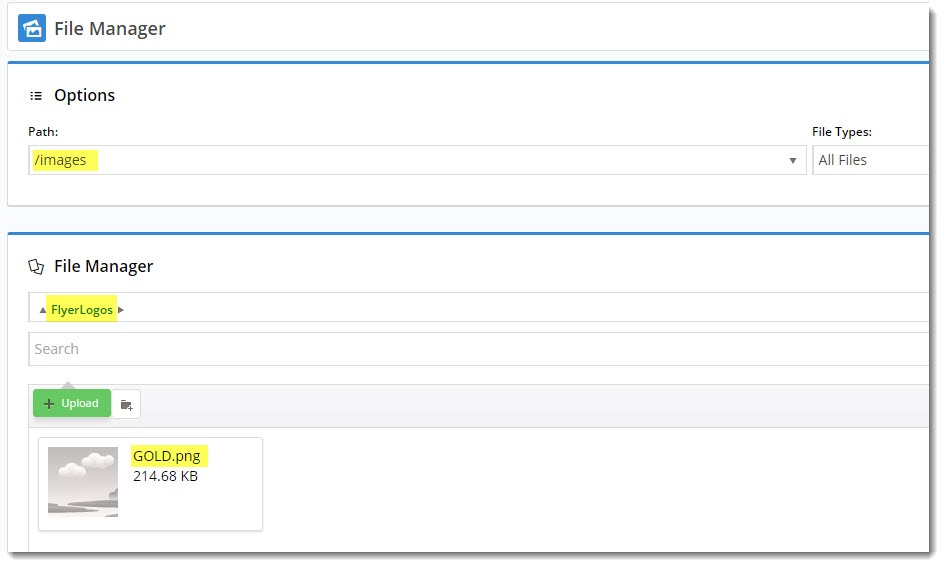
You will need a logo image uploaded to the images/flyers folder for each customer who uses Flyer Creator. The filename should be in the format 'CustomerCode.png' (or .jpg).
Tip You can override the path to use a different folder by entering the new file location in 'URL Override Path' (example shown below for customer code 'GOLD').
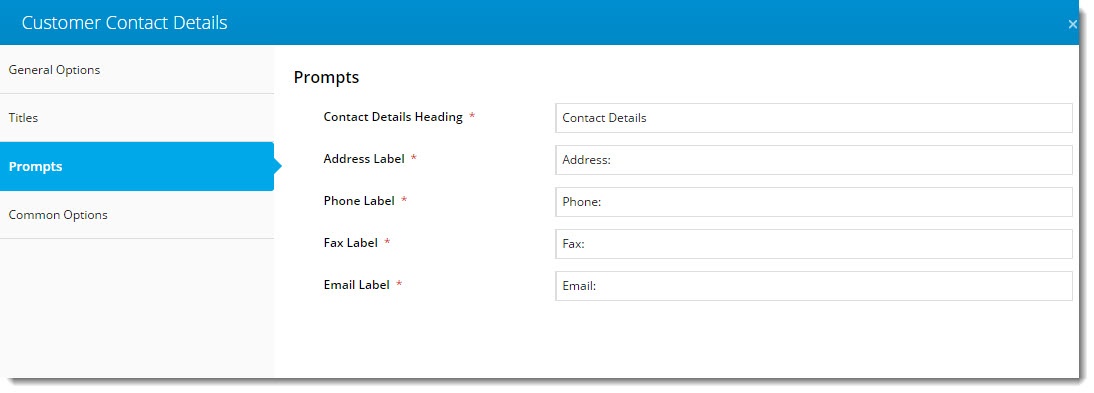
Customer Contact Details widget - outputs the default address for the logged in customer.
Tip You can

...
let the customer override the
...
default address by enabling the 'Show Address Entry' option in the Flyer Creator widget
...
.
Edit the various field labels on the Prompts tab.
And there you have it! Allow your customers to create flyers quickly and easily using the flyer creator.
Related articles
| Content by Label | ||||||||||||||||||
|---|---|---|---|---|---|---|---|---|---|---|---|---|---|---|---|---|---|---|
|
Additional Information
...
| MultiExcerptName | Additional Info |
|---|
...
Flyer Product List Grid widget - outputs the actual product data in the main content zone of the PDF.
Customise Contact Fields for the PDF header
For version 4.37+ only.
Instead of displaying the default contact fields in the header, you can customise the contact fields flyer creators enter in the form. What the user enters will display in the PDF header.

IMPORTANT- This option requires the creation of a custom widget to replace the Customer Contact Details Widget. A basic template is included below for the custom widget. Basic coding and styling knowledge is required. Consult Commerce Vision if you need the custom widget implemented for your site.
1. Enter custom contact fields
- Go to Content → Content → Flyers.
- Click the Flyer Creator Configuration template.
- Click Edit for the Flyer Creator Widget,
In Custom Fields, enter the alternate address fields. A field must be in the following format:
Field_Id=FieldName
To separate two fields, insert a semi-colon in between.
Warning To render fields entered here in the pdf flyer, a custom widget must be added to the PDF Flyer Layout template and enabled. The default Customer Contact Details Widget must be disabled. If there is no valid custom widget, the contact details fields in the pdf header will be empty.
- Click Save.
2. Create custom widget to output fields
- Go to Advanced Content → Custom Widgets.
- Click Add New Widget.
- Enter a name for your widget.
- Enter details for the custom widget. For a guide on other fields, see: custom widgets.
In Source Code, enter code (razor syntax) to render the custom fields in the pdf header.
Expand
title View a basic code template... The example below can be adapted for your custom contact fields. Just copy and paste, then edit.
Think of the code as being in two blocks. Block 1 contains some lines bracketed by @
{ ... }These lines access the custom field values entered by the user. Block 2 renders these values in the pdf header. You can style the text as you wish. A Contact Details header is included in the example.
Edit the following:
Block 1
- For each line starting with var , e.g., field1, field2, etc Each line links to a custom field. 'field1' etc can be named anything. It just needs to be prefixed with @ in a line in Block 2 to render.
- =Model.CUS_data; Change 'data', e.g., 'Address' to a custom field's Field_Id.
Block 2
- The details to be rendered in the header are formatted by html. You can enter a label for each field. For instance, we want the address to be preceded by the 'Address:' label. Then add @field1
Example: <h3>Address: @field1</h3> →
NOTE - The number of lines you have depend on how many custom fields you want rendered in the header. You may have more or fewer than the example.- You can also add static content such as the 'CONTACT DETAILS' heading here.
------------------------- COPY CODE BELOW THIS LINE ------------------------------
@{
var field1 = Model.CUS_Address;
var field2 = Model.CUS_Phone;
var field3 = Model.CUS_Email;
var field4 = Model.CUS_Website;
}
<div style="border-bottom:1px solid #fff">
<h1>CONTACT DETAILS</h1>
</div><table>
<tr>
<td style="width:150px"><b>Address:</b></td>
<td>@field1</td>
</tr><tr>
<td style="width:150px"><b>Phone:</b></td>
<td>@field2</td>
</tr>
<tr>
<td style="width:150px"><b>Email:</b></td>
<td>@field3</td>
</tr>
<tr>
<td style="width:150px"><b>Website:</b></td>
<td>@field4</td>
</tr>
</table>
- Click Save.
3. Use custom widget
- Go to Content → Content → Flyers.
- On the Flyer Theme Layout tab, click the PDF Flyer Layout template.
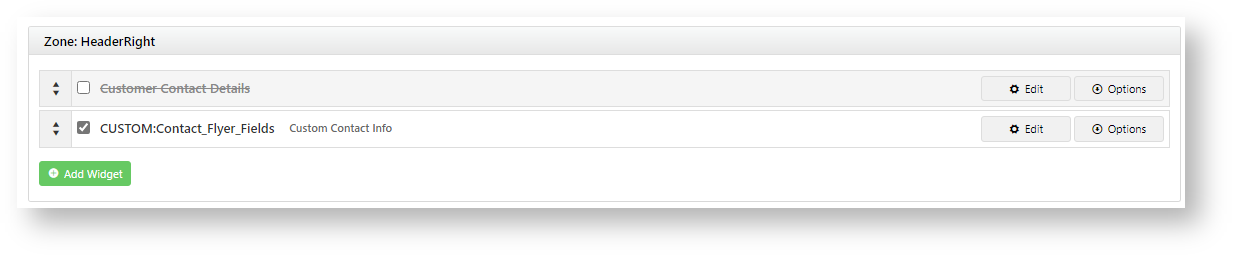
- Click Add Widget,
- Find the custom widget, then click Add Widget.
- Disable the default widget: Customer Contact Details Widget.
- Create a test flyer and check the PDF header uses the custom widget.
Additional Information
| Multiexcerpt | ||||
|---|---|---|---|---|
| ||||
Content is generated in seconds and outputs in PDF format. |
| Multiexcerpt | ||||
|---|---|---|---|---|
| ||||
| Minimum Version Requirements |
| |||||
|---|---|---|---|---|---|---|
| Prerequisites |
|
...
|
...
|
...
| Self Configurable |
| |||||
|---|---|---|---|---|---|---|
| Business Function |
| |||||
| BPD Only? |
| |||||
| B2B/B2C/Both |
|
...
| Third Party Costs |
|
|---|
...
Contact CV Support
...
| Multiexcerpt | ||
|---|---|---|
| ||
Contact CV Support |
...
| Multiexcerpt | ||
|---|---|---|
| ||
$ - |
...
| MultiExcerptName | CMS Category |
|---|
...
|
Related help
| Content by Label | ||||||||||||||||||||||
|---|---|---|---|---|---|---|---|---|---|---|---|---|---|---|---|---|---|---|---|---|---|---|
|