...
...
...
...
...
...
Contents
| Table of Contents |
|---|
Create The Campaign
- Login to the CMS.
- Navigate to 'Campaigns & Promotions' --> 'Campaigns' (/zcampaign.aspx).
- Click 'New'.
- Populate the fields as indicated below:
- Campaign Code - a unique identifier for the Campaign.
- Description - A brief description of the Campaign.
- Start Date - The date the Campaign becomes active.
- End Date - The date the Campaign finishes. Once this date has passed, the Campaign will no longer be displayed to users.
- View Campaign using Template - Leave blank (no longer in use)
- Display Template Columns - Leave blank (no longer in use)
- Bulk Email Template - Leave blank (no longer in use)
- Click 'OK' to save.

...
Once a Campaign has been created, it can be populated with products. This can be done either manually, or via import.
- In the CMS, navigate to 'Campaigns & Promotions' --> 'Campaigns' (/zcampaign.aspx).
- Select the required Campaign from the list via radio button.
- Click 'Products'.
- Click 'New'.
- Assign values to the fields as indicated below:
- Product Code - The product's PRONTO stock code.
- Seq - The sequence or order in which the product should appear, in relation to other products within the campaign.
- Campaign Product Header Row Id - Leave blank (no longer in use)
- Click 'OK' to save.

- Repeat Steps 5-7 for additional products as required.
| Info |
|---|
If there are a large number of campaign products to be loaded, it may be more efficient to perform a product import. It should be noted that if a Campaign already contains products, performing an import will replace the existing products with those contained in the .csv file. The imported products will not append the existing ones. |
Import Products To The Campaign
- Login to the CMS.
- Navigate to 'Campaigns & Promotions' --> 'Campaigns' (/zcampaign.aspx).
- Click the 'Import Products' tab.
- Click the 'Select' button to browse to the saved campaign products flat file (or drag and drop the file if browser-supported).
- Click the 'Create Campaign Products' button.
- A success/failure message will be displayed in the dialogue box below the 'Create Campaign Products' button. Any errors encountered will be detailed here.
| Info |
|---|
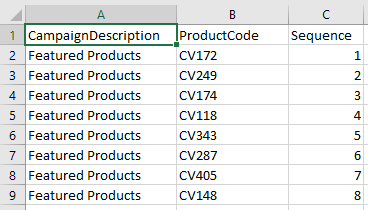
The CSV flat file should contain the following header fields as Row 1: CampaignCode, ProductCode, Seq, IsHeading Please note that:
|

| Warning |
|---|
If a Campaign already contains products, performing an import will replace the existing products with those contained in the .csv file. The imported products will not append the existing ones. |
...
an entire campaign from one location to another on the page.
NOTE - Bear in mind that advertising campaigns on your website, e.g., home page, can use up resources and slow page load speeds down. It is suggested your website be tested for page load speeds, e.g., with tools such as PageSpeed, after adding a campaign banner.
This guide will step you through the process of creating, editing, and displaying a product campaign.

| Panel | |
|---|---|
On this page:
|
Create a Campaign
- In the CMS, go to Campaigns & Promotions → Campaigns.
- Click Add New Campaign.
- Give the campaign a Description and define the Start and End Dates.
- Now add products. Enter the product code or description into the lookup field. Suggestions will appear as you type at least three characters.
- Select the correct item from the list and hit Enter or click Add Product.
- Repeat Steps 4 & 5 for all required products in the campaign.
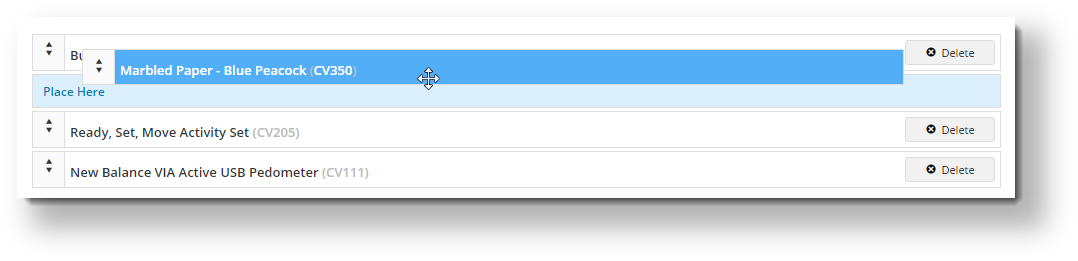
- You can drag and drop the products in the list to reorder them. This reflects the order in which they'll appear to your customers.
- To remove a product, click Delete on the right hand side of the product.
- Click Save at the top of the page, and you're finished!


Edit a Campaign
Once your campaign is created, it will appear as the latest tile on the Campaigns page. (NOTE - the most recently edited campaign will appear first.)
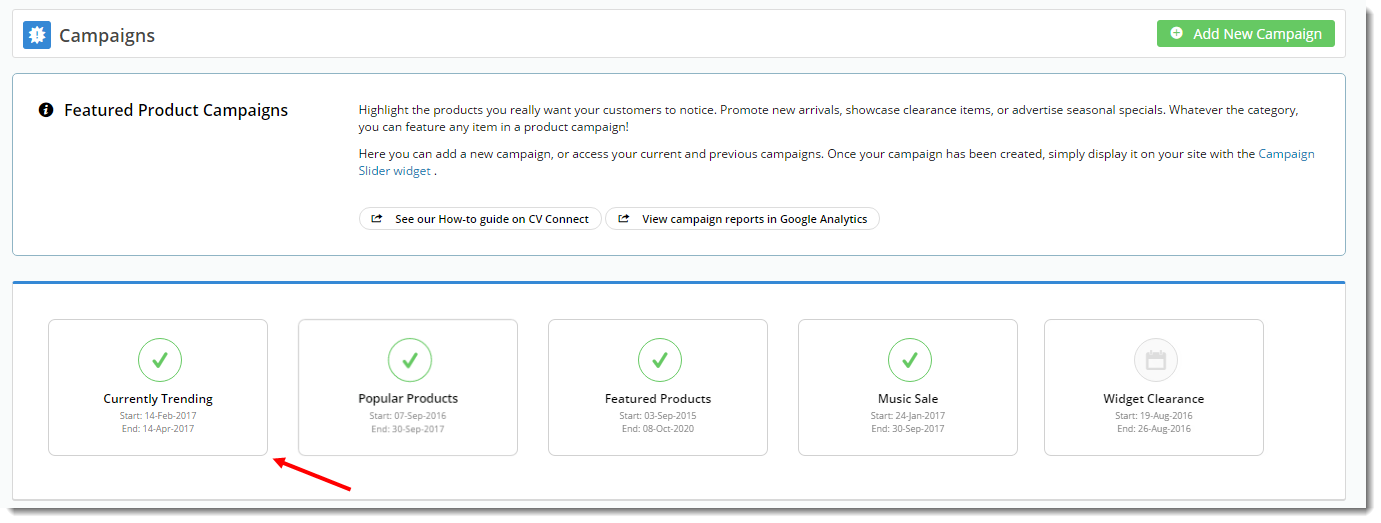
- Select the tile to view campaign details.
- On this page, you can:
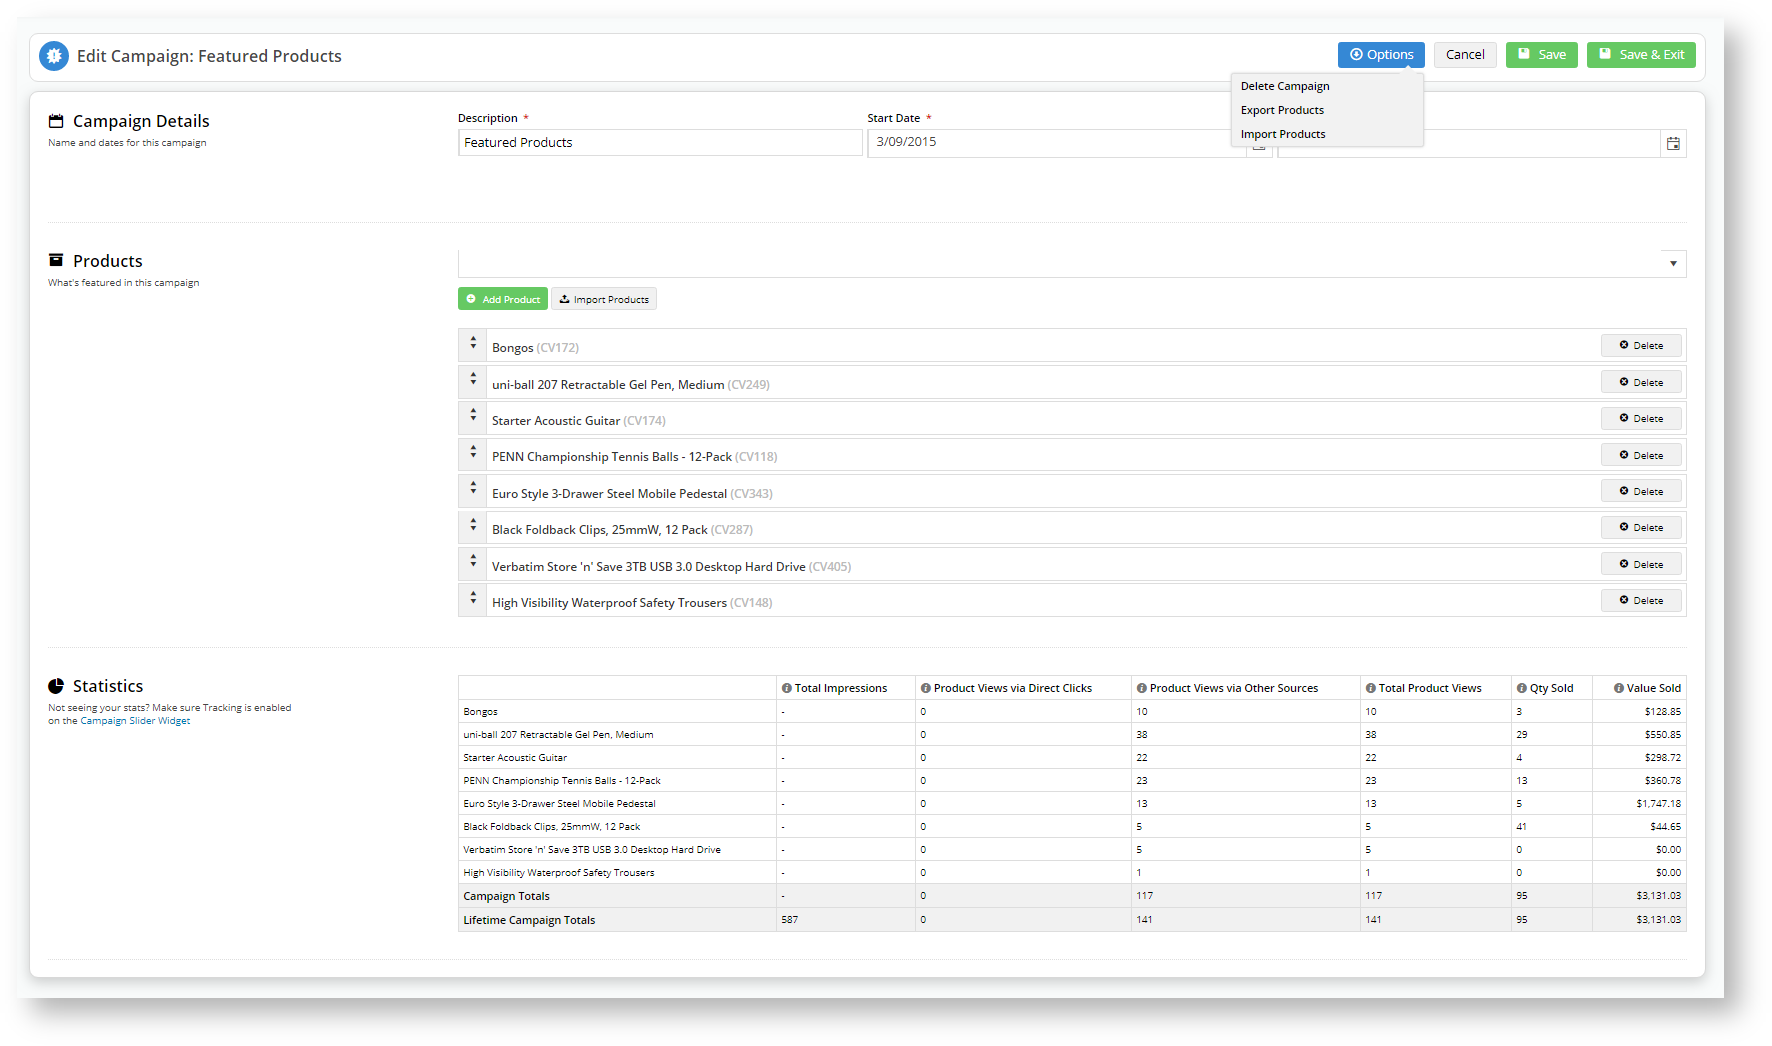
• Edit the Description, Start, and End Dates
• Add and Remove Products
• View Campaign Statistics (as long as tracking is enabled on the Campaign Slider Widget)
• Delete a Campaign
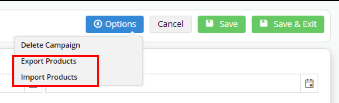
• Export and Import Products to the Campaign
4. Save your changes.
| Excerpt | |||||
|---|---|---|---|---|---|
Export Products from a CampaignYou can export the list of existing products in the campaign as a .csv file.
Import Products to the CampaignYou can add products and/or change the display order of existing products to the campaign. To add a product individually, click the +Add Product button. You can also import products in bulk. For this option
|


Display a Campaign
Once your campaign is created, you can display it on
...
your site with a widget
...
.
- In the CMS, go to the page you want the campaign to appear on. For example, Content → Other Pages & Templates, and select the Home page template.
- Select the appropriate zone according to
...
- your page layout, and click 'Add Widget'.
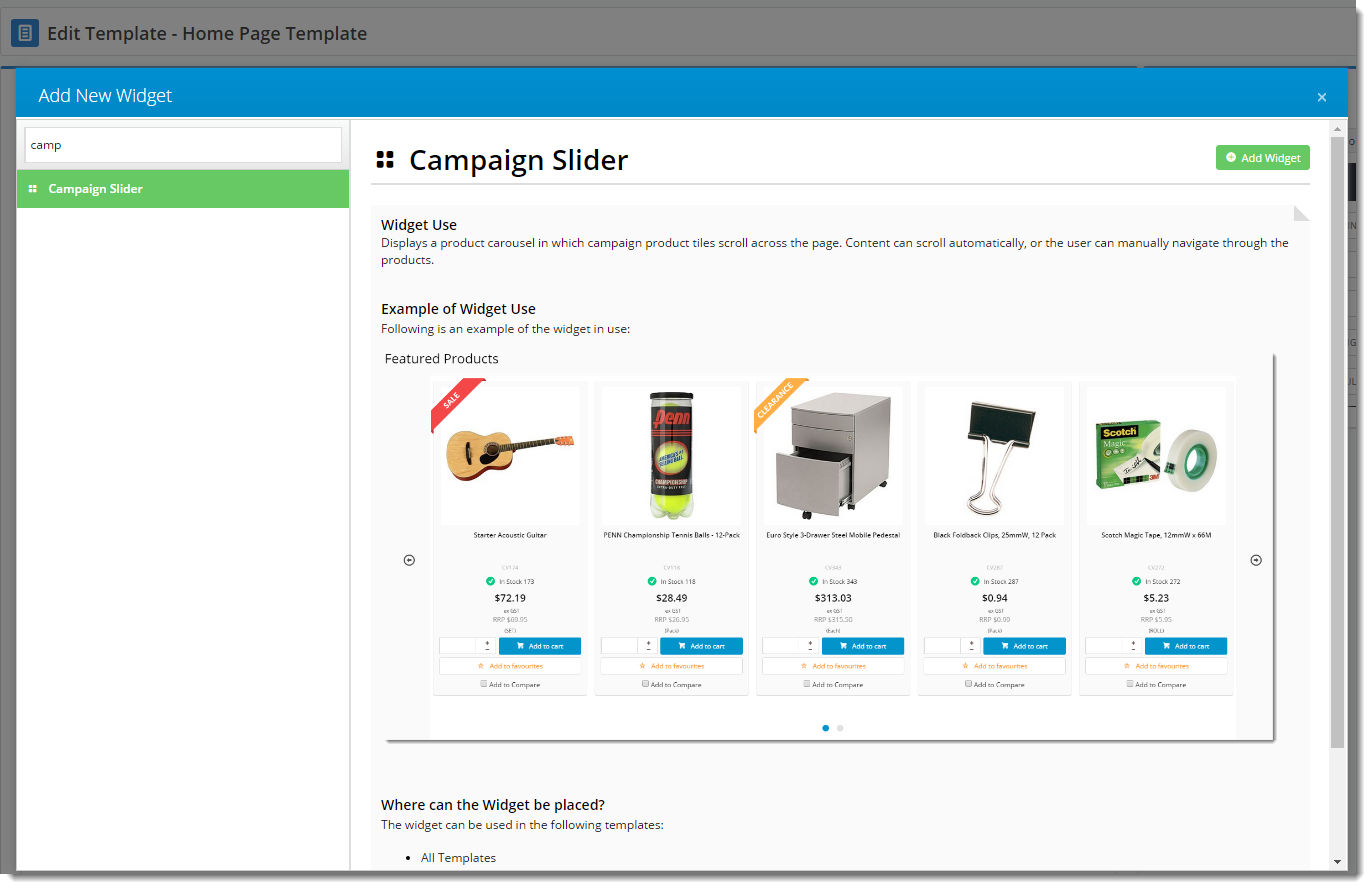
- Search for 'Campaign Slider' and click 'Add Widget'.
...
...
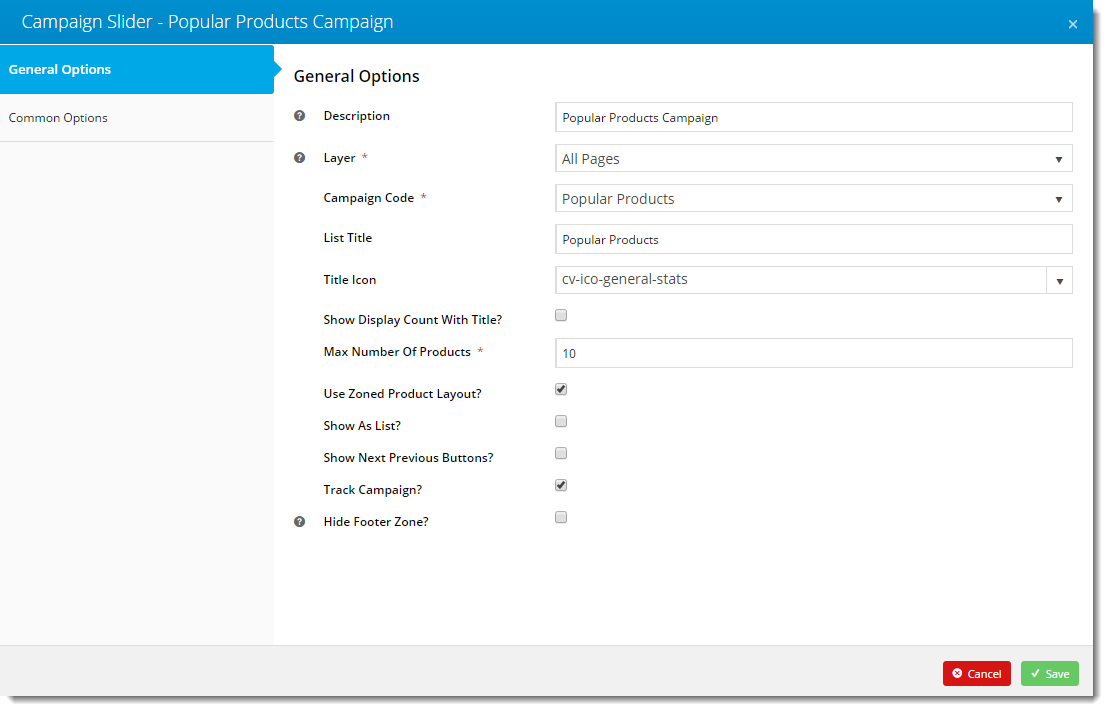
- Select your campaign from the 'Campaign' drop-down, and configure options as required. If you'd like statistics on your campaign's performance, tick the 'Track Campaign' option.
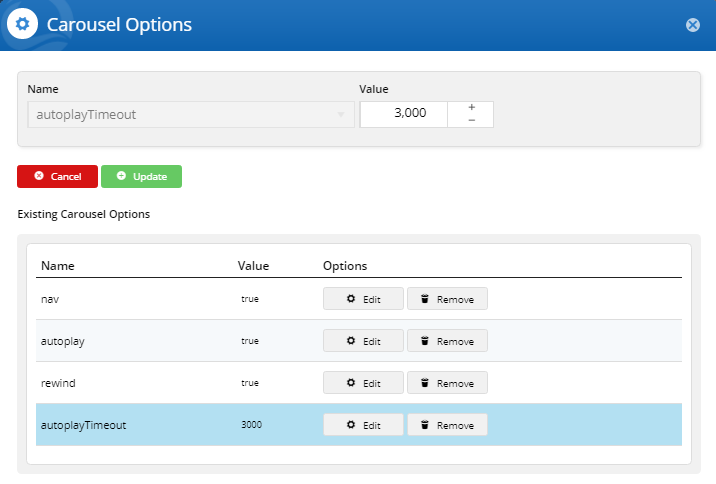
You can find full widget documentation here - Campaign Slider Widget.- The carousel options give you control over the display and functionality of your campaign slider.
- To change a value, highlight the option and click Edit.
- Change the value and click Update.
...
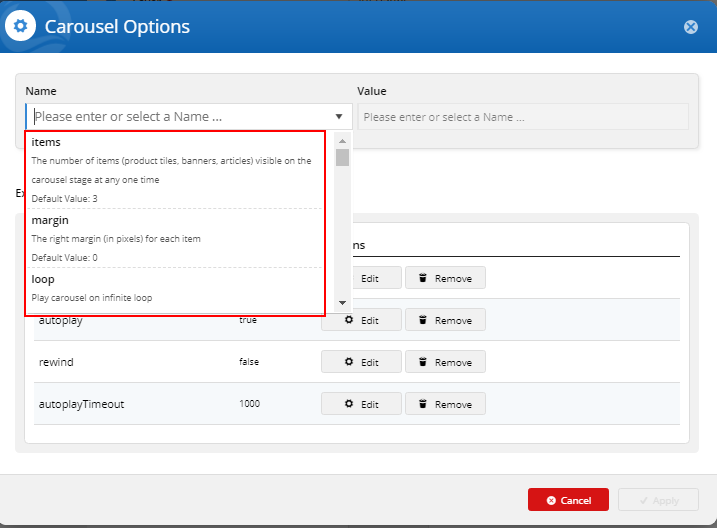
- You can add more features by clicking the down-arrow and selecting a feature–there are many to choose from.
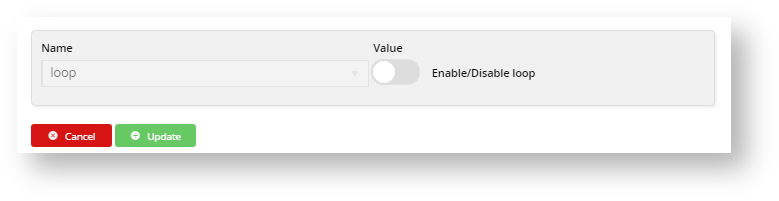
- You can remove a feature by clicking Remove, or disable it by toggling the Enable/Disable button when you edit the feature.
- Click Save.
- Load your website in another browser or incognito tab and
...
- check that
...
- your campaign is displaying as expected.
...

| Tip |
|---|
Want to try something trickier? Check out our guide on Split Campaigns. |
| Minimum Version Requirements |
| |||||
|---|---|---|---|---|---|---|
| Prerequisites |
| |||||
| Self Configurable |
| |||||
| Business Function |
| |||||
| BPD Only? |
| |||||
| B2B/B2C/Both |
| |||||
| Third Party Costs |
|
Related help
| Content by Label | ||||||||||||||||
|---|---|---|---|---|---|---|---|---|---|---|---|---|---|---|---|---|
|
...
|