...
...
...
...
...
...
...
...
...
...
...
...
...
...
...
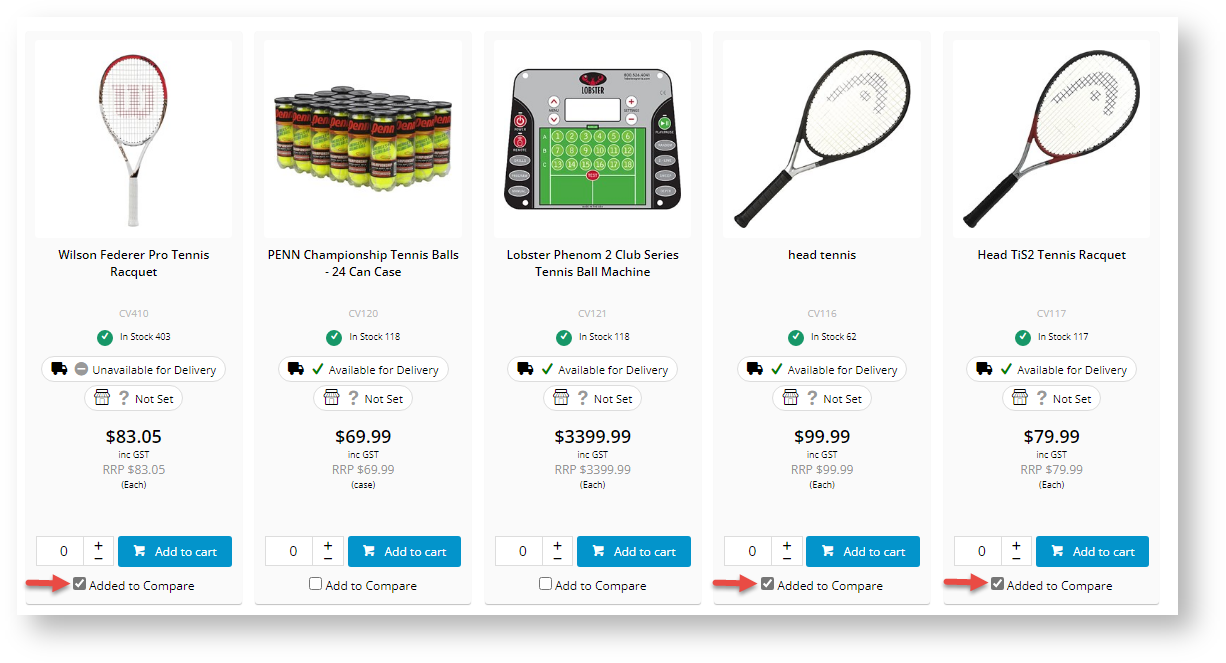
Selection of products:

The comparison window:

Step-by-step guide
To Enable Product Compare:
- Login to the CMS.
- Navigate to 'Layouts' --> 'Templates'.
- Select 'Theme Layout'.
- Scroll to 'Zone Content After' and click 'Add Widget'.
- Select 'Product Compare' and click 'Add'.
- Click 'Edit' on the widget to configure options. This is where you determine the fields to be displayed in the comparison window*.
- Click 'Save' to exit and save changes.
- Navigate to 'Layouts' --> 'Templates'.
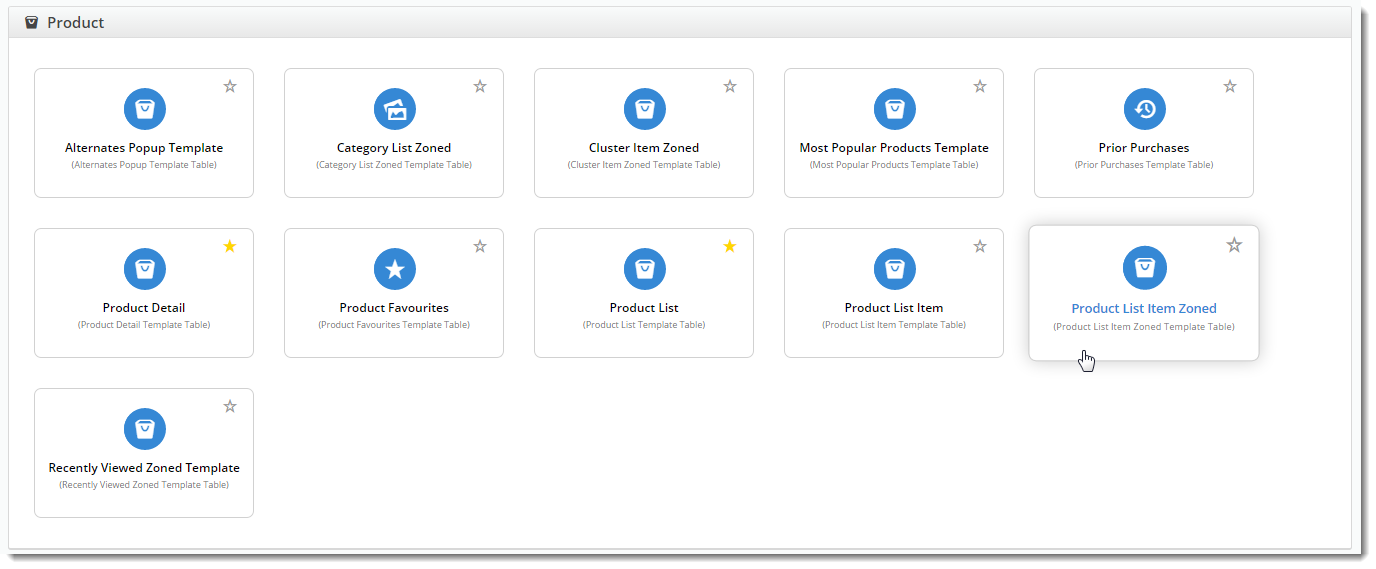
- Select 'Product List Item Zoned'.
- Scroll to 'Zone Footer' and click 'Add Widget'.
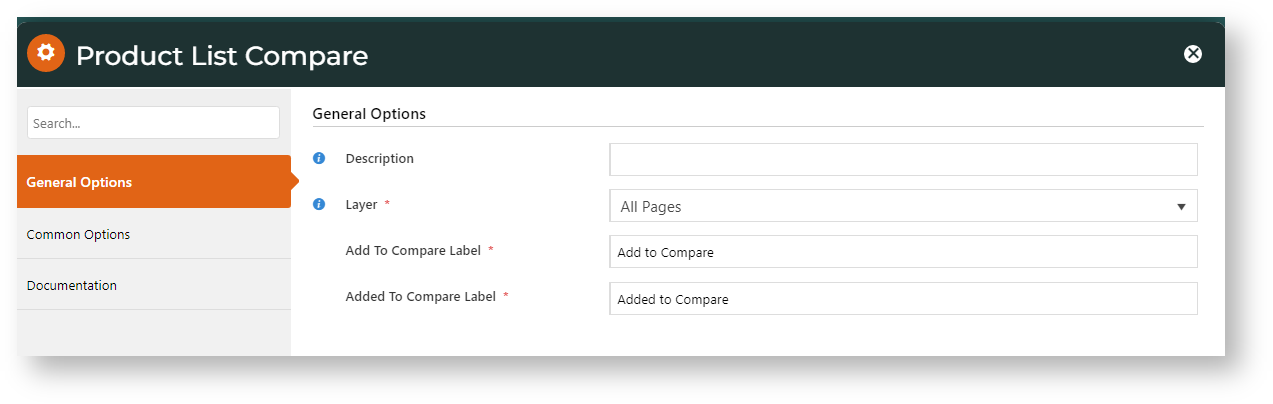
- Select 'Product List Compare' and click 'Add'.
- Refresh the Template cache by navigating to 'Settings' --> 'Dictionary'.
- Tick the 'Templates' option and click 'Refresh Cache'.


The Product Compare feature is now enabled on the website.
...
Customer Experience
1. Select products:
The user ticks the Add to Compare checkbox for each product to compare.
2. Run product compare
The user checks selected products are correct, then clicks Compare Selected.

| Info | ||
|---|---|---|
| ||
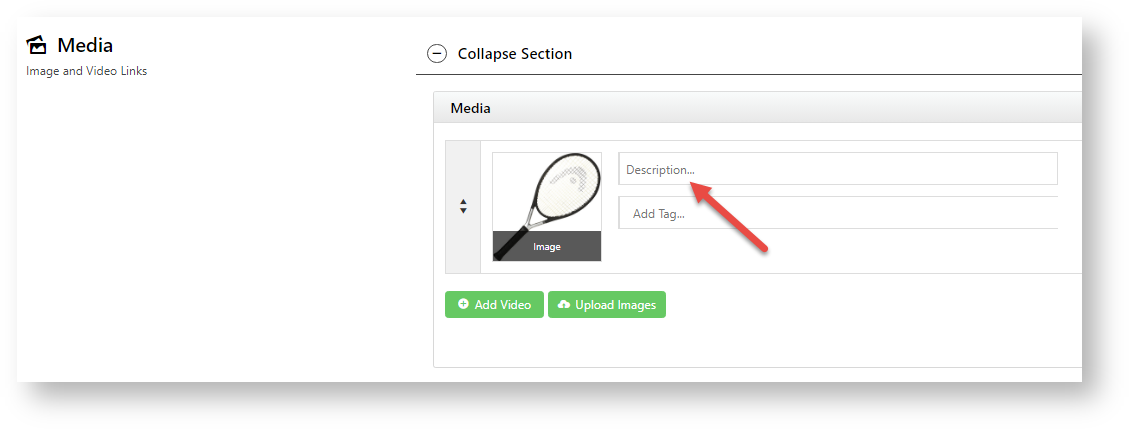
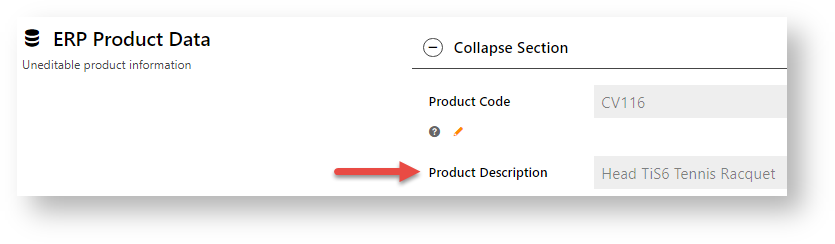
Product description/name defaults from one of these fields, with the following priority: 1. Product's image description if available, 2. Product Title, if available,
3. Product Description. If Product maintenance mode is ERP, this is integrated from the ERP. If mode is Web and the product was added online, the description entered when the product was created is used. It cannot be edited on your site.
See: Product Maintenance |

3. View products side by side:
What product information is included is set in the Product Compare Widget.

Enable Product Compare
1. Add for Product Search results
This step enables Product Compare and adds the functionality to Product Search results.
- In the CMS, go to Content → Theme Layout.
- Scroll to Zone: Content After and click Add Widget.
- Search for Product Compare and click Add Widget.
- Click Edit on the widget to configure options. See: Product Compare Widget.
- To save the changes, click Save.

2. Add for Product List page
Complete this step to add product compare to a product list (category) page using the Product List Item Zoned template.
- Go to Content → Pages & Templates.
- Select the Product List Item Zoned template.
- Scroll to Zone Footer and click Add Widget.
- Search for Product List Compare and click Add.
3. Refresh cache
- Go to Settings → Cache Management.
- Clear Product Cache.

| Tip |
|---|
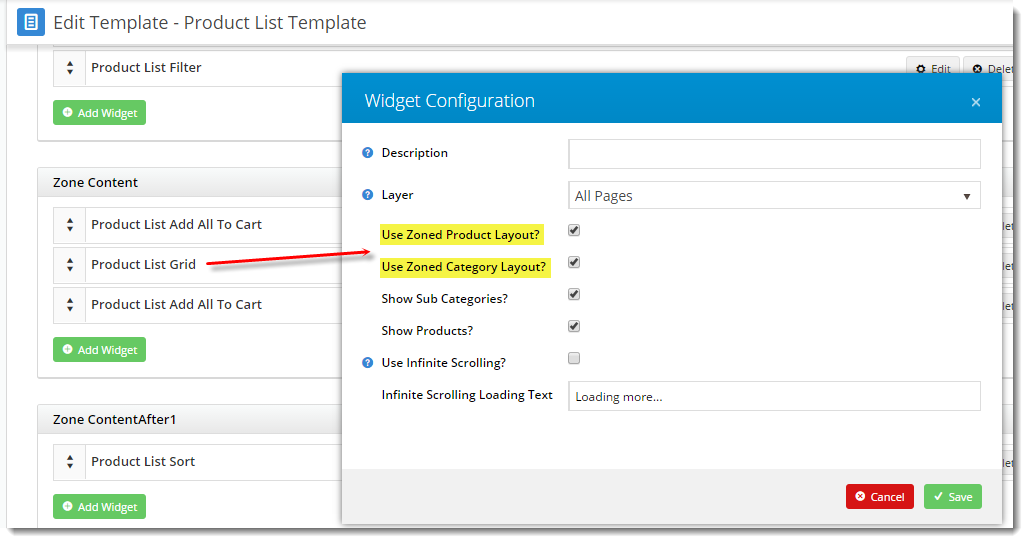
If both the dictionary and browser have been refreshed and the feature is still not displaying, check that the site is using Zoned Product Layout (most sites are configured this way by default). 1. Navigate to |
...
Content → Standard Pages and select the Product List template. Edit the 'Product List Grid' widget and ensure 'Use Zoned Product Layout' & 'Use Zoned Category Layout' are ticked. If not, tick and |
...
click Save |
...
. |
...
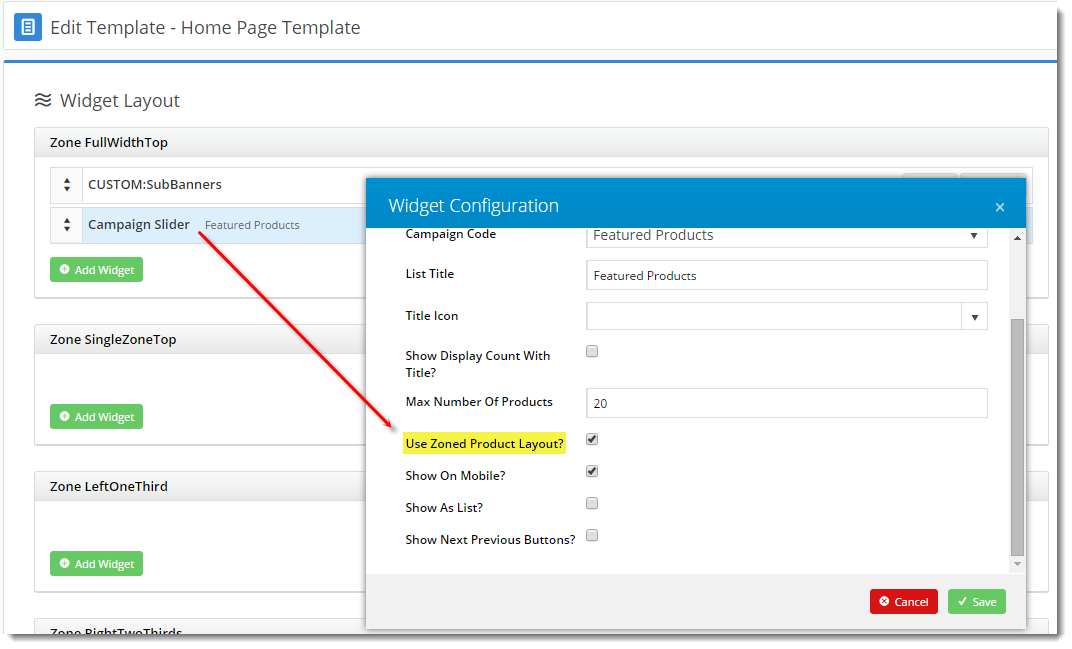
2. Check Campaign products if applicable: |
...
Go to Content → Pages & Templates and select the Home Page template. Edit the 'Campaign Slider' widget and ensure 'Use Zoned Product Layout' |
...
is ticked. If not, tick and click |
...
Save |
...
...
. |
...
|
Additional Information
| Multiexcerpt | ||
|---|---|---|
| ||
Custom product fields can also be added to |
...
a Product Compare grid |
...

Click 'New' to add the field by selecting it from the drop-down list of available Json fields. Custom fields will usually be prefixed with 'CUS_'. Assign a sequence and click 'OK' to save.
...
. Contact Commerce Vision. |
| Minimum Version Requirements |
| |||||
|---|---|---|---|---|---|---|
| Prerequisites |
| |||||
| Self Configurable |
| |||||
| Business Function |
| |||||
| BPD Only? |
| |||||
| B2B/B2C/Both |
| |||||
| Third Party Costs |
|
Related help
| Content by Label | ||||||||||||||||||
|---|---|---|---|---|---|---|---|---|---|---|---|---|---|---|---|---|---|---|
|
| Content by Label | ||||||||||||||||||||||
|---|---|---|---|---|---|---|---|---|---|---|---|---|---|---|---|---|---|---|---|---|---|---|
|