Contents
| Table of Contents | ||||||
|---|---|---|---|---|---|---|
|
...
...
...
...
...
...
...
...
...
...
...
...
1. Configure Feature Settings
Follow the steps below to define your Product Maintenance settings. Once the options have been configured, you're ready to maintain products in the CMS. Simply navigate to Products & Categories → Product Maintenance and select the product you wish to edit.
...
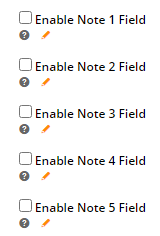
Note fields 1 - 5 - this is the data stored in PRONTO's stock-notes table. Enabling this option allows you to see the data being integrated to the web. They cannot be edited here.
| Info |
|---|
See PRONTO Integration - Product Notes for further detail. |
...
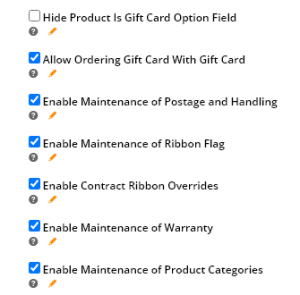
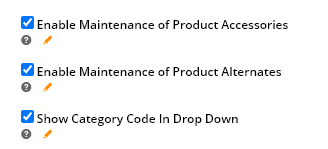
Categories - enables the creation and editing of categories in the CMS (versus being maintained in PRONTO and integrated to the web). Also allows products to be added to / removed from a category via the CMS
| Warning |
|---|
Note - the system flag 'Disable Product Category Integration' must be turned on in order to wholly maintain categories via the CMS. Otherwise, category information in the CMS will be for reference only, as it will be overwritten on every integration. |
...
- Default - Product Master data is integrated from Pronto and products will be considered valid for the web if they have a sort code assigned and meet condition requirements.
- Online - Products are marked valid for the web in the CMS.
...
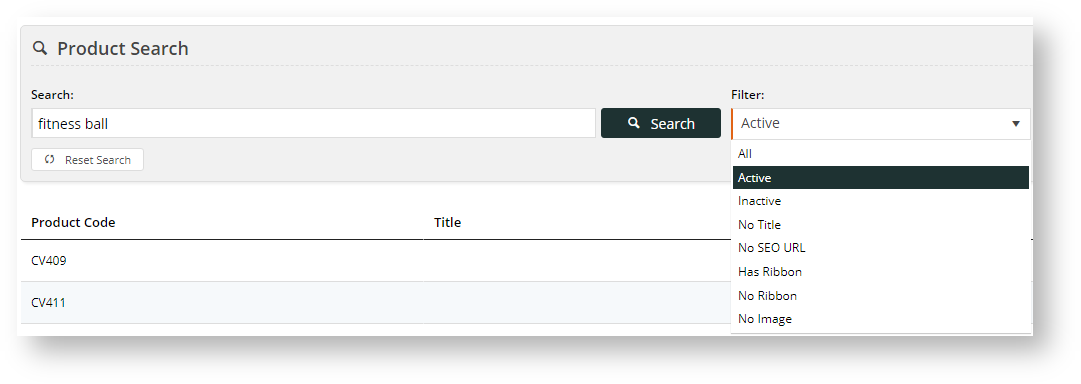
2. Product Search
To perform maintenance on one or more products, the first thing to do is find them. The Search finds products via product name, product code or keywords (from the Product Description field). You can also add a filter to search for products that have specific product attributes.
To run a product search,
- Navigate to Product & Categories → Product Maintenance. All products are listed.
- In Product Search, enter the product code, product name or keyword relevant to the product. Leave this empty if you want to find all products by a particular filter.
- To add a filter, in Filter, select a filter, otherwise leave it as 'All'.
4. To run the search, click Search. All products applicable to your search will be displayed. You can edit a product by clicking on Edit next to the product.
5. To clear your search and return to the default 'Product Search' screen, click Reset Search.
3. Product Maintenance Options
The sections of the Product Maintenance screen are detailed below.
If a particular section does not appear on your Product Maintenance page, it's likely that you have not enabled it in 'Feature Settings'. See Section 1 of this document ('Configure Feature Settings') for guidance.
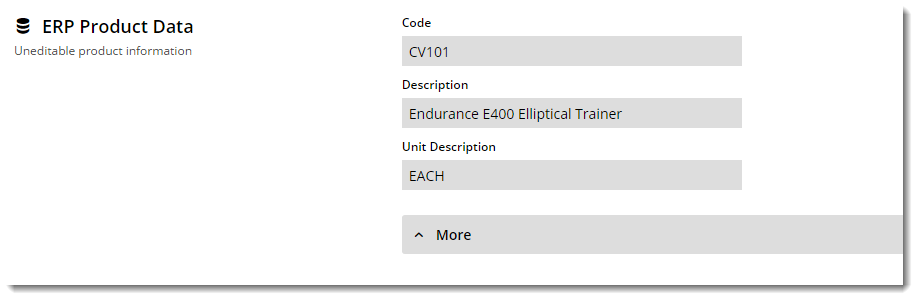
ERP Product Data
This section displays the product information integrated from PRONTO. This data is not editable via the CMS and is shown for reference only.
You may expand this section to reveal additional product fields from the ERP, such as Stock Group, Unit Description, and Condition Code, to name a few.
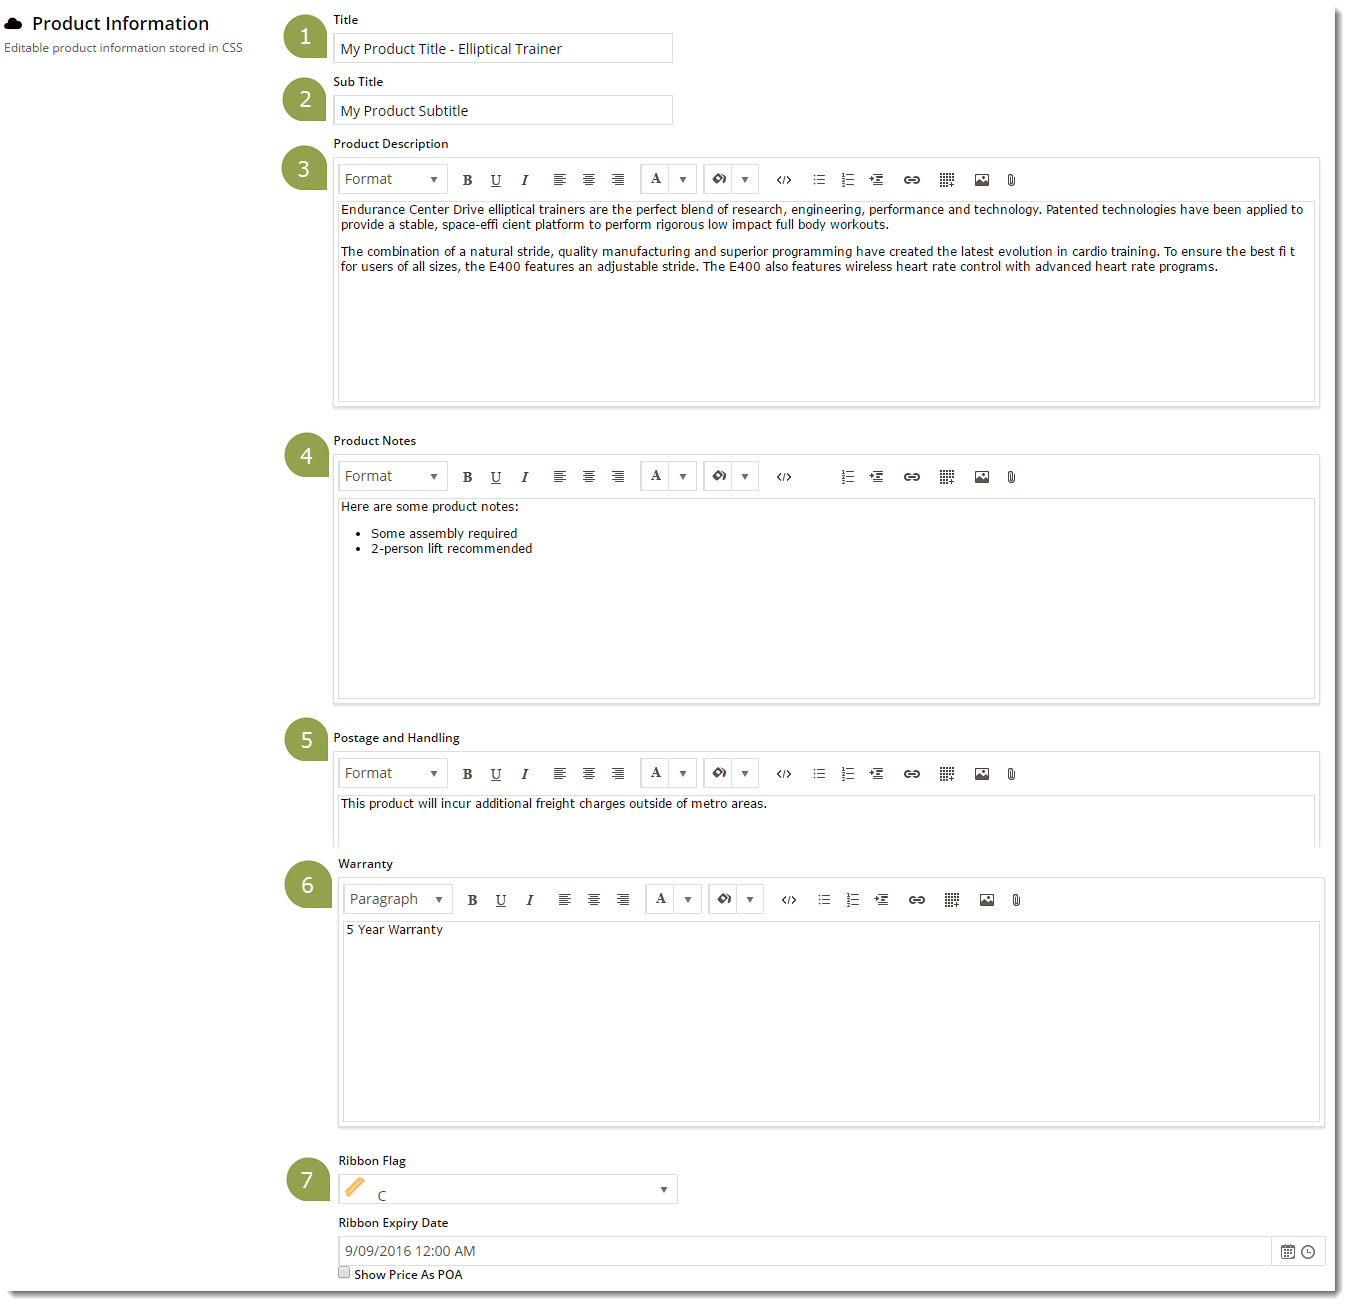
Product Information
The Product Information section contains editable product fields. Below is a table containing each field and its usage.
...
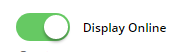 If 'Displayed Online' is toggled on, the product is searchable by customers on your site and has the status 'Active' in Product Maintenance. If this is toggled off, you will see the message 'the product is not considered Item Valid (The 'Display Online' setting above is disabled)' here. The product will not be searchable by users on your site.
...
The Product Title widget on your Product Detail template will display what is entered here.
If this field is left blank, the widget will use the PRONTO product description.
...
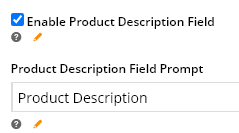
Product Description
...
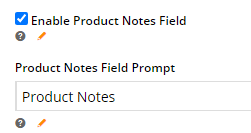
Product Notes
...
This content is integrated from PRONTO and stored in the product table under 'Notes1' (or Notes2, Notes3, etc.).
You can display it on the Product Detail page using a Product Field widget.
...
Here's an example of a product being edited in the CMS, and the resulting output on the website. Keep in mind that this site's Product Detail template contains several Product Field widgets, each displaying content from a different field in the above table.
...
...

...
In this section, you can add the product to as many categories as required.
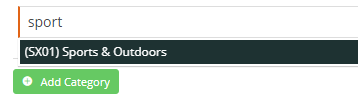
Click the 'Add Category' button, then enter the category name in the input field. Suggestions will be returned as you type - select the required category from the list.
To remove a category, tick the 'Delete' option. Don't forget to 'Save'!
| Tip |
|---|
If you'd like your PRONTO category / sort code to appear next to the category name in the dropdown selector, enable this option in the feature settings. |
...
Search-engine friendly URL, Page Title, and Description tags for the product are maintained here.
These values are normally auto-generated on first integration. You may edit any of these values as required and they will not be overwritten on subsequent integration events.
...
Here's an example of these SEO settings in the real world.
The Commerce Vision Blog is obviously not a product, but the principles are the same.

...
If you have created any custom fields for the Product table (and they are marked 'active'), the maintenance area will display here.
If there are no active custom fields in your Product table, this section will not render.

Need more information? See How To Add Custom Fields To Products and Categories.
Product Media
You maintain images and videos to display in the product gallery here. Both images uploaded via the Integrator and via the CMS will appear in this section. You can re-order images by dragging and dropping.
| Info |
|---|
By default, the CMS-uploaded image at the top of this list will be the first image displayed in any search on your site and in the Product Detail page. If a product has images uploaded via the Integrator and the CMS and you want the first Integrator-uploaded image to display first, please contact Customer Support to enable this option. Note - this option is available only for v4.21 or above. |
Adding Images
1. To add an image or multiple images simultaneously, click Upload Images.
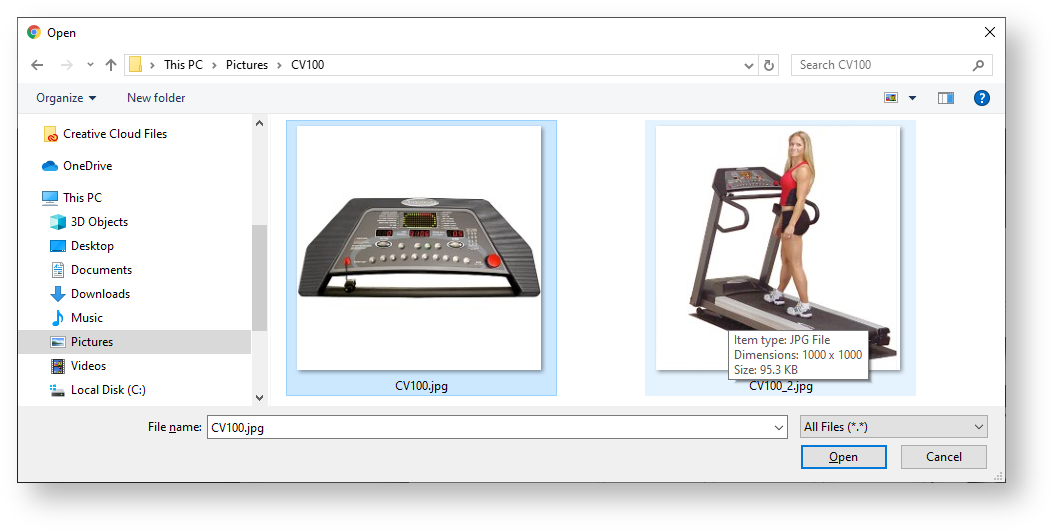
2. Navigate to your file(s) and click on them to select. Use 'Ctrl-click' or 'Shift-click' to select multiple images. Click Open.
...
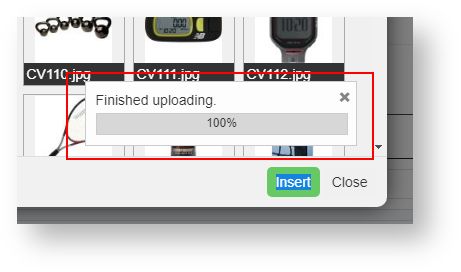
4. Alternatively, if the images have already been uploaded to the CMS file manager, you can click multiple image checkboxes simultaneously and click Insert.
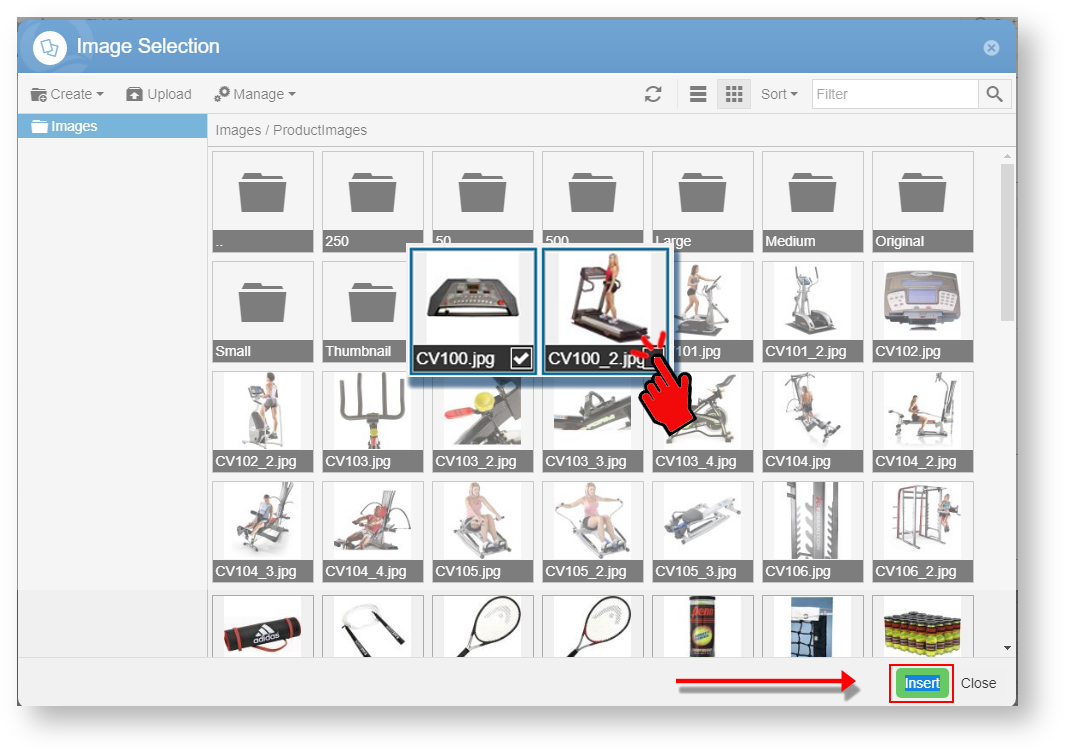
5. Whichever method you use, once you click Insert, the image thumbnails will now appear in the product's media list.
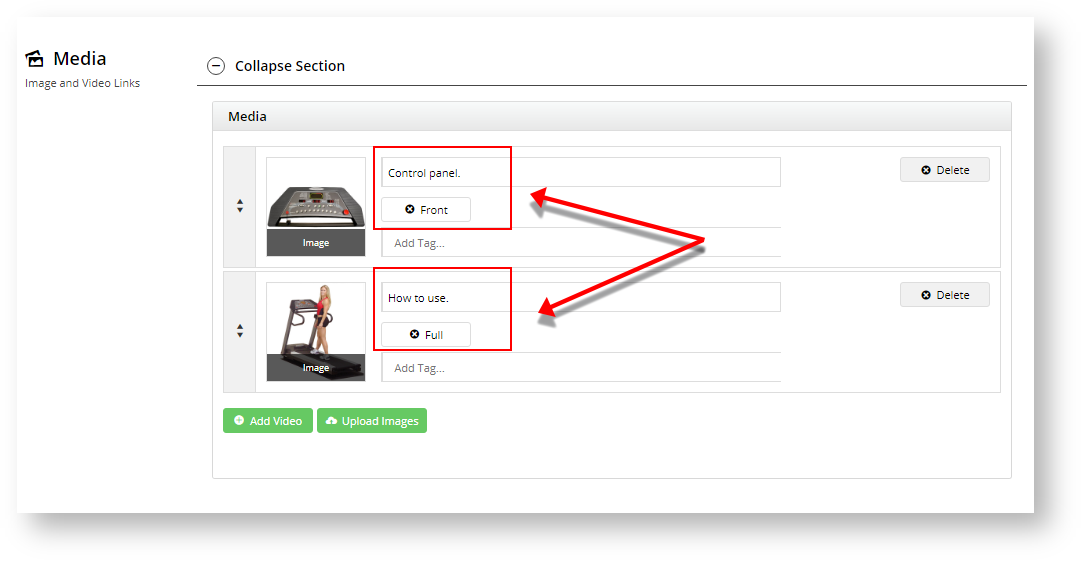
6. You can add a description and tag your images by entering a value in the 'Add Tag' field.
7. Click 'Save' or 'Save and Exit'.
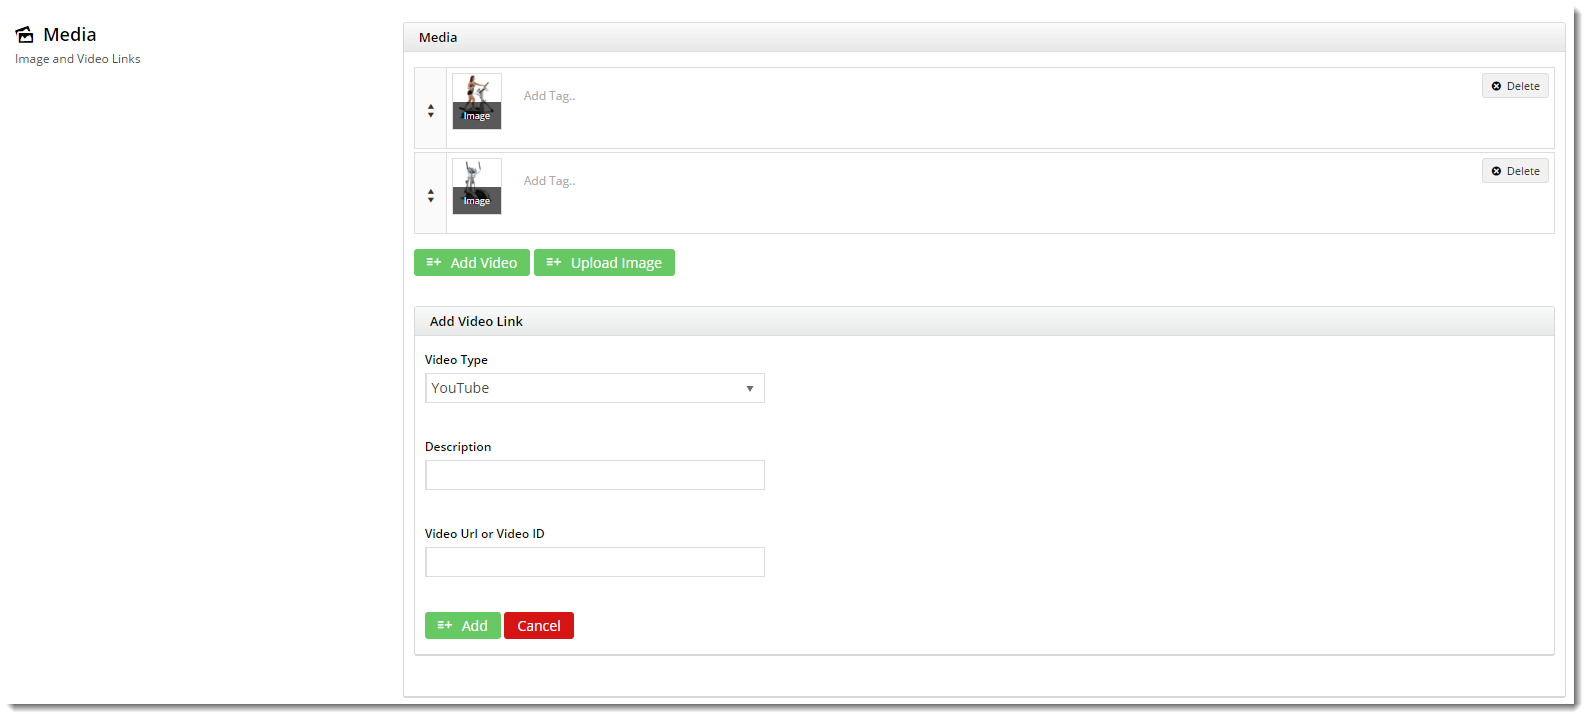
Adding Videos
Video can also be added quickly and easily. Both YouTube and Vimeo formats are supported. To add a video, see our guide - Adding Video to a Product Page.
Document Links
You can add links to documents relevant to a product, e.g., size guides, product specifications or installation instructions. The links with document information displays in the Product Detail page. You can add a link to a document that is in CMS already or upload it here.
To add a document link,
...
| Tip | ||
|---|---|---|
| ||
You can also bulk link multiple products to documents using the Product Document Import function. |
Features
This is another name for your product metadata. The information here is what your customers will use to filter by when viewing a page full of products. This data may also show in the Product Compare window, and in a product's Technical Specifications.
Product features and their associated values are either A) integrated from your PRONTO Metadata module, or B) configured via the CMS in Products & Categories → Product Features (CMS Metadata maintenance).
If you're unsure which mode your site is using, feel free to check with us.

...
If your site has elected to maintain Accessories & Alternates online, this is where you can edit them.
To add an Accessory / Alternate, enter the product code or description in the input box. Select the product from the list and click 'Add Accessory' (or Alternate) button.
To remove an Accessory / Alternate, select the 'Delete' option.
Repeat as required, then 'Save'.
...
1. Enable and configure Product Maintenance Settings
Once the Product Maintenance feature is enabled and options have been configured, you're ready to maintain products in the CMS.
| Expand | ||||||||||||||||||||||||||
|---|---|---|---|---|---|---|---|---|---|---|---|---|---|---|---|---|---|---|---|---|---|---|---|---|---|---|
|


Once Product Maintenance settings have been configured, go to Product Maintenance to perform maintenance functions for a product based on these settings.
2. Search for a Product
To add custom filter options, see Product Search Custom Filter Options.
To maintain one or more products, go to the product's Product maintenance page.
- Go to Product & Categories → Product Maintenance. All products are automatically listed.
- To find a product, in Product Search, enter the product code, product name or keyword relevant to the product. Leave it empty if you want to find all products by a particular filter.
- To add a filter, select a filter in the Filter dropdown, otherwise leave it as 'All'.
- To run the search, click Search. Products found by your search criteria will be displayed. You can edit a product by clicking Edit next to the product.
- To clear your search and return to the default 'Product Search' screen, click Reset Search.
3. Product Maintenance Options
In the Product Maintenance page, click Edit for a product's Product Maintenance page. Notice the displayed fields and what is editable depend on the modes and configurations in Settings (Step 1 -'Configure Feature Settings').
The Product Maintenance page is divided into sections. If a section detailed here does not appear, it's likely that the feature has not been enabled in 'Feature Settings'. If you need this feature, return to Step 1 for guidance.
| Tip | ||
|---|---|---|
| ||
To aid ease of viewing, each section can be opened or collapsed. Click 'Expand Section' or 'Collapse Section' as you need.
|
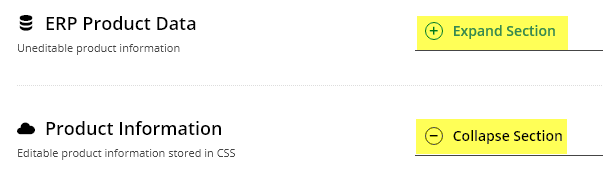
1. ERP Product Data
Maintenance mode: ERP This section displays product information integrated from your ERP. The data are for reference only as they are not editable in the CMS.
2. Product Information
The Product Information section contains product fields that can be edited in the CMS. Below is a table containing each field and its usage.
| Field | Usage | |||||
|---|---|---|---|---|---|---|
Display Online
| (Appears only if Integration mode is 'Online' and Maintenance: web; otherwise, a product's status defaults to that in the ERP.) Determines whether the product is active and searchable by users on your website.
| |||||
| Title | Rendered by the Product Title widget on the Product Detail template. If left blank, defaults to product description from the ERP. | |||||
| Sub Title | Displayed if the 'Show Subtitle?' option is enabled in the Product Title widget. | |||||
Product Description | Displayed through the Product Description field in the Product Field widget. To use the input textbox, hover your pointing device in the textbox, and click the
When you have finished editing, click Save. | |||||
Product Notes | Adds product feature notes. To display on the Product Details template, use the Product Field widget and the field 'ProductFeatures'. | |||||
| Notes (1 - 5) | This content can be integrated from the ERP or added online. Display on the Product Detail page using a Product Field widget and the field, e.g., Notes1, Notes2, etc. | |||||
| Postage and Handling | This content is stored in the Product table under 'PostageAndHandling' and can be displayed via the Product Field widget. | |||||
| Warranty | This content is stored in the product table under 'Warranty' and can be displayed via the Product Field widget under the heading 'Warranty Information'. | |||||
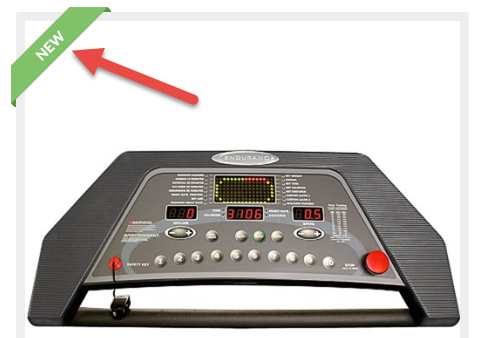
| Ribbon Flag | A ribbon flag can be set to display on the product image. See: Product Ribbons
| |||||
| Ribbon Start Date / Ribbon Expiry Date | A ribbon can be displayed for a specified period, e.g., for a limited time promotion. Set Start and Expiry dates and times. The system will remove the ribbon automatically on the Expiry Date/Time. | |||||
| Is Gift Card | If this product is a gift card, toggle ON. Use a Product Field widget and the field IsGiftCard to display this detail on the Product Detail template. | |||||
| Show Price as POA | ON: 'POA' (price on application) is shown instead of the product price. | |||||
| Is Dangerous Goods | ON: flags the product as a dangerous item. Use a Product Field widget and field IsDangerousItem to display this detail. | |||||
| Is Free Freight | ON: flags that the product has free shipping. Use a Product Field widget and field IsFreeFreight to display this detail. | |||||
| Is Tailgate Required | ON: flags that the product requires tailgate delivery. Use a Product Field widget and field IsTailGateRequired to display this detail. | |||||
| Is Email Delivery | ON: flags that the product is delivered by email. Use a Product Field widget and field 'IsEmailDelivery' to display this detail. (See: setting up a product for email delivery.) | |||||
| Is Returnable | ON: flags the product is returnable. Use a Product Field widget and the field: 'IsReturnable' to display this detail. | |||||
| Delivery and Pickup Option | Select whether the product is Delivery, Pickup or both. This will display on the Product Detail and Shopping Cart pages. NOTE - If no option is selected, it will default to both. |


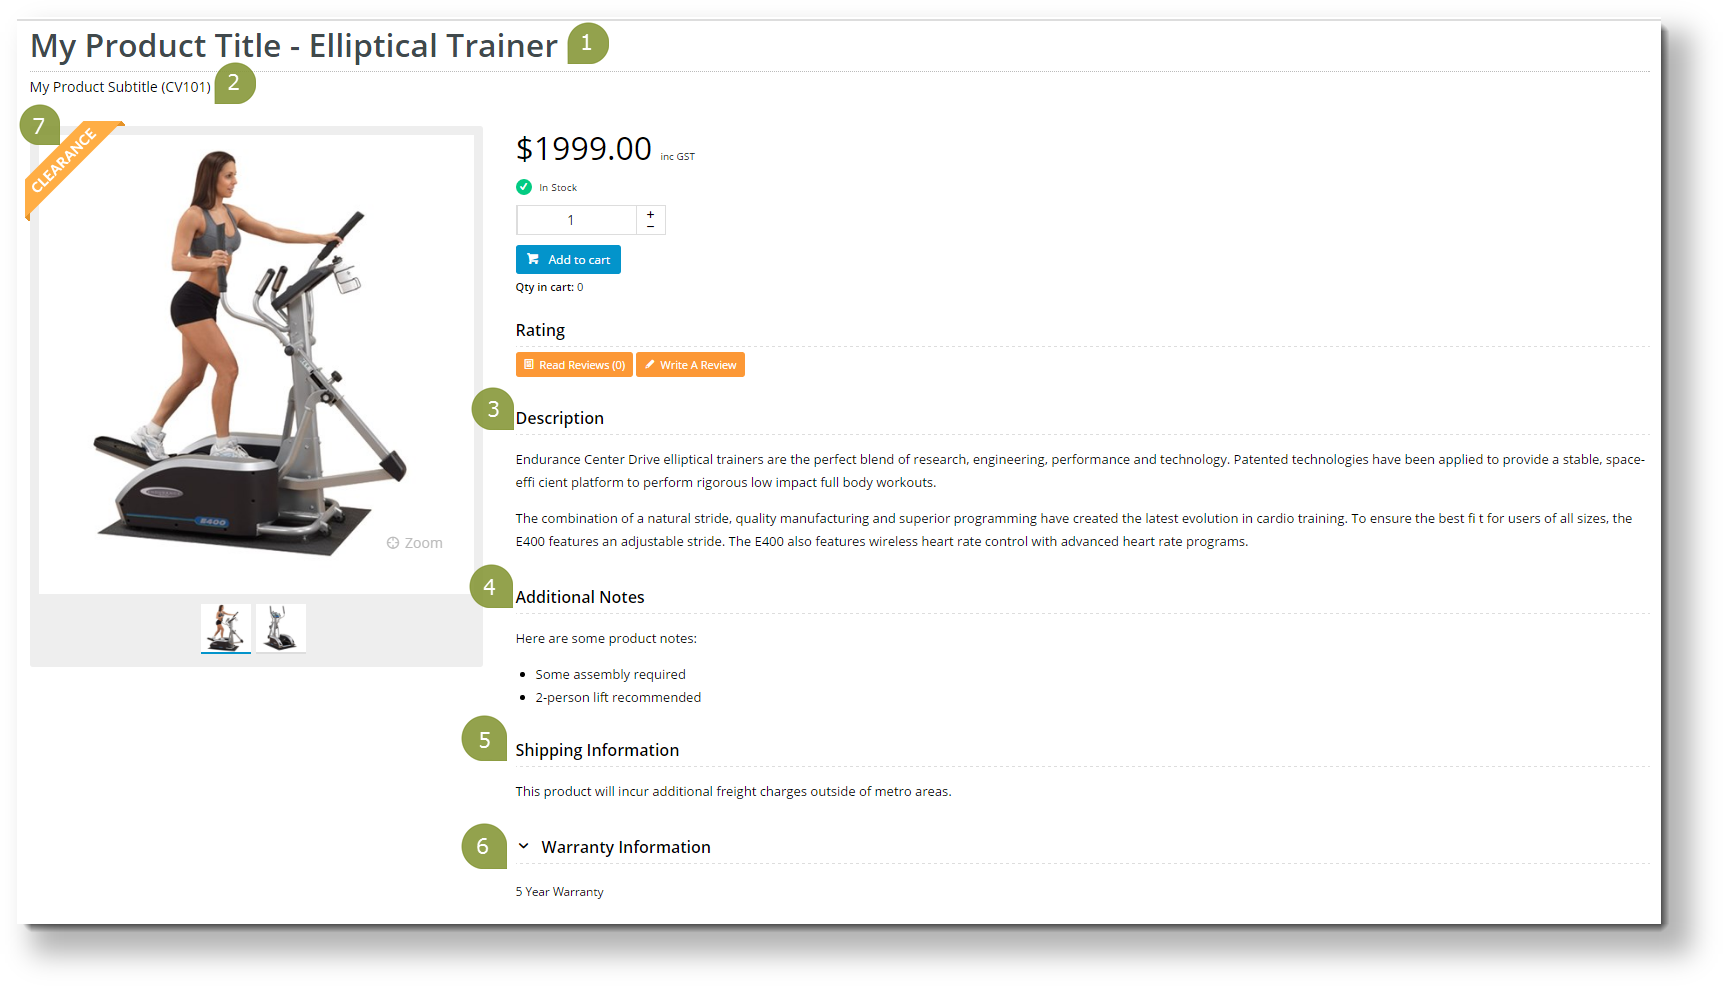
Here's an example of a product's Edit Product page, and the resulting output on the website. Keep in mind that this site's Product Detail template contains several Product Field widgets, each displaying content from a different field in the Product table.
| Product Maintenance in CMS | Resulting Output |
|---|---|
g |
|

3. Categories
Available only if 'Enable Maintenance of Product Categories' was ticked in Settings AND Online Category Maintenance mode is on. Assigning categories to products can be done in Category Maintenance. NOTE - Online Category Maintenance should be enabled.)
A product is assigned to one or more Categories. In this section, you can add the product to as many categories as required.
Click the Add Category button, then start typing the category name in the input field. Suggestions will be returned as you type . Select the required category from the list.
To remove a category, tick the 'Delete' option. When you click Save at the top of the page, the deletion will be completed.
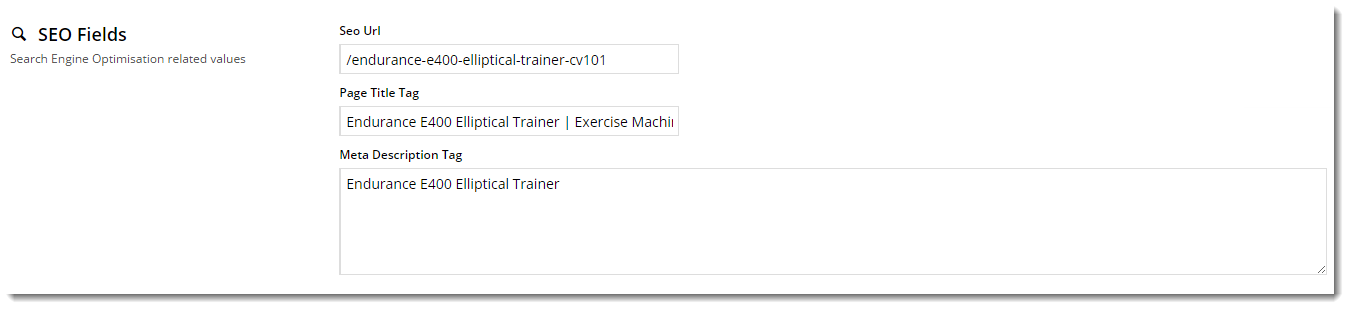
4. SEO Fields
Search-engine friendly URL, Page Title, and Description tags for the product are maintained here.
These values are normally auto-generated on first integration. Edit any of these values as required and they will not be overwritten on subsequent integration events.
| Field | Description | Example |
|---|---|---|
| SEO Url | The user- and search engine-friendly URL for the product page. | Here's an example of these SEO settings in the real world. The Commerce Vision Blog is obviously not a product, but the principles are the same.
|
| Page Title Tag | The title that displays on search engine results pages, just above the URL. | |
| Meta Description Tag | The blurb that displays under the Title and URL. |
5. Custom Fields
NOTE - This section is displayed only if custom fields have been created in the Product table and they are marked 'active'.
Need more information? See Add Custom Fields To Products and Categories.
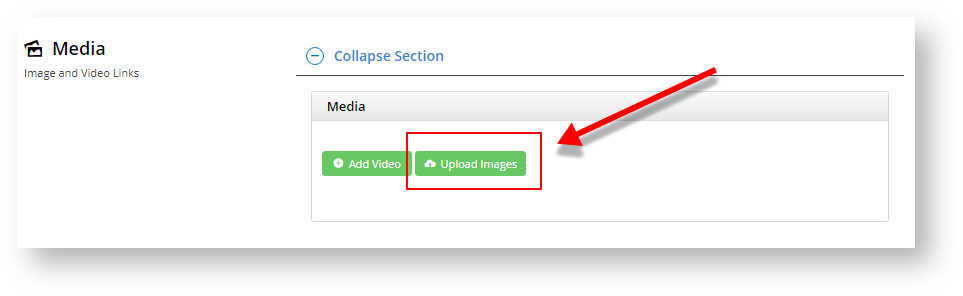
6. Media
Images and videos that display in the product's gallery are uploaded here. When you upload an image, the original image will be duplicated 4x to images with different pixel sizes. Images uploaded via the Integrator will also appear in this section. You can re-order images by dragging and dropping. TIP - Guide to maximum file sizes to ensure fast loading: 250kb, mobile: 50kb.
| Info |
|---|
By default, the CMS-uploaded image at the top of this list will be the first image displayed in any search on your site and on the Product Detail page. If a product has images uploaded via the Integrator and the CMS and you want the first Integrator-uploaded image to display first, contact Commerce Vision to enable this option. NOTE - Available only for versions 4.21.02+. |
| Multiexcerpt | ||
|---|---|---|
| ||
Adding Images
|

Tip
title Are image colours not as expected?
Multiexcerpt include
MultiExcerptName Are the image's colours off? PageWithExcerpt FAQs from Commerce Vision Support
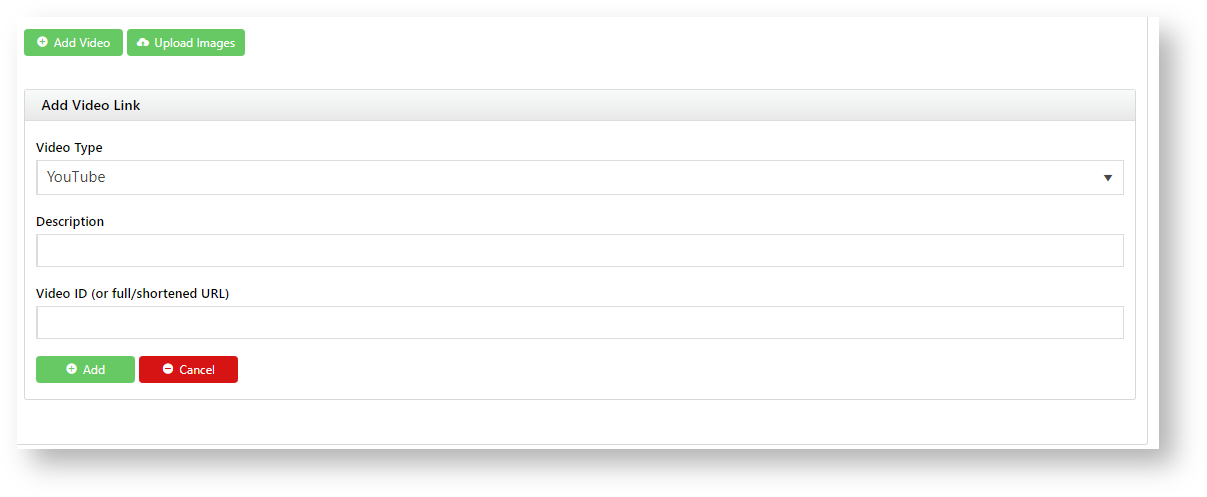
Adding Videos
Video links can also be added quickly and easily. Both YouTube and Vimeo formats are supported. To add a video, see: Add Video to a Product Page.
7. Documents
Document links for a product, e.g., size guides, product specifications or installation instructions, are added here. You can add a link to a document that is already uploaded to the CMS or upload it here. Add the Product Documents widget to the Product Detail page for document links to display on the Product Detail template.
To add a document link,
- Click Add Files.
- Select the document(s) and click Insert.
| Tip | ||
|---|---|---|
| ||
You can also bulk link multiple products to documents using the Product Document Import function. |
8. Features
This is another name for metadata associated with the product. Feature details are user-defined so you can use them to specify certain product attributes. These can be filtered by shoppers to narrow down to the most suitable products when on a product list page. Features can also be shown in Product Compare, and in a product's Technical Specifications.
Product features and values are either A) integrated from your ERP Metadata module, or B) configured via the CMS in Products & Categories → Product Features.
If you're unsure which mode your site is using, check with us. 
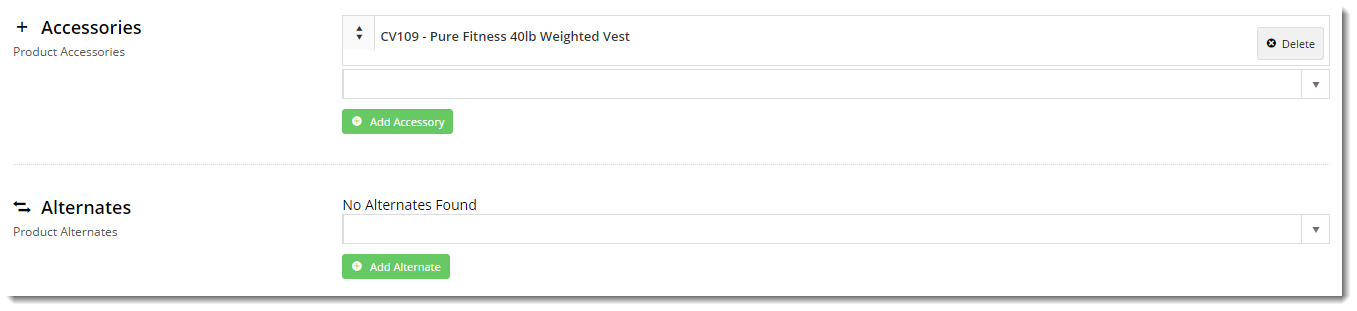
9. Accessories (Cross-sell)
Enable Maintenance of Accessories must be ON in Product Maintenance settings.
Accessories are related products displayed to the shopper on a product's Product Details page. Accessories is called 'cross-sell' because suggestions include products that complement the viewed product.
To add an Accessory product, enter the product code or description in the input box. Select the product from the list and click the Add Accessory button.
To remove an Accessory, select the Delete option.
Repeat as required, then remember to Save.

Accessories are displayed on the Product Detail page using the Cross Sell / Up Sell Widget.
10. Alternates (Up-sell)
Enable Maintenance of Alternates must be ON in Product Maintenance settings.
Alternates display suggested products similar to the viewed product on the Product Detail page. Alternates is called 'up-sell' since suggestions can include higher-profit or higher-value items.
To add an Alternate, enter the product code or description in the input box. Select the product from the list and click the Add Alternate button.
To remove an Alternate, select the Delete option.
Repeat as required, then remember to Save.

Alternates are displayed on the Product Detail page via the Cross Sell / Up Sell Widget.
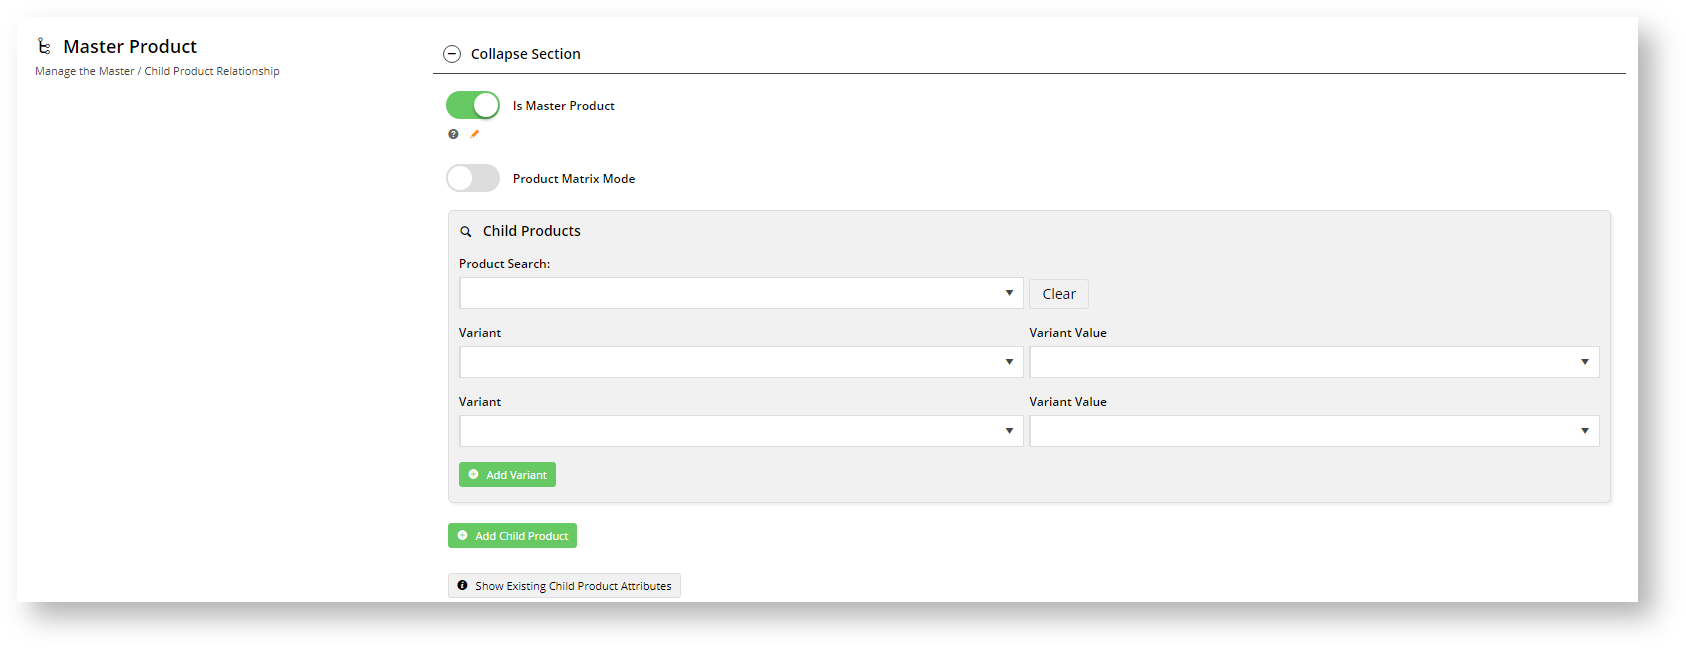
11. Master Product
The Product Variants feature must be enabled.
A Master product is a product that has variants (child products each with their own product codes). A shopper does not buy a Master product but one of its variants or child products.
To flag a product as a Master Product, toggle ON 'Is Master Product'. Child products can then be added to the Master product. For more information, see: Product Variants.
12. Product Subscription
The Subscription Products feature must be enabled.
For more information, see: Subscription Products.
13. Product Detail template widgets
Other functions that can be added to the Product Detail template:
- Let shopper download a PDF of the product detail page they are viewing - Product PDF Download widget
Related Resources
| Content by Label | ||||||
|---|---|---|---|---|---|---|
|
...
|
...
|
...
|
...
|
...
|
...
|
...
|
...
|