KK NOTE - this content may need to be deleted, as it probably doesn't work with the new Campaign maintenance in CMS. Just saving it here until I confirm.
If there are you've got a large number of campaign products to be loaded, it may be more efficient to perform a product import.
It should be noted that if a Campaign already contains products, performing an import will replace the existing products with those contained in the .csv file. The imported products will not append the existing ones.
...
| Info |
|---|
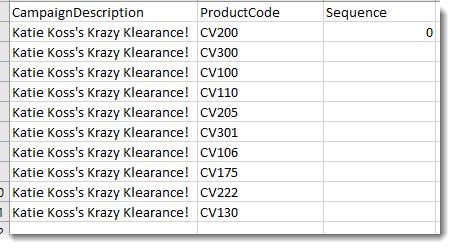
The CSV flat file should contain the following header fields as Row 1: CampaignCode, ProductCode, Seq, IsHeading Please note that:
|

...
products for a campaign, you might like to import them all in one go, rather than adding them one by one in the CMS.
You can import products to one campaign, or (if you're really organised) you can import all of your campaign products. This guide will step you through the process.
Importing Products
Before you start, make sure you've got a campaign to import products to. If you haven't already, follow the steps in our Product Campaigns guide to create a campaign.
Now it's time to import products.
- In the CMS, navigate to Campaigns & Promotions→ Campaigns.
- Select the campaign that you'd like to import products to.
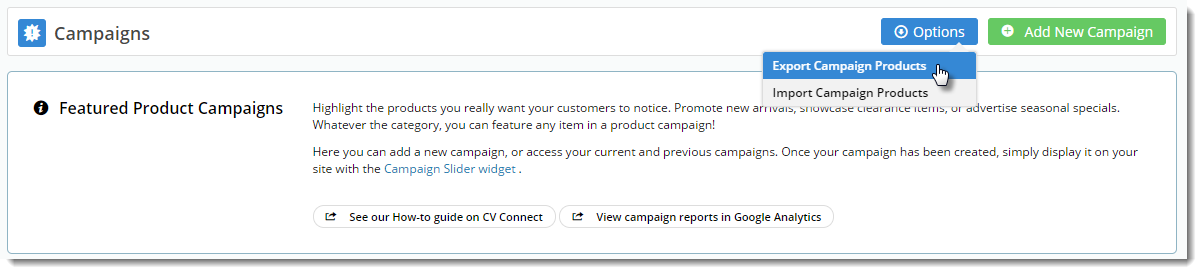
- Hover over the Options menu and select Import Products.
- On the import page, click 'Download Example Template'. This will give you a sample .csv file in the correct format.
- Open the .csv file and paste your own product data into the ProductCode column.
- Drag the campaign name down for every row in your file.
- Set a sequence for your products (optional). If you leave this column blank, the products will simply appear in the same order as they are in this file.
- Save the file somewhere, keeping the .csv format.
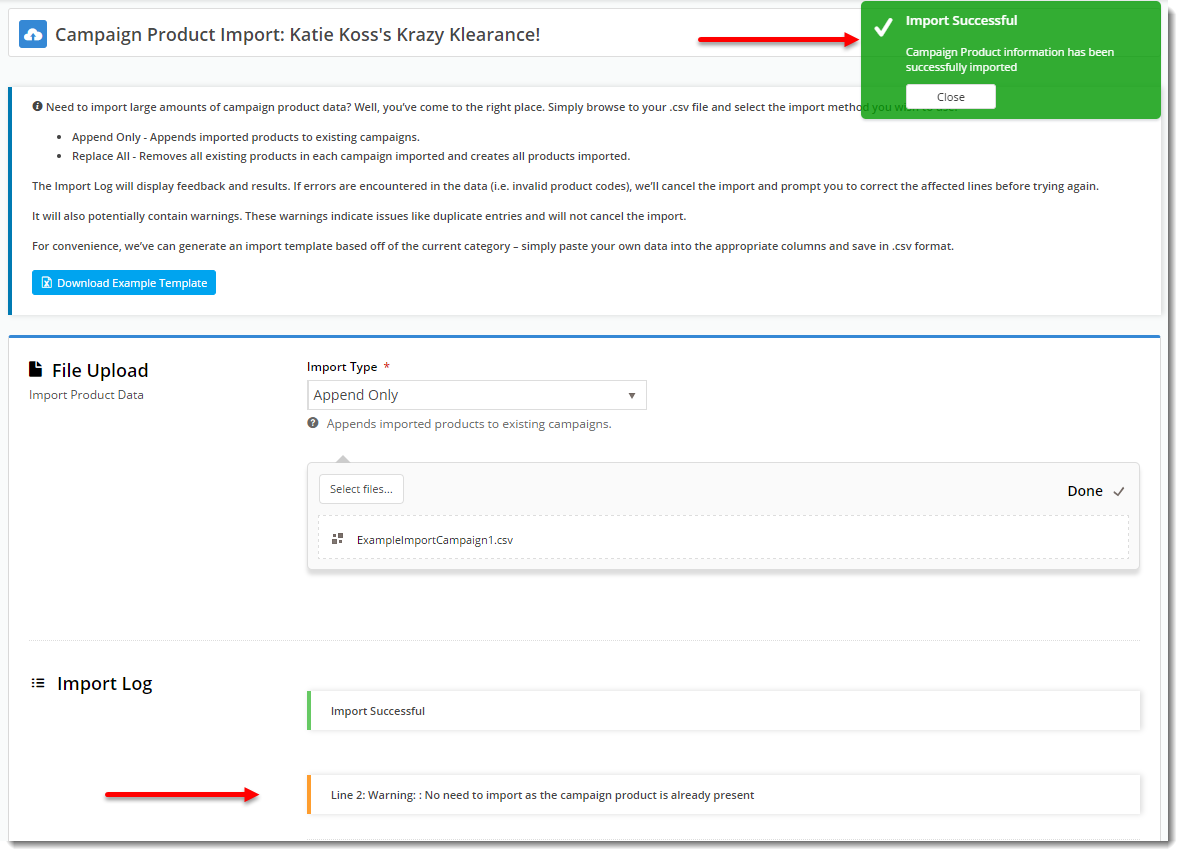
- Next, set the Import Type using the dropdown:
- Append - adds the products on your file to any existing products in the campaign
- Overwrite - replaces any existing products with the ones in your file
- Click 'Select files..' and browse to your saved file.
- Once you select the file, the import starts automatically.
- A notification will display to let you know whether the import was successful, and any errors / warnings will display in the Import Log.
- That's it!


Exporting Products
If you'd like a list of your current campaign products, the CMS offers handy export functionality. You can either:
A) export a list of all products from all campaigns via the main 'Campaigns' page
or
B) export a list of all products from a single campaign via the 'Edit Campaign' page

| Content by Label | ||||||||||
|---|---|---|---|---|---|---|---|---|---|---|
|