...
| Info | ||
|---|---|---|
| ||
This feature must be switched on for your site by Commerce Vision. |
Overview
Everyone loves it when something is customised just for them. Now, you can tailor Offering relevant content through personalisation builds loyalty, strengthens customer relationships, and can drive sales.
| Multiexcerpt | ||
|---|---|---|
| ||
|
Offering relevant content through personalisation builds loyalty, strengthens customer relationships, and can drive sales. This guide will walk you through Personalisation in the Commerce Vision CMS.

...
| Info |
|---|
Please note that guest user behaviour is not tracked until version 4.09+. From this version onward, a guest user cookie will be added which allows guest actions to be logged and Personalisation rules to be applied. |
In this guide
| Table of Contents | ||||||
|---|---|---|---|---|---|---|
|
| Info | ||
|---|---|---|
| ||
Your website must be running version 4.00.00+ and have the Personalisation feature enabled. Contact our friendly Support Team if you require assistance with this.Please ensure that you meet the prerequisites below! |
Rule Maintenance
Navigate to Advanced Content → Personalisation. Here's the The Rule Maintenance page where contains all of your personalisation rules will livefor your site.
You can see existing rules (if you have any), or create a new rule from this screen.
For an overview of all the available rule scenarios, see our guide to Personalisation Rules.
Create
...
a Rule
Let's say we're running a promotion on fitness equipment, and we want to target users who have these products in their Favourites / Wishlist.
- On the Personalisation - Rule Maintenance page, click 'Create New Rule'.
- Enter a name for In Name, enter a meaningful name for your rule. Be descriptive - the name might help you easily locate your rule among a long list one day!
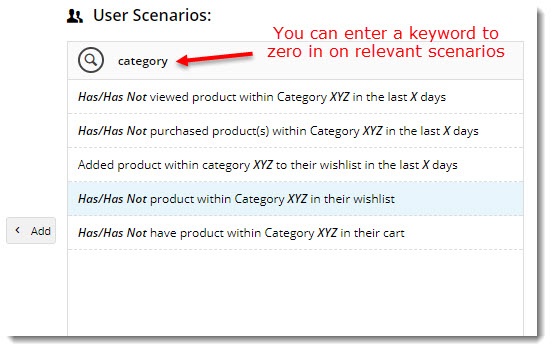
- Select In User Scenarios, select a user scenario from the list. You can also enter a search term to filter results by keyword.
- DoubleTo add the scenario, double-click the scenario ( or highlight it and click 'Add') to add it to the rule builder.
- Next, set the Set the value of each variable in the scenario:
- some variables will toggle between have 2 options on that you can click to select (has/has not, more/less, etc.)
- other variables will launch have a popup on click, where you can define the value (such as a product code, number of days, dollar amount, etc.)
- Repeat steps 3 - 5 if your rule will be built from multiple scenarios.
- Click Save or Save and Exit.
You can see an example in the video below:
Multimedia
name Personalisation - Creating a new rule.mp4

Apply a Rule to a Widget
Now that our rule is created, let's personalise a widget with it. A campaign slider full of fitness products sounds good.
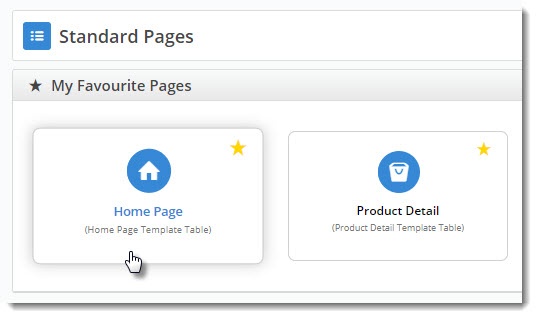
- Navigate to the template the widget is on (in this example, it's the home page).
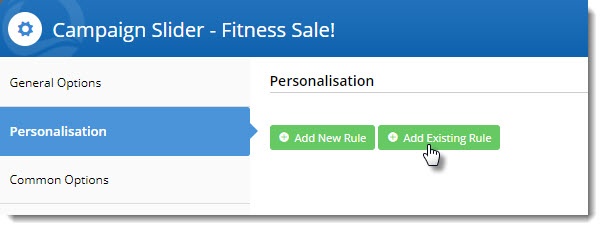
- Edit the widget you want to personalise (in our case, a campaign slider).
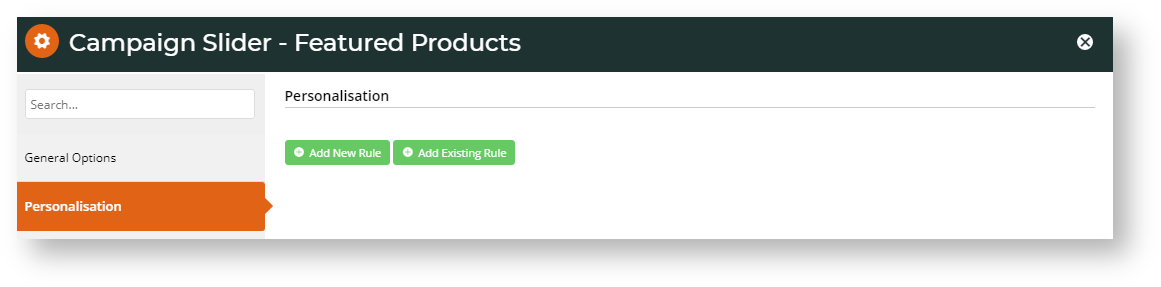
- Select the Personalisation tab, then click 'Add Existing Rule'.
(If you hadn't have not created the rule already, you could can click 'Add New Rule' and and follow the above steps for creating a new rule).- Your alphabetical In the list of rules will open. Locate , locate the one you need and click 'Add'.
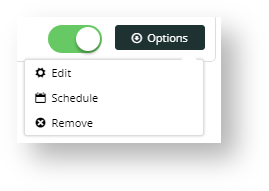
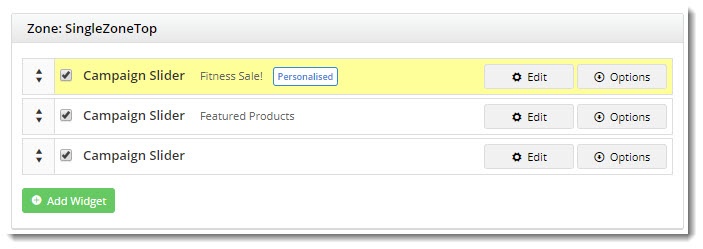
- The rule will be added to the widget, but will not be activewith the default set to ON (active) upon saving. You can use the toggle to turn the rule OFF, for instance, if the rule onis not to be applied straightaway.
- If you need to edit or delete the rule, hover over the Options menu (we'll cover the Schedule option later in this article)) and select the required option.
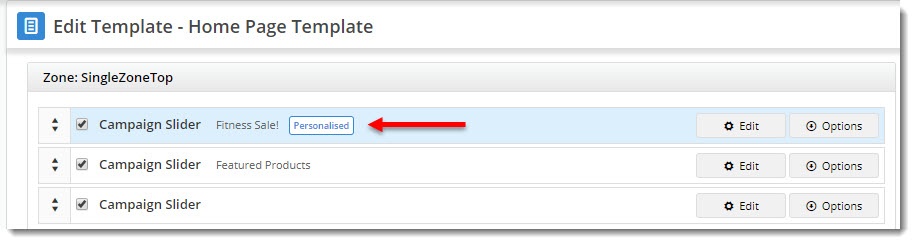
- Click Save to exit the widget. You'll see it now has a tile indicating that the widget has been personalised!
Take a look here:
Multimedia
name Personalisation - Apply a rule to a widget.mp4


Edit a Rule
You can edit a rule at any time, but be aware that any widgets with the rule applied will be affected.
- Navigate to Advanced Content → Personalisation → Rule Maintenance.
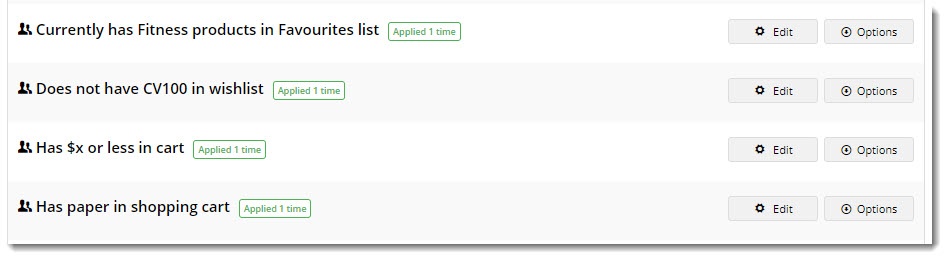
- You'll see all of your existing rules listed, as well as the number of times each has been applied to a widget.
- Note that rules applied to widgets but not toggled on are not counted.
Edit a Rule
This is where you can see where this rule has been applied (if at all).
...
- Click Edit on the required widget.
- Update the values in the scenario, or add and remove scenarios as needed.
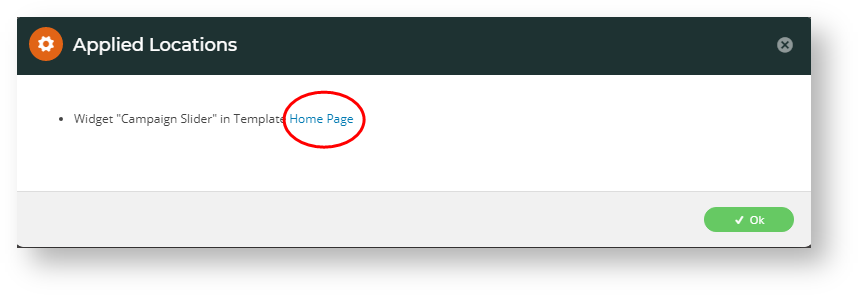
- To see where the rule is in use, on the top right of the page, hover over Options and select Where It's Used.
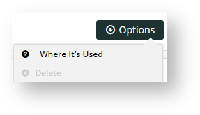
- In the popup, you will see the locations where the rule is used.
- Clicking on the template name will take you to the template, with the personalised widget highlighted.
Schedule a Rule
You may have a widget you'd like to display to your target audience for a limited time only. This is where Scheduling comes in handy.
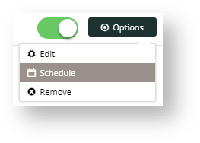
- With the widget open for editing, select the Personalisation tab. (If the rule you want is not already there, add it to the widget.)
- Hover on the rule's Options button and select Schedule.
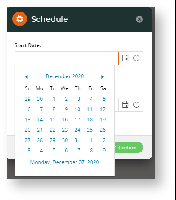
- Click the Calendar icon to select a Start Date. Do the same to select the End Date.
- Click Confirm.
- A clock icon will appear on the rule to indicate that it's running on a schedule (rather than indefinitely).

Personalisation of this widget will now be in effect between the scheduled (local) times. As long at the rule is active (toggled on), the widget content will not be displayed to eligible users until the scheduled start date & time.
| Tip |
|---|
Things to note
Applying a rule but not enabling - if a rule is not active, then the widget will behave as normal (ie. as though there is no personalisation applied at all).
...
| ||
If you've applied a rule to a widget but have not enabled it (i.e. not toggled it on), the rule will be considered inactive. Widgets with inactive rules will simply behave as normal, which means they will display as though no personalisation has been applied. |
Additional Information
| Multiexcerpt | ||
|---|---|---|
| ||
|
| Multiexcerpt | ||||
|---|---|---|---|---|
| ||||
| Minimum Version Requirements |
| |||||
|---|---|---|---|---|---|---|
| Prerequisites |
| |||||
| Self Configurable |
| |||||
| Business Function |
| |||||
| BPD Only? |
| |||||
| B2B/B2C/Both |
| |||||
| Third Party Costs |
|
Related help
| Content by Label | ||||||||||
|---|---|---|---|---|---|---|---|---|---|---|
|