...
- Navigate to the template the widget is on (in this example, it's the home page).
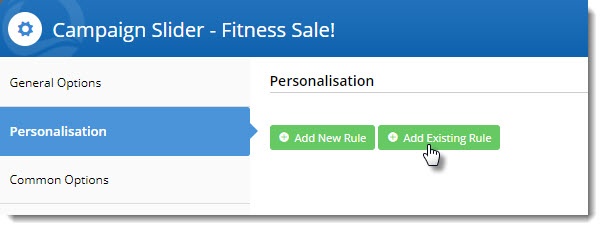
- Edit the widget you want to personalise (in our case, a campaign slider).
- Select the Personalisation tab, then click 'Add Existing Rule'.
(If you hadn't created the rule already, you could click 'Add New Rule' and follow the above steps for creating a new rule).- Your alphabetical list of rules will open. Locate the one you need and click 'Add'.
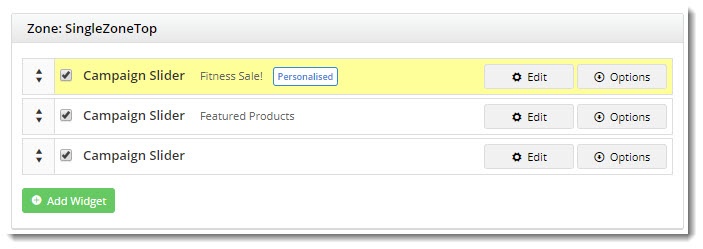
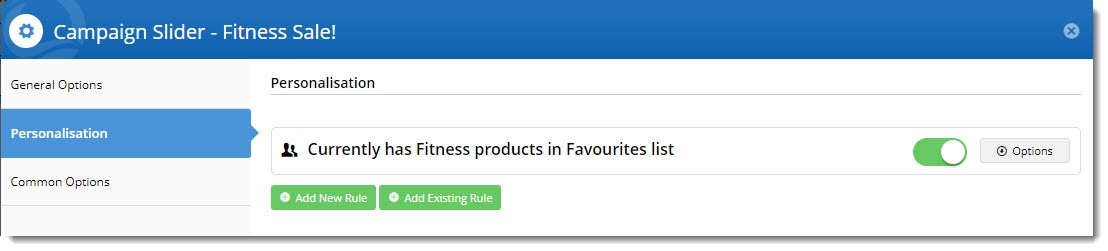
- The rule will be added to the widget, but will not be active. You can use the toggle to turn the rule on.
- If you need to edit or delete the rule, hover over the Options menu (we'll cover the Schedule option later in this article).
- Click Save to exit the widget.


Edit a Rule
This is where you can see where this rule has been applied (if at all).You can edit a rule at any time, but be aware that any widgets with the rule applied will be affected.
- Navigate to the Rule Maintenance page via Advanced Content → Personalisation.
- You'll see all of your existing rules listed, as well as the number of times each has been applied to a widget.
- Note that rules applied to widgets but not toggled on are not counted here.
- Click Edit on the required widget.
- Update the values in the scenario, or add and remove scenarios as needed.
- If the rule is already in use, you'll see a list of Applied Locatons below the rule builder.
- Clicking on the template name will take you to the template, with the personalised widget highlighted.

Schedule a Rule
You may have a widget you'd like to display to your target audience for a limited time only. This where Scheduling comes in handy.
- With the widget open for editing, select the Personalisation tab. (If the rule you want is not already there, add it to the widget.)
- Hover on the rule's Options button and select Schedule.
- Click the Calendar icon to select a Start Date. Do the same to select the End Date.
- Click Confirm.
- A clock icon will appear on the rule to indicate that it's running on a schedule (rather than indefinitely).


Personalisation of this widget will now be in effect between the scheduled (local) times. As long at the rule is active (toggled on), the widget content will not be displayed to eligible users until the scheduled start date & time.
Things to note
- Applying a rule but not enabling - if a rule is not active, then the widget will behave as normal (ie. as though there is no personalisation applied at all).
| Content by Label | ||||||||||
|---|---|---|---|---|---|---|---|---|---|---|
|
...