...
- Navigate to the Facebook for Developers page https://developers.facebook.com/ - and click 'Log In'.
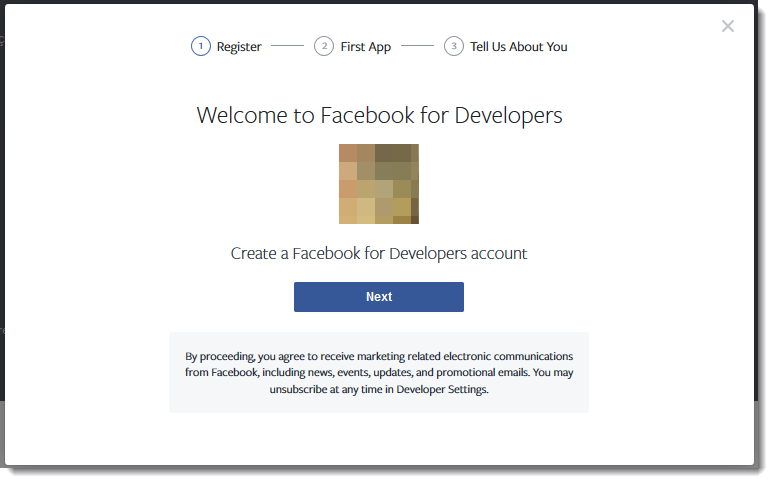
- Login with your Facebook account, then click 'Get Started' at the top of the page. You'll be prompted to create a Facebook for Developers account (click Next).
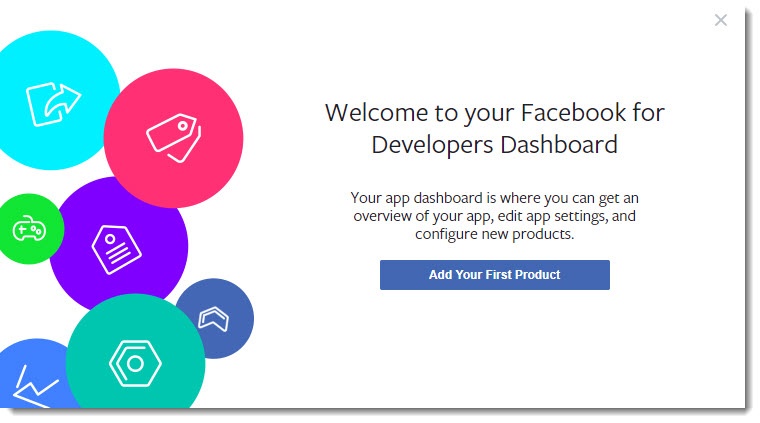
- Follow the prompts to create your account, then once you're in your dashboard, click 'Add Your First Product'.
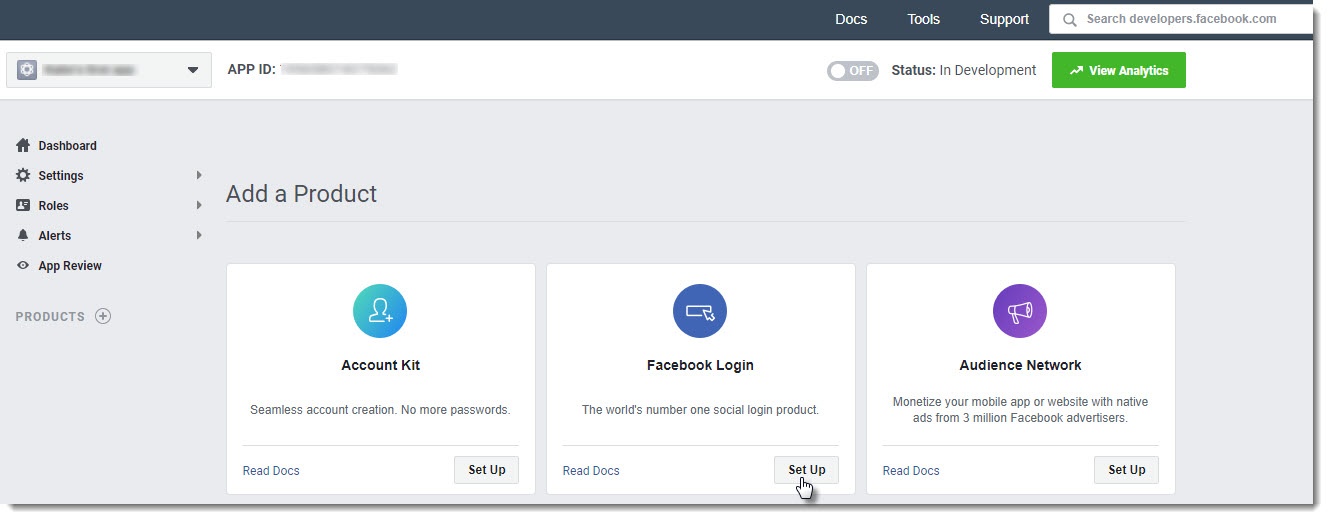
- In the Add a Product section, locate Facebook Login and click Set Up.
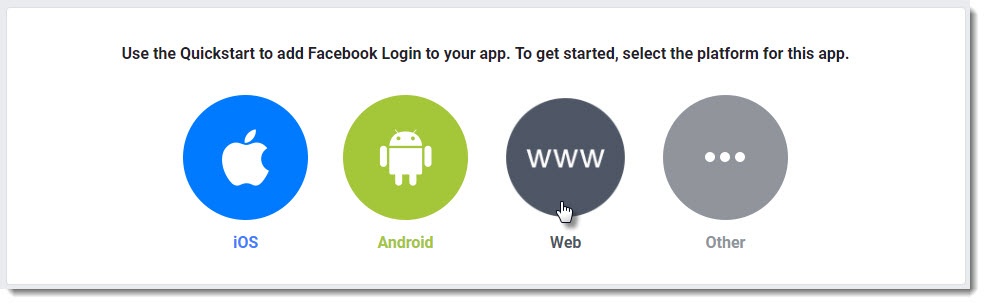
- Select Web as the platform you're setting up for.
- Enter your Website URL and Continue.
- The steps that follow provide you with javascript and status codes that you will not need (as we do the hard work for you in the CMS). You can skip through these remaining steps.
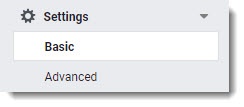
- Next, navigate to Settings → Basic.
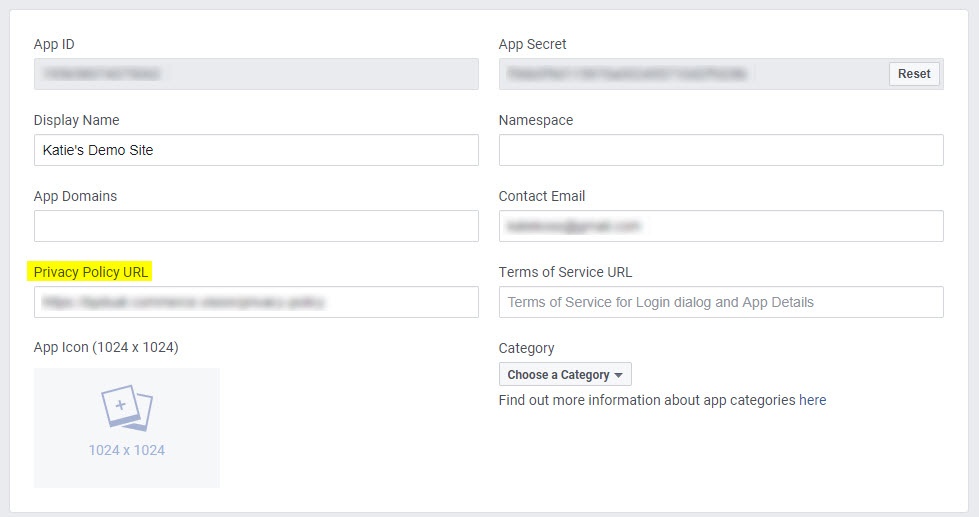
- Enter the URL for your website's Privacy Policy (a link to this page is displayed to users who use Facebook login on your site).
You can also update the other fields here if you choose, such as an App Icon (your company logo, perhaps?), the display name, domain, and category. Only the Privacy Policy URL is mandatory.- While on this page, take note of your App ID and App Secret. Copy and paste them somewhere handy - you'll need these once you get to the Commerce Vision CMS.
- Click 'Save Changes' at the bottom of the page.
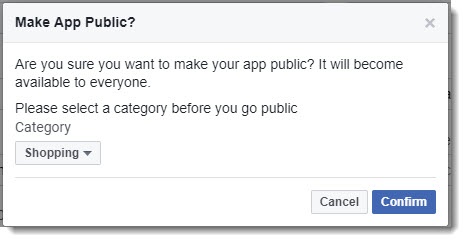
- Finally, click the OFF toggle in the status bar to turn this app on. You'll be prompted to select a category (if you haven't already) and Confirm.
- Check that the status updates to 'ON' and the Status: Live.


...