...
- In the CMS, navigate to Settings → Store Locator Maintenance.
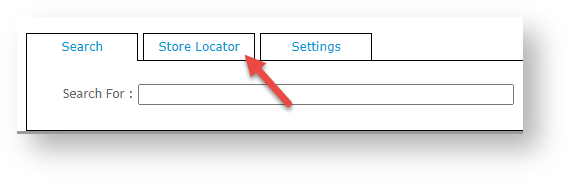
- Select the Store Locator tab. Records of each existing location are displayed.
- Click New.
- Tick Active if this location is to be visible on your site.
- Enter the Store Name, Address, and contact fields. NOTE - the Store Name entered will be displayed to Users on your website.
- In Latitude and Longitude, enter accurate values for this site. TIP - this site may be helpful - http://www.latlong.net/)
- (Optional, only if store warehouses are used.) In If applicable, in Warehouse Code, enter the code of the store warehouse for this location (as reflected in the ERP).
- In Shipping Lead Time, enter the number of days required to process and ship an order from this location from when it is submitted.
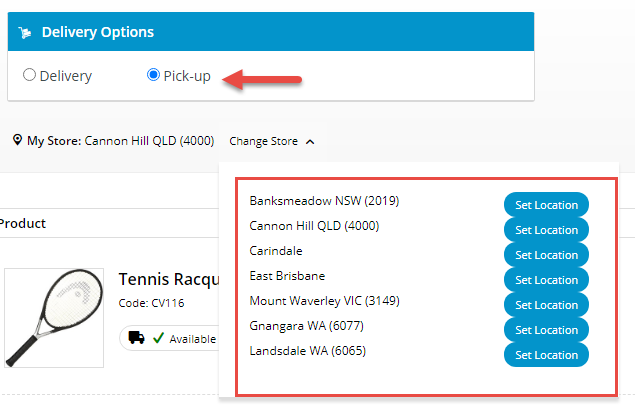
(Optional) Tick Is Pick-up Enabled to enable this location for Click & Collect pickup. If this is ticked, the location will be available as a pickup location for customers. This information will also integrate to the PRONTO 'StoreLocation' table for the Warehouse Code/Store Location.
Expand
title Click here to see an example...
- (Optional) The Store Name For Pickup Click And Collect provides an alternate pickup location, e.g., a warehouse, to this one (e.g., if it is suitable for pickup). This alternate location can be configured to default instead of the store location. This option requires implementation by Commerce Vision.)
- (Optional) The Click And Collect Product Availability Buffer is a product buffer value specific to this warehouse and overrides the value in System Settings. The buffer adds a safety net to the availability logic, e.g., to account for stocktake errors. The value is subtracted from the available quantity.
- (Optional) In Opening Hours HTML, insert this store's opening hours within HTML tags for display on your website.
- To save the store location, click OK.
...