Prerequisites
This feature must be switched on for your site by Commerce Vision.
Extend the Point of Sale (POS) functionality of your website by connecting your online application to a physical in-store payment terminal.
This example shows you how to integrate a physical POS terminal with your online application using SignalR technology. SignalR allows your ecommerce system to push web content to connected clients in real-time; in this case, a CommBank Albert Payment Terminal to process payments.
Step-by-step guide
IMPORTANT - An Albert Terminal must already be connected and operating correctly in your environment.
- In the CMS, navigate to Settings → Feature Management → Payment & Checkout → Terminal Payment. You can also search for Terminal Payment.
- Toggle ON Terminal Payment, then click Configure.
- In Configuration Settings, toggle ON Enable Terminal Payment.
- Toggle ON Enable Terminal Payment and Enable Terminal Payment for Trade Docket. Or use the Overrides option to control what Roles will see the Terminal Payment option.
- To save your changes, click Save and Exit.
- Navigate to the Checkout Template: Content → Pages & Templates → Checkout.
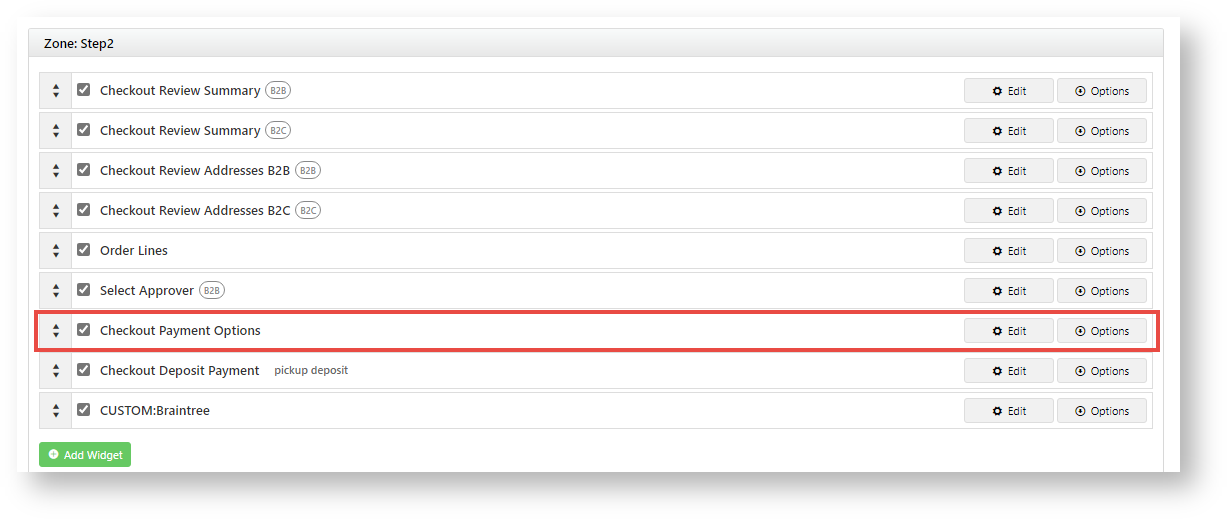
- Find the Checkout Payment Options widget and click Edit. In our example, it is in the Step2 Zone.
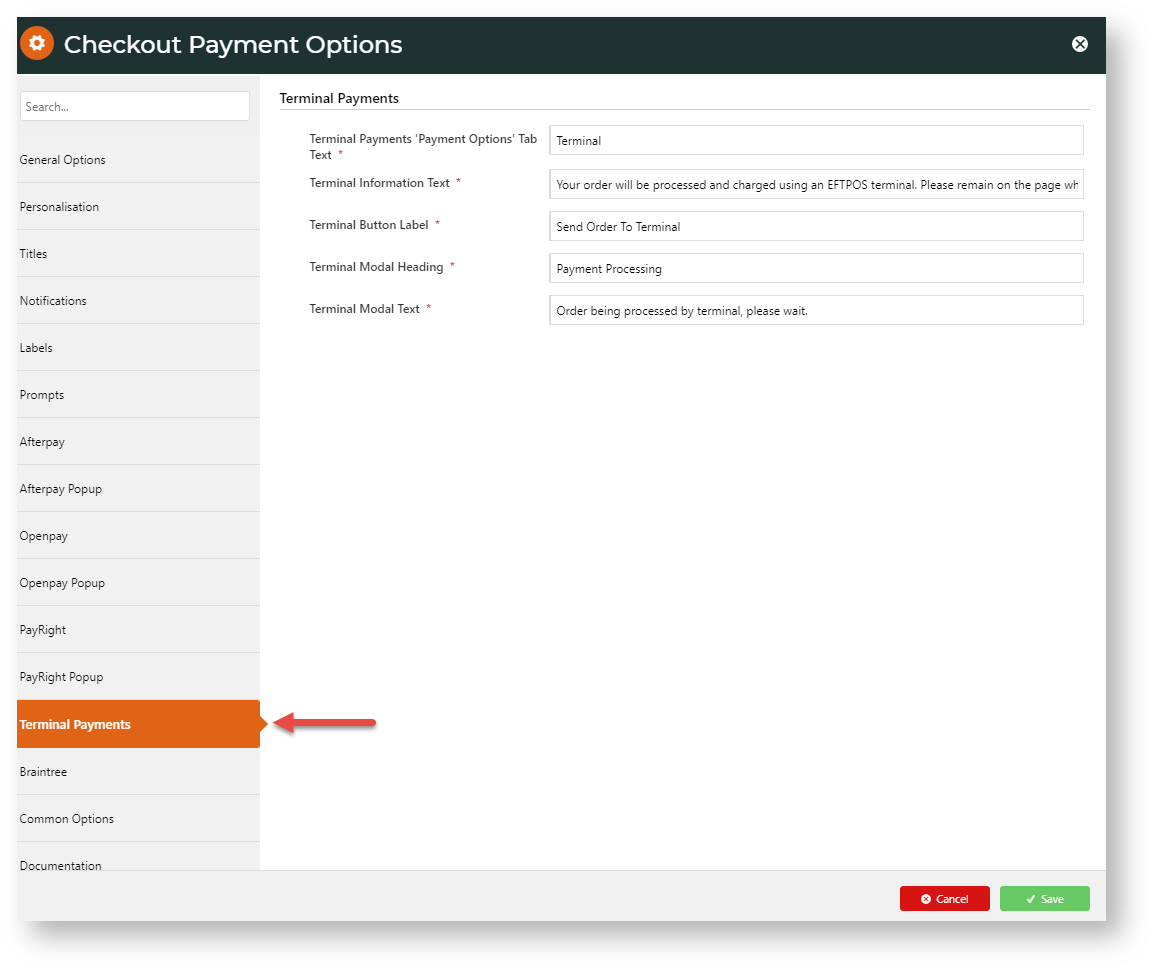
- Select the Terminal Payments tab. TIP - If you don't see it, review Steps 2 to 6 to ensure you have enabled Terminal Payments.
- You don't need to alter any parameters within this tab for the Albert Terminal functionality to work, you may want to customise the messages.
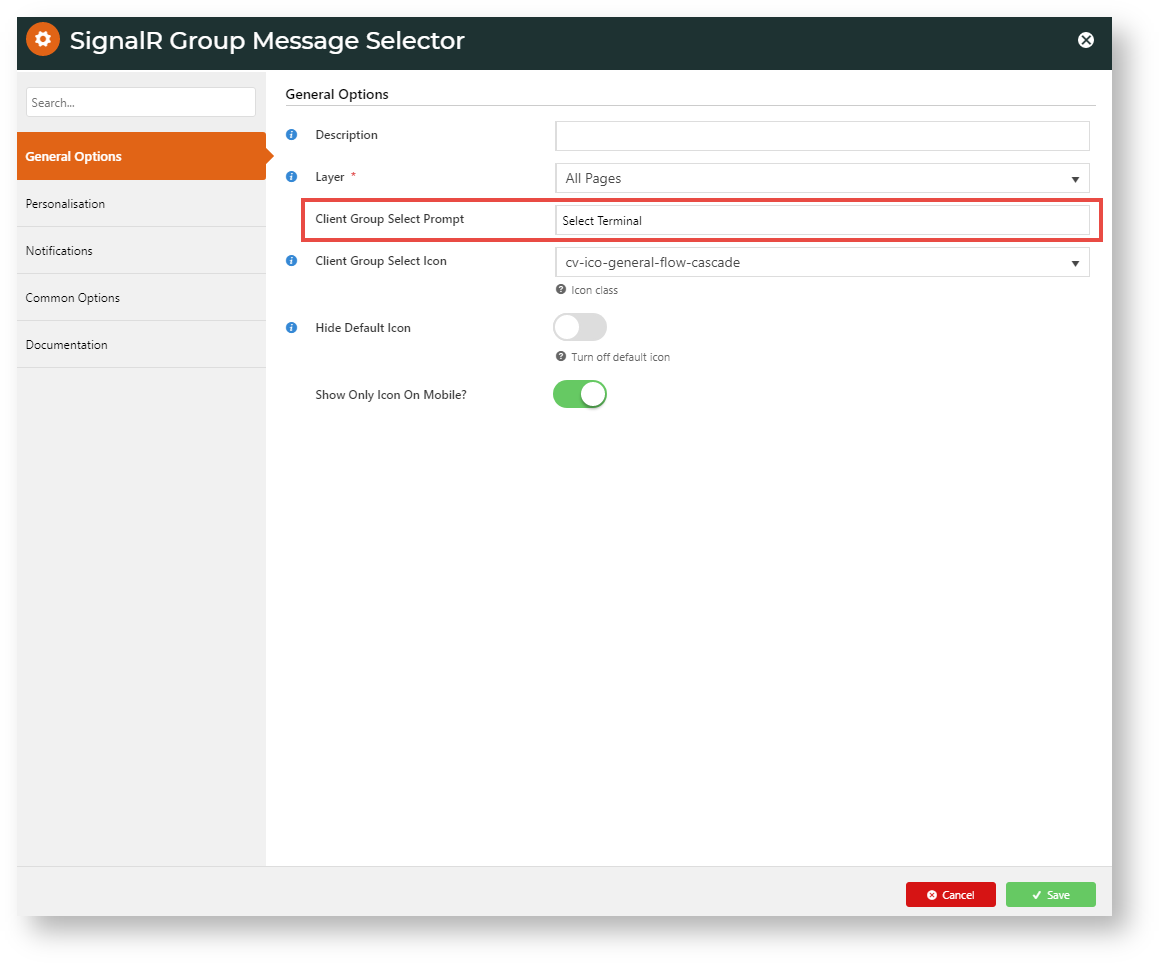
- To define the text for the button users will click when selecting a SignalR client, e.g., a printer enabled to print orders/invoices in PDF format, add the SignalR Group Message Selector widget to the Checkout template. You don't have to add it to a specific zone. We will add ours to the Step2 zone.
- You don't have to change any options here for the functionality to work correctly. However, you may want to change Client Group Select Prompt to something more meaningful. We've changed ours to reflect what the action will do: Select a Terminal.
- To edit more options, see: SignalR Group Message Selector widget help.
- To save your changes, click Save.


Test Albert Payment Terminal Functionality
You can test the set up by making a purchase on your website.
- On your website, follow your standard procedures to purchase a product and head to checkout.
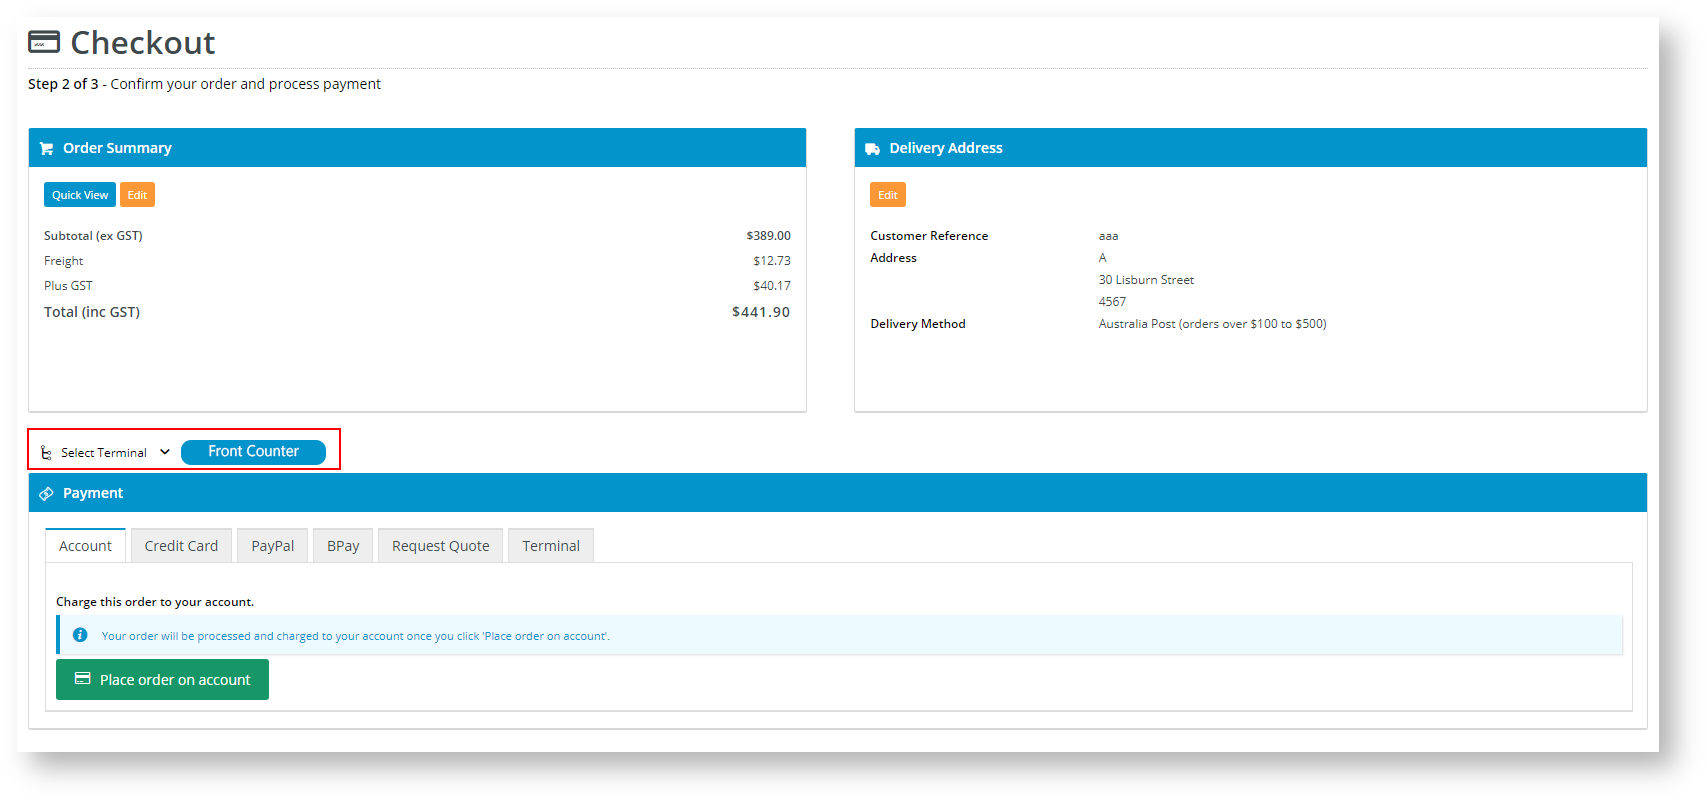
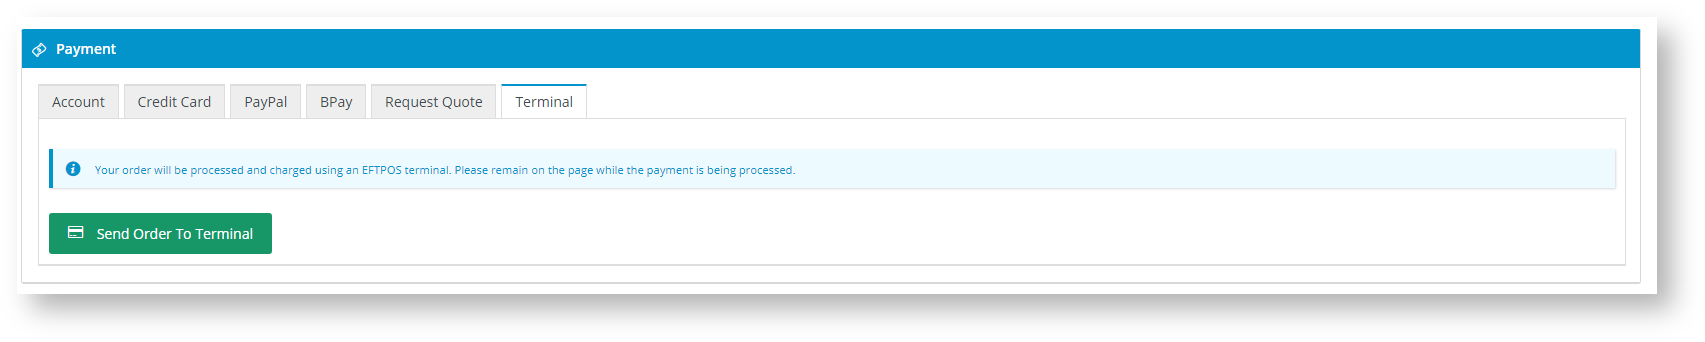
- In the Payment section, you should see a new Terminal tab and your prompt to select the terminal.
- Ensure your Albert Terminal is turned on and connected to your provider.
- Click Send Order to Terminal.
- A Payment Processing message will display. Follow any prompts on your terminal.
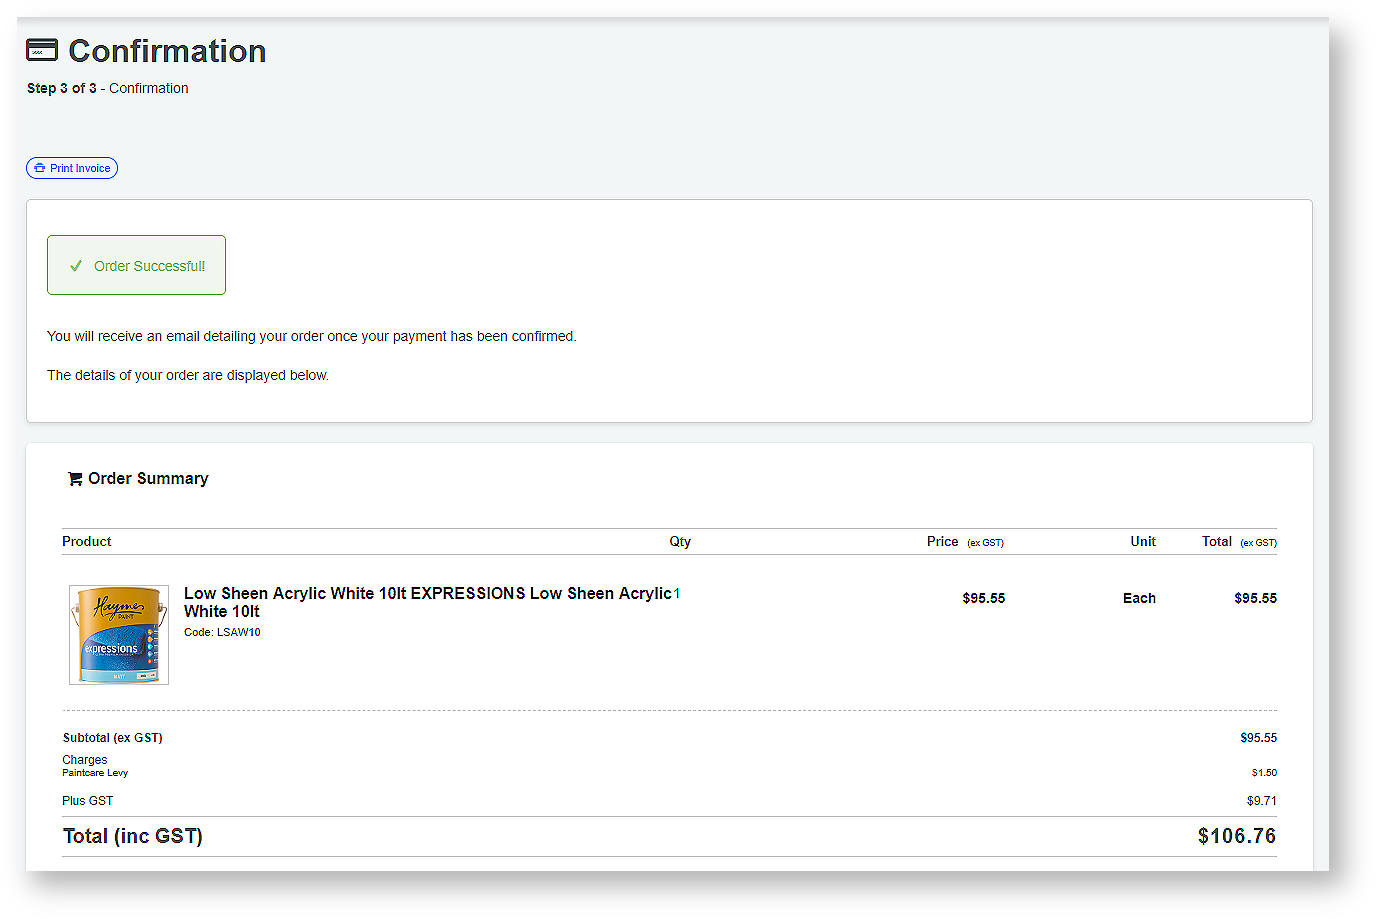
- The system will display a Successful Order Confirmation message if the payment processes correctly.
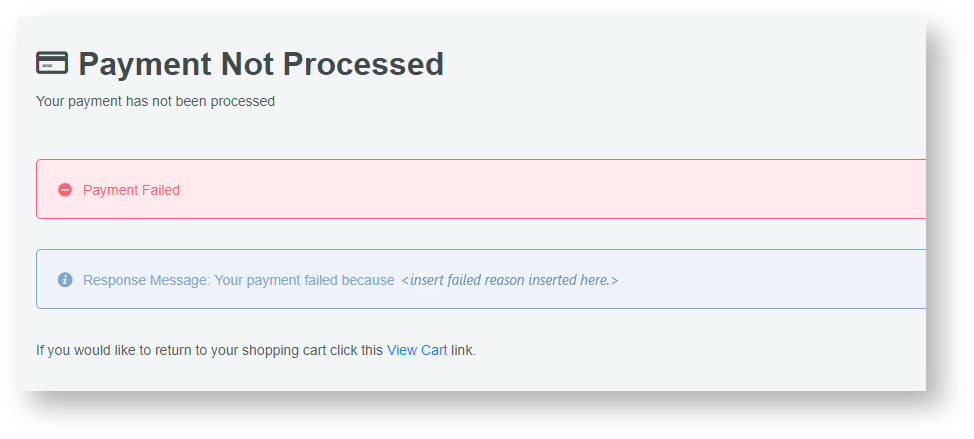
- Should the payment fail, you will receive a Payment Not Processed message. You can click the View Cart link and retry your payment.

Additional Information
We recommend testing this functionality in your staging site before taking it live.
Contact Commerce Vision if you want to configure this functionality for your site.
| Minimum Version Requirements | 4.13.00 |
|---|---|
| Prerequisites | POS Terminal and SignalR functionality configured and working. |
| Self Configurable | No; needs API development; |
| Business Function | Payment Types |
| BPD Only? | Yes |
| B2B/B2C/Both | Both |
| Third Party Costs | Fees apply |
--
Related help
There is no content with the specified labels