Overview
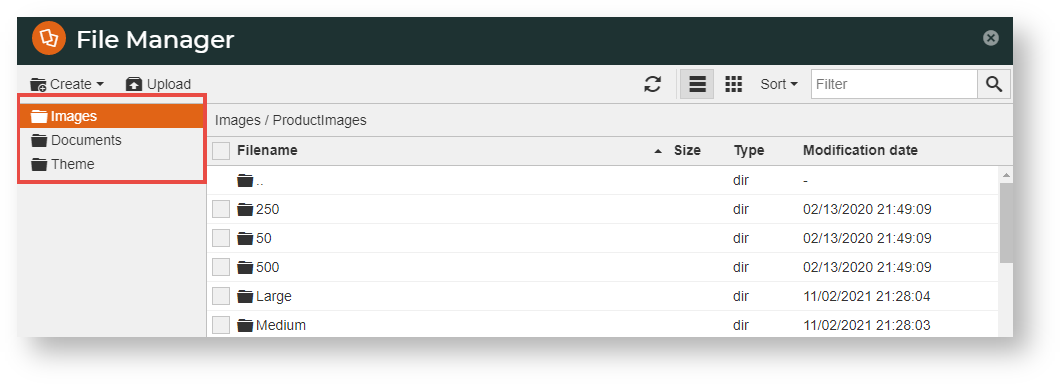
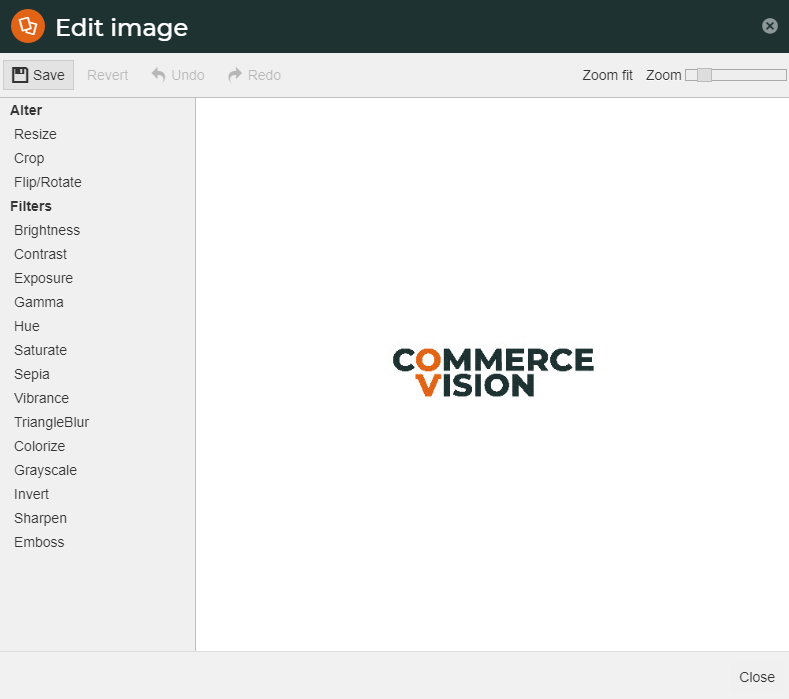
The File Manager in CMS lets you to view and manage the document, theme and image files used on your web pages. Just like any file manager, you can upload, download and delete non-system files. It also has image editing tools so you can resize, crop and apply filters to your image files right in File Manager.
File Manager is available anytime from your CMS navigation menu. It is also the window displayed when you add a file during a task , e.g., select an image for an article or a product.
Requirements
- File formats: jpg, jpeg, png, gif, html, htm, txt, docx, doc, zip, pdf, xls, xlsx, csv, svg, css, js, ico, woff, woff2, gz, rar, lzh, mp4, webm, ogg, dwg, stp, dxf, webp, vcf
- File size: 0 - 100 Mbps
- File name characters: Uppercase letters (A-Z), lowercase letters (a-z), numbers (0-9), period (.), hyphen/dash (-), and spaces.
⚠️ Only noticeable when opening images via CMS
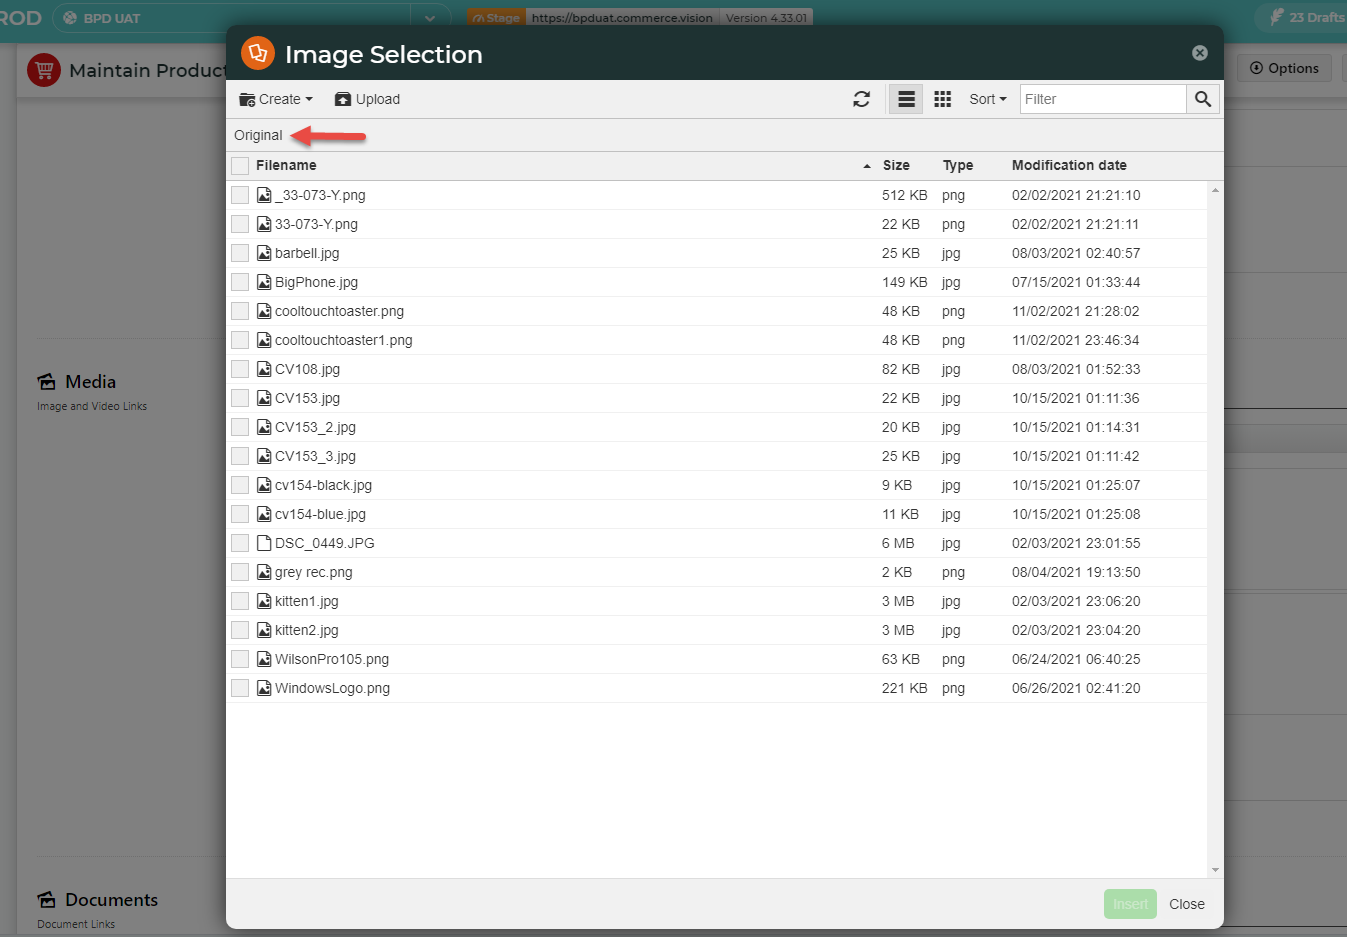
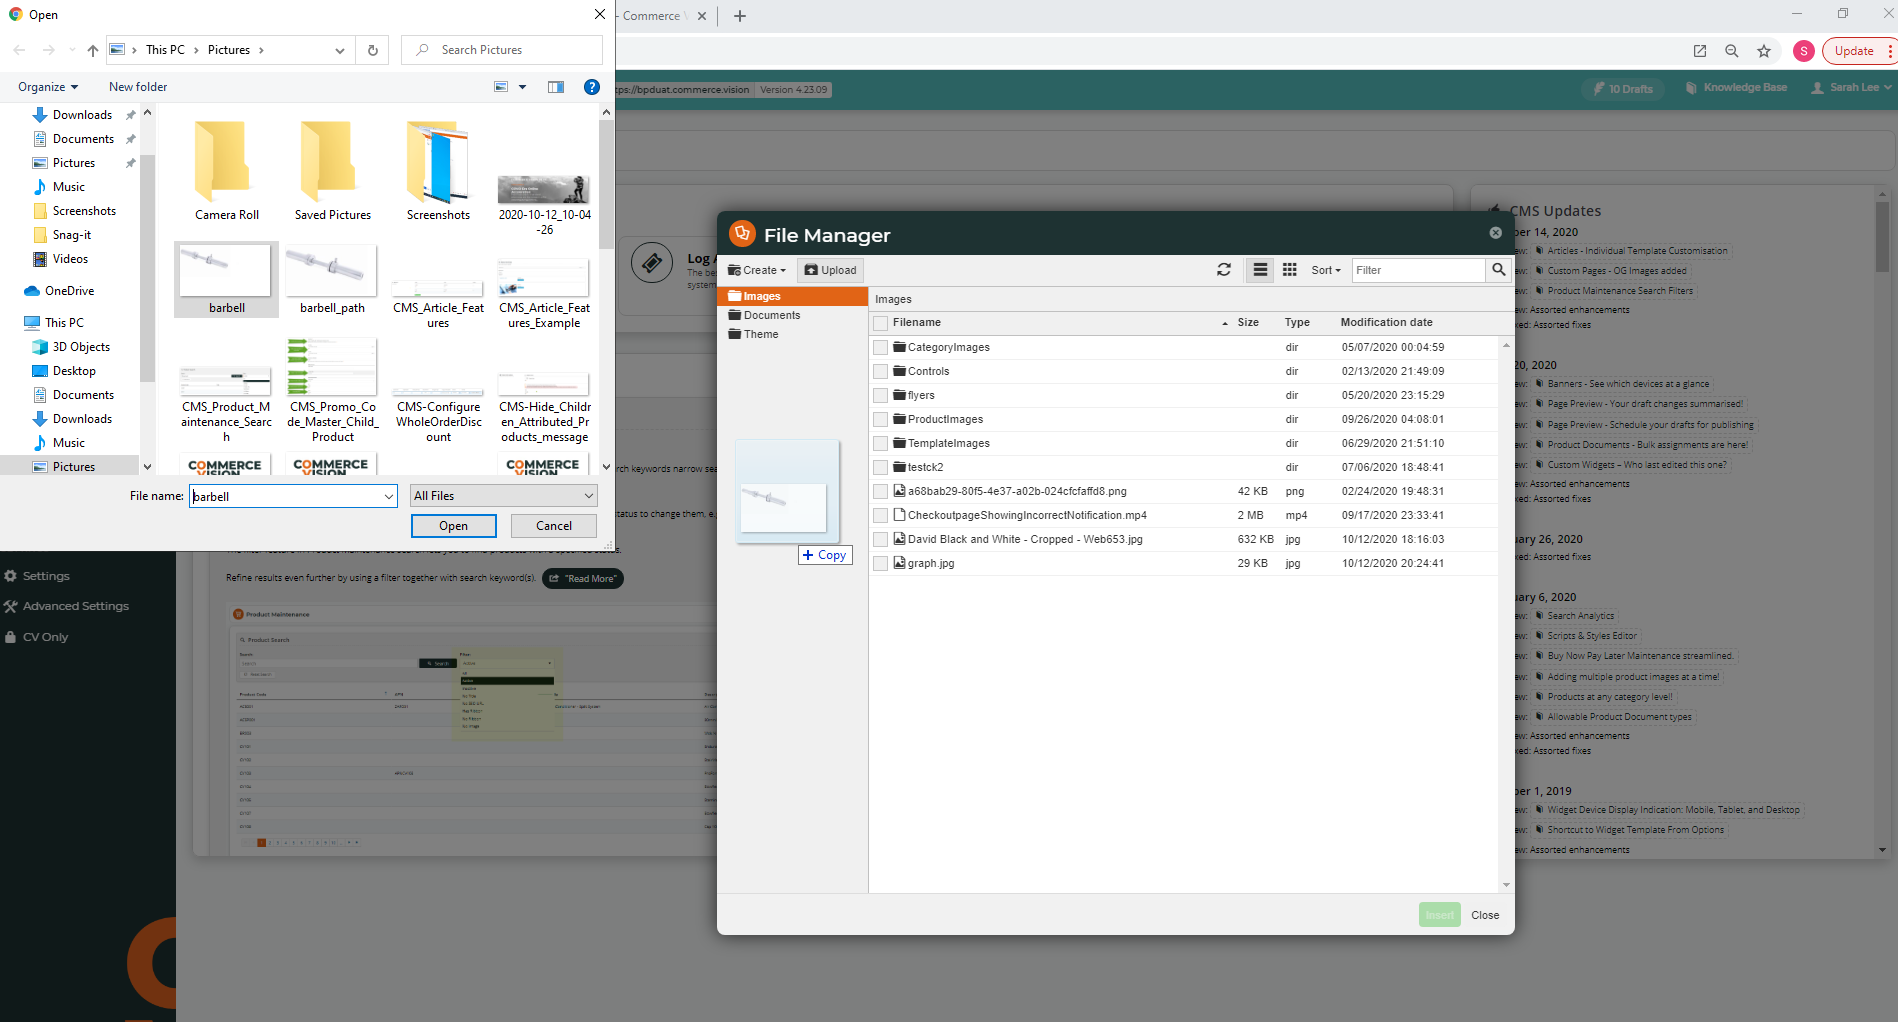
Example: Selecting an image for a product (in Product Maintenance). For some tasks such as this one, only specific folders are accessible. (Here, only the Images/Original folder for uploading/selecting an image is visible). For some other functions, e.g., Articles, all folders will be available.
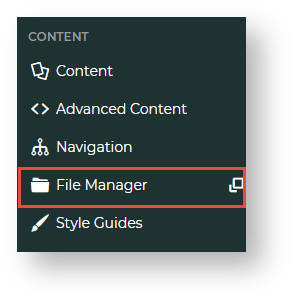
Access File Manager on the navigation menu
To access File Manager directly:
- In CMS, go to Content → Content → File Manager.
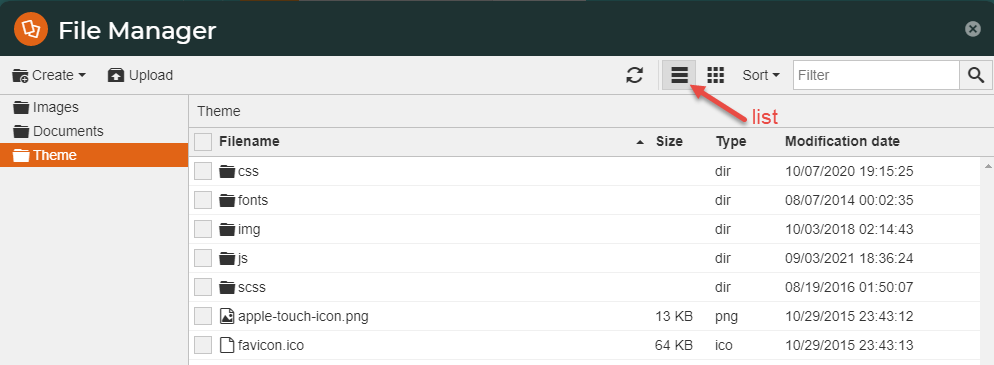
- File Manager opens in a popup window so you don't have to navigate away from the content you're working on. You can view files and folders in List or Thumbnail mode.
File Manager Functions
| Function | Comment |
|---|---|
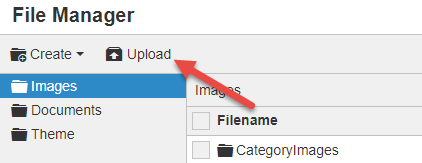
| Click Upload. NOTE - You can drag and drop from your local directory to the CMS. |
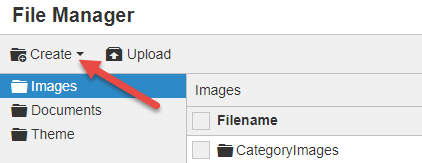
| Click Create. NOTE - You cannot create a new main folder. |
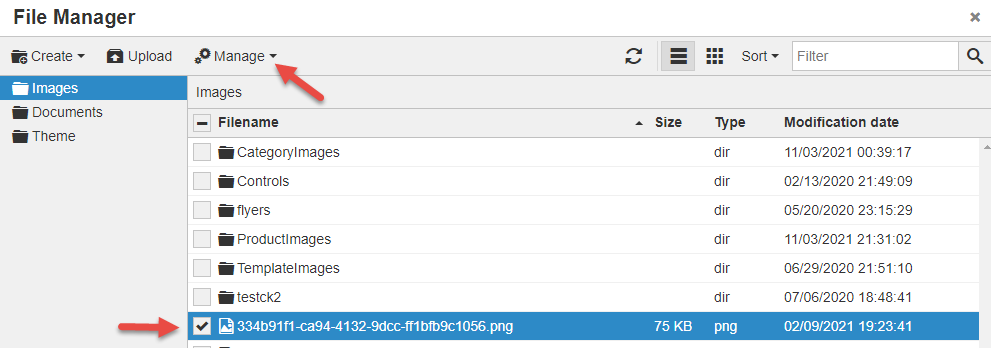
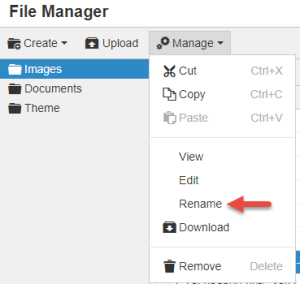
| 1. Click on the file or folder name, then click Manage. 2. Select Rename. |
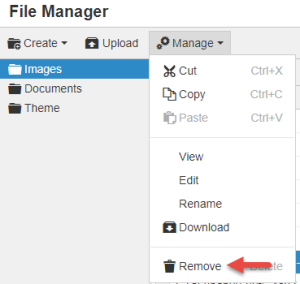
| 1. Click on the file or folder name, then click Manage. 2. Select Remove. |
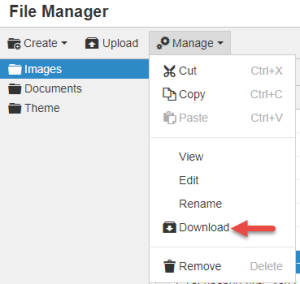
| 1. Click on the file or folder name, then click Manage. 2. Select Download. |
| 1. Click on the file or folder name, then click Manage. 2. Select Cut or Copy, then Paste. |
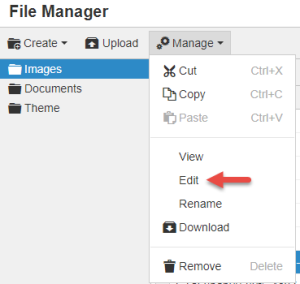
| 1. Click on the image file, then click Manage. 2. Select Edit. 3. Click on the Alter or Filter tool you want to use. 4. To save the edited image, click Apply, then Save. |
Additional Information
--
| Minimum Version Requirements |
|
|---|---|
| Prerequisites |
|
| Self Configurable |
|
| Business Function |
|
| BPD Only? |
|
| B2B/B2C/Both |
|
| Third Party Costs |
|
Related help
