Overview
Banners encourage instant engagement with your website users, so why use that valuable space on a page just for one highlight or call to action?
| Excerpt |
|---|
Slider banners are common features on many ecommerce sites these days. On the Home Page for example, you may want to draw attention to a promotiional campaign, new products, and communicate changed shipping conditions. With the slider format, the loaded set of banners ('banner type') displays in the one space in a carousel. The user can easily go to another banner by clicking the 'next icon' or the link to the one they want. If autoplay is on, the carousel displays a for a set time before transitioning to the next one. |
| Info |
|---|
Adding a video banner may require consultation with Commerce Vision. |
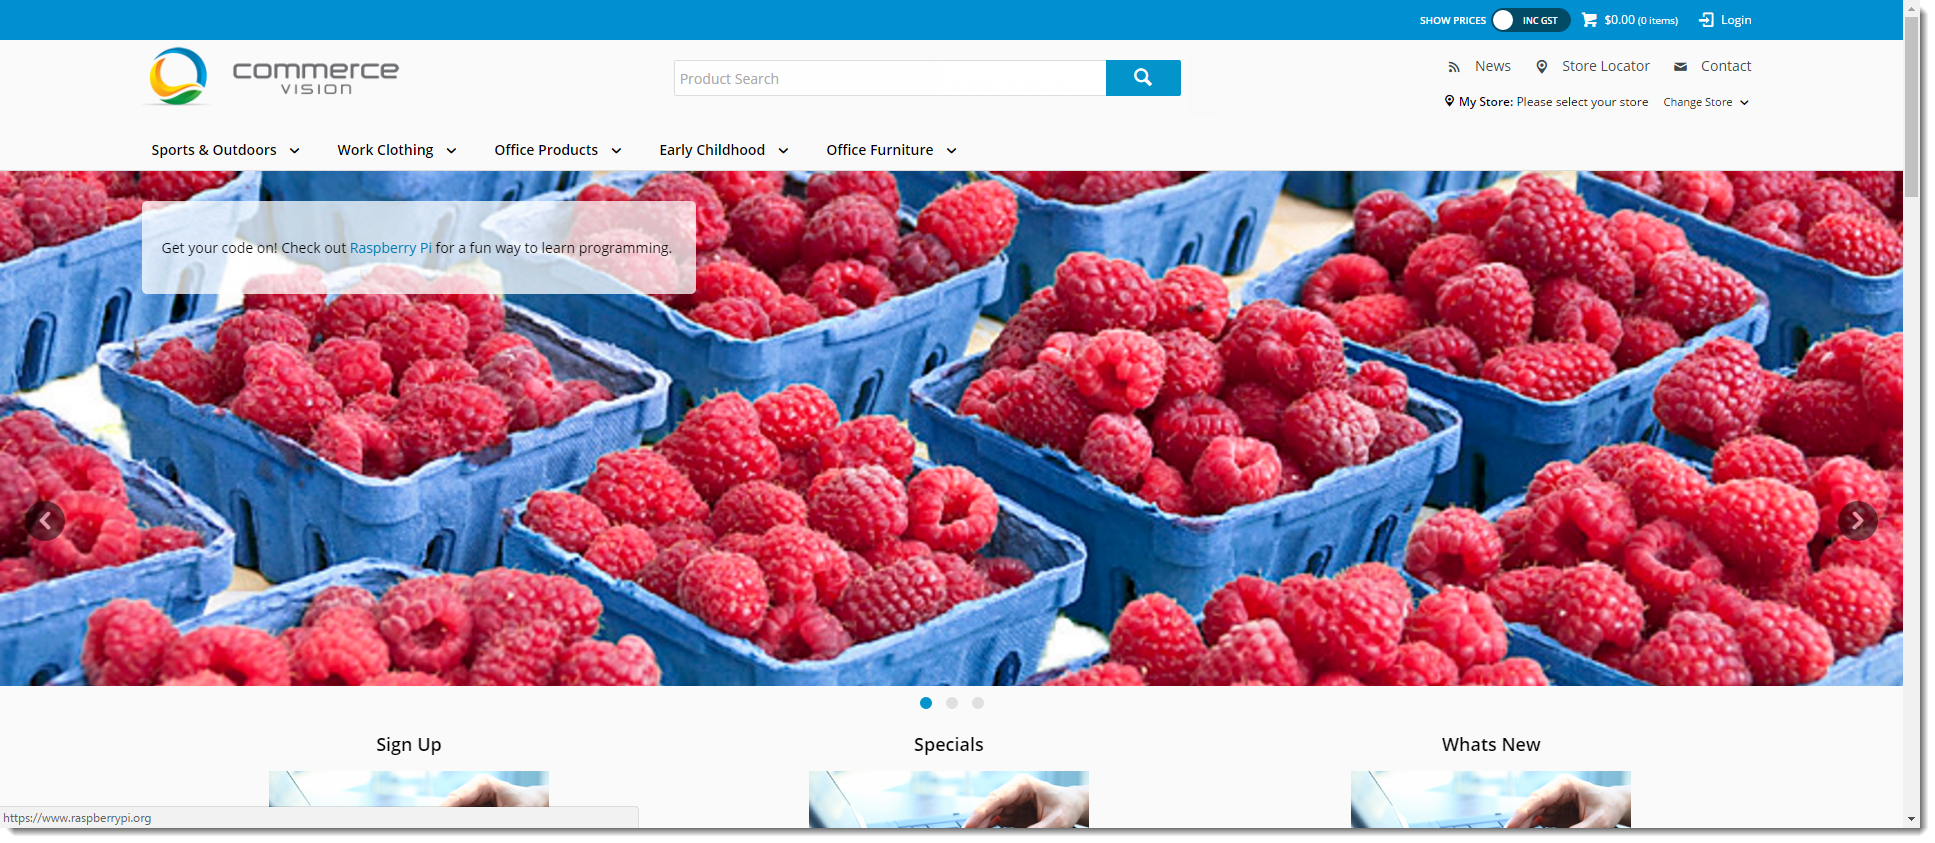
Example of a banner in a slideshow. Basic features - (1) Clickable links to each banner. Also tells the user which banner in the sequence they are viewing. (2) Clickable 'next banner' icon. The other end has a clickable 'previous banner' link. (Can be disabled.) (3) Clickable link to another page on your site. Displays depending on content.

Video example: four banners in a slider format
| View file | ||||
|---|---|---|---|---|
|
| Panel | |
|---|---|
On this page:
|
This guide takes you through the process of placing multiple banners in a slider format on your website.
1. Enable and configure Banners
Before you can create and edit banners, the Banners feature must have been enabled. Banners displays as a submenu item in the Content menu.
To enable Banners:
- Go to Settings → Feature Management → Content.
.
- Ensure Banners is toggled ON.
- Click Configure.
- In Banner Feature Settings, you can maintain Banner Types and allow filters. Filters gives the option of showing a banner only to subgroup of Users.
- To save your settings, click Save & Exit.

2. Create a Banner Type
A 'banner type' is one or more banners grouped together. Keep in mind a banner type targets a specific type of content, e.g., a slider banner for your home page. When you add a banner feature to a page, you will be asked to select the relevant banner type.
This step creates a banner type. Banner types is accessed via Feature Management Settings or the Banners Maintenance screen.
| Tip |
|---|
If you already have the Banner Type set up and just want to add a new banner to an existing Banner Type, go to Step 3. |
- In the CMS, go to Content → Banners.
- Click Add New Banner Type.
- Enter a unique Code and Name for the new type, and assign an Icon if you wish.
- Click Save.
- Your new banner type will appear in the Banner Type Maintenance list. You can edit or delete banner types from this page. TIP - Once the banner type is in use, the Name cannot be changed.


3. Upload Banner Images, Videos
Upload the images and/or video for each banner for the banner type.
| Multiexcerpt | ||
|---|---|---|
| ||
Repeat Steps 3-11 to add more images in your slider banner. You can drag and drop banners to re-sequence them if required.
|


4. Add Banner Slider Widget
All the slider banner widget where you'd like the slider to appear.
(In this example, it is added to the site's Theme and then restricted to appear on the Home Page with a Layer.
- In the CMS, go to Content → Theme Layout (or the page/template for the banner slider to display.
- Locate the zone for your banner slider.
- Click Add Widget.
- Search for Banner Slider and click Add Widget.
- Edit the newly added widget and configure the options. Don't forget to set the Banner Type Filter to the one you created earlier!
For a guide to all widget options, see: Banner Slider Widget.- Click Save.

Presto! Your banner slider is ready. Load your site in a new browser to view your handiwork.
5. Access banners for a slideshow quickly
When you're on a page with a Banner Slider widget, you can use the Options menu to go directly to the Banner Type rendered to edit the banners used. (See: Banner Type Maintenance).

Related help
| Content by Label | ||||||||||||||||||
|---|---|---|---|---|---|---|---|---|---|---|---|---|---|---|---|---|---|---|
|
| Content by Label | ||||||||||
|---|---|---|---|---|---|---|---|---|---|---|
|