...
Create the Menu
- Login as an Administrator.
- Navigate to Menu Editor (/zMenus.aspx).
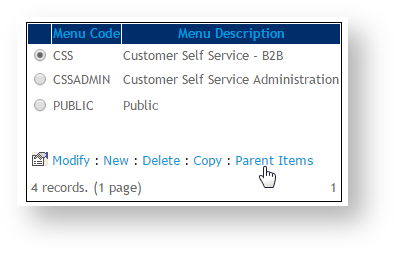
- Select the parent menu the footer belongs to (e.g. CSS) and click 'Parent Items'.
- Click 'New' to create a new section menu.
- Assign a Menu Item Code such as 'FooterMenu' (no spaces permitted).
- Assign a Description.
- Tick the 'Is a Section' option.

- If required, tick the 'No Breadcrumb If Is Section With No Page' option to make pages on this menu sit directly under the Home Page in the site structure.

- All other fields may be left at default (see Adding Add a New Menu Item if you require further information).
- Click 'OK' to save.
...
- Navigate to Theme Layout.
- Locate the appropriate zone according to your layout, and click 'Add Widget'.
- Select and add the 'Section Menu' widget.

- Click 'Edit' to configure widget options.
- Populate the 'Section Menu Item Code' with the menu item added at Step 1e (e.g. 'FooterMenu').
- Assign a List Heading for the menu (e.g. 'Our Store' in the screenshot above).
- Configure other options as required, such as icons and links.

- Click 'Save'.
...
3. Add Pages
In this example we'll add a Custom content page.
- Navigate to Custom Pages.
- Click 'Edit' on the required content page.

- In the Access and Security section, click 'Add Menu'.
- Select the menu from the list of options - this should be the Description entered at Step 1f, with the Parent Menu in parentheses (e.g. Footer Menu 1 (CSS)).
- Tick the 'Authentication Required' if the menu is not public and should be accessible after login only.

- Click 'Save & Exit'.
- Repeat for any other content pages required on this menu.
| Info |
|---|
General widget documentation can be found here: Section Menu Widget |
...
| Content by Label | ||||||||||||||||||||
|---|---|---|---|---|---|---|---|---|---|---|---|---|---|---|---|---|---|---|---|---|
|