Overview
| Multiexcerpt |
|---|
| MultiExcerptName | Feature Overview |
|---|
|
| Excerpt |
|---|
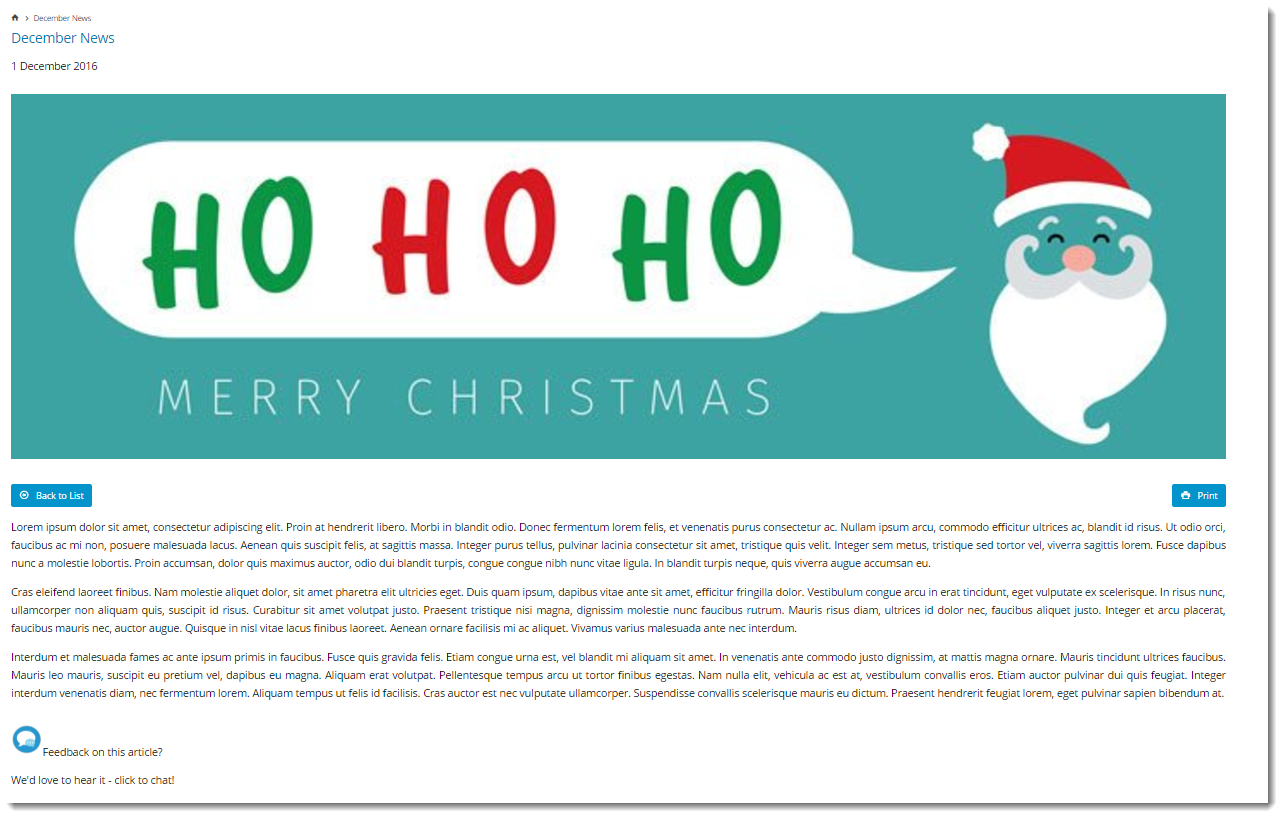
BPD websites come equipped with a clean, well-organised article layout right out of the box. But what if you've got additional content to display in your articles? Or what if you'd prefer a customised page layout, completely unique to your site? That's where the zoned layout option comes in! By using a zoned article layout, you can present your article in the layout of your choice, with content arranged as you please. |
|
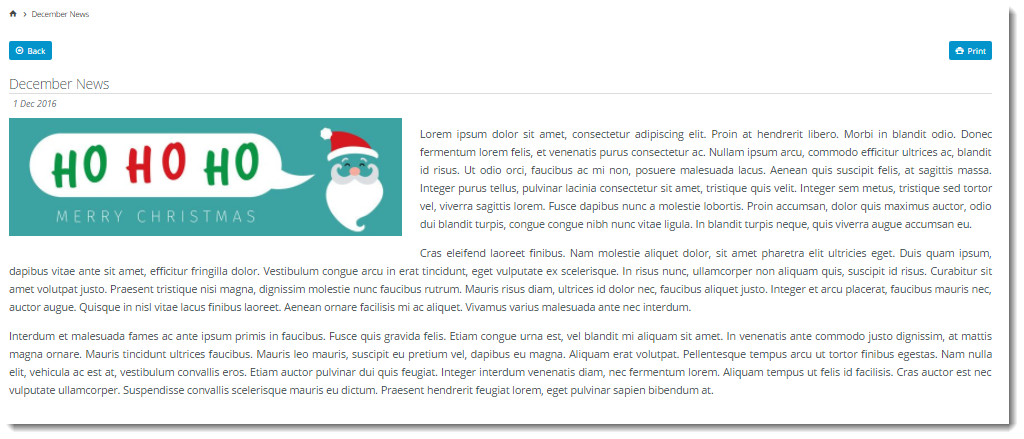
| User-defined zoned layout | Non-zoned (default) layout |
|---|
|
| Info |
|---|
| If the 'Use Zoned Article Template' is disabled in Article Feature Settings, then this default non-zoned layout is automatically used. |
|
If you want to completely customise a template for each individual article, see the guide on Article Template Override.
Step-by-step guide
This guide will outline how to enable zoned article template for use and create customised zoned layouts for article content.
1. Enable Zoned Article Template Layout
- Navigate to Settings → Feature Management → Content.
- Ensure Articles is toggled on, then click Configure.

- In the Article Feature Settings screen, toggle on Use Zoned Article Template.

- Click Save & Exit.
2. Customise the Article Page Zoned template
- Navigate to Content → Pages & Templates → Articles.
- Click Edit for the Article Page Zoned template.

- The default widgets will be present in the template (Article Title, Article Image, Article Date, to name a few). Edit the options for existing widgets if required.
- To change the entire layout of the article page, click Change in the layout preview panel.
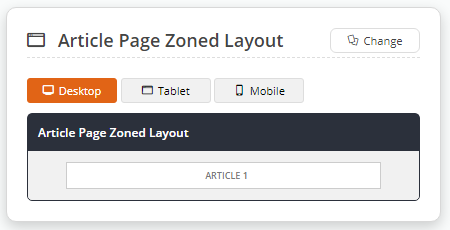
- Select another layout or follow our Layout Creator guide for instructions on how to create your own custom article layout. In this example, a built-in content layout was selected.
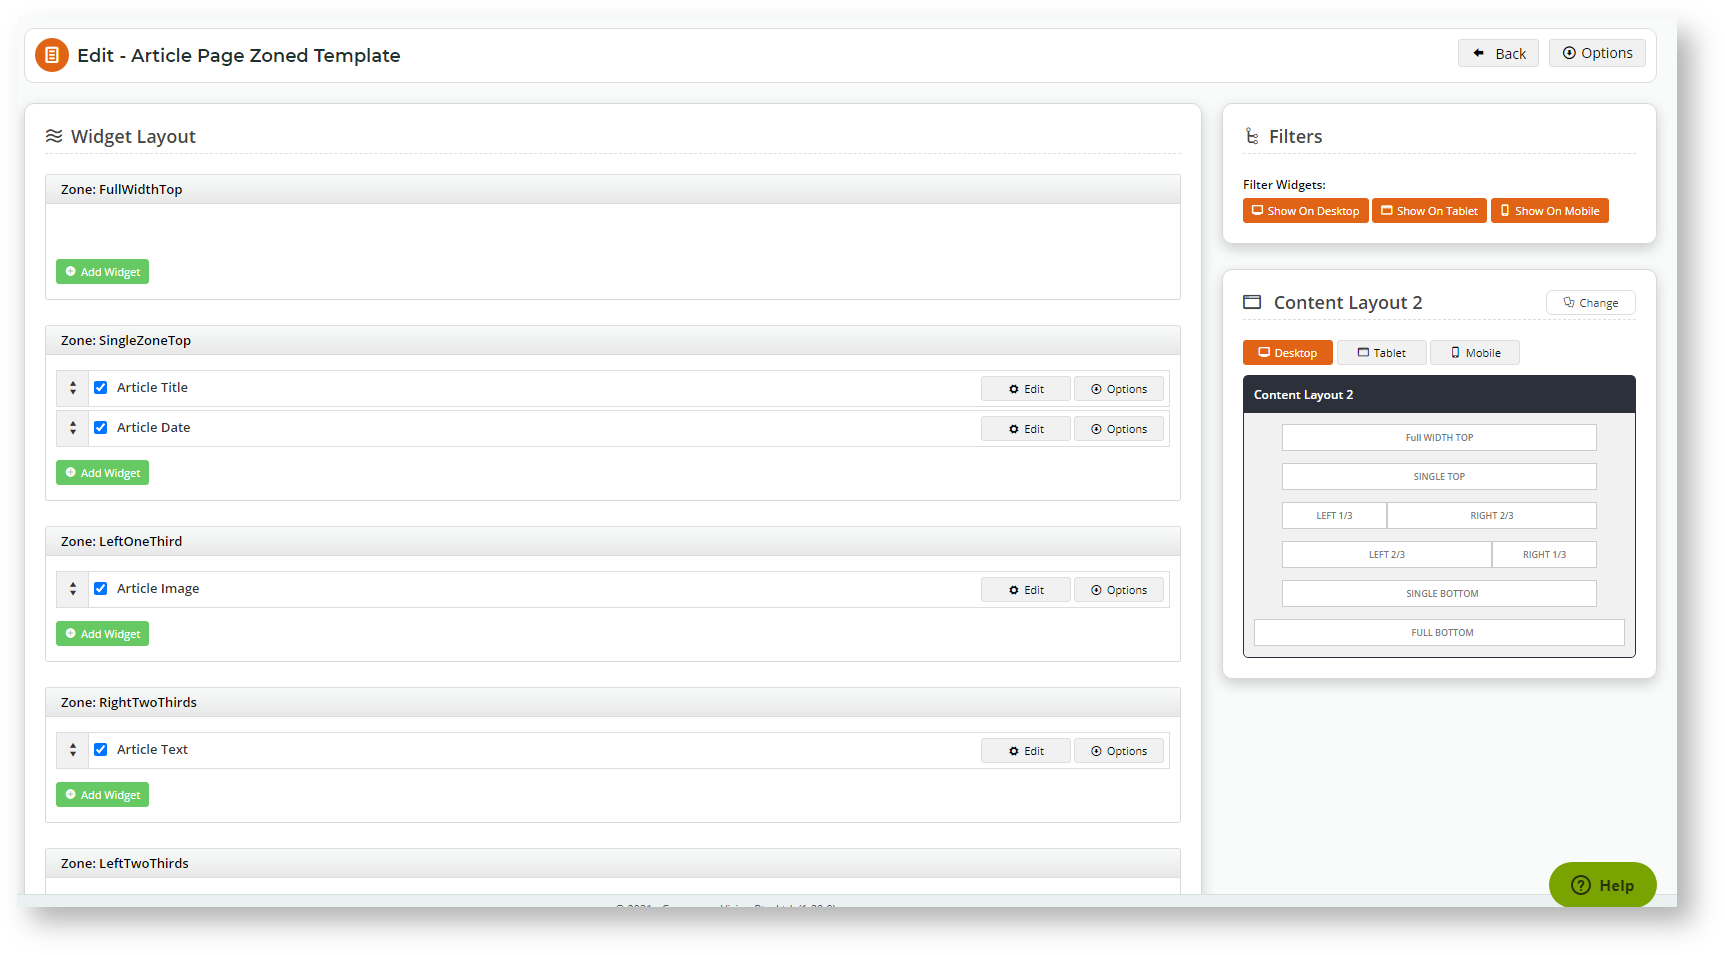
Drag and drop widgets to re-order them or move into different page zones, or add and delete widgets as needed.
| Tip |
|---|
| title | Want to add more content? |
|---|
|
If you want to add additional content, you can insert an HTML Snippet Widget into the appropriate page. For instance, you can add a company logo or chat icon in the corner of every news article. |
- Once you are finished, load the Article page in another browser or incognito window to see your changes.
Additional Information
| Multiexcerpt |
|---|
| hidden | true |
|---|
| MultiExcerptName | Additional Info |
|---|
|
-- |
| Minimum Version Requirements |
| Multiexcerpt |
|---|
| MultiExcerptName | Minimum Version Requirements |
|---|
| **.**.** |
|
|---|
| Prerequisites | |
|---|
| Self Configurable |
| Multiexcerpt |
|---|
| MultiExcerptName | Self Configurable |
|---|
| Yes |
|
|---|
| Business Function |
| Multiexcerpt |
|---|
| MultiExcerptName | Business Function |
|---|
| Marketing |
|
|---|
| BPD Only? | |
|---|
| B2B/B2C/Both |
| Multiexcerpt |
|---|
| MultiExcerptName | B2B/B2C/Both |
|---|
| Both |
|
|---|
| Ballpark Hours From CV (if opting for CV to complete self config component) |
| Multiexcerpt |
|---|
| MultiExcerptName | Ballpark Hours From CV (if opting for CV to complete self config component) |
|---|
| Contact Commerce Vision |
|
|---|
| Ballpark Hours From CV (in addition to any self config required) |
| Multiexcerpt |
|---|
| MultiExcerptName | Ballpark Hours From CV (in addition to any self config required) |
|---|
| Contact Commerce Vision |
|
|---|
| Third Party Costs |
| Multiexcerpt |
|---|
| MultiExcerptName | Third Party Costs |
|---|
| n/a |
|
|---|
| CMS Category |
| Multiexcerpt |
|---|
| MultiExcerptName | CMS Category |
|---|
| Articles |
|
|---|
Related help
| Content by Label |
|---|
| showLabels | false |
|---|
| max | 5 |
|---|
| spaces | KB |
|---|
| showSpace | false |
|---|
| sort | modified |
|---|
| reverse | true |
|---|
| type | page |
|---|
| cql | label = "article" and type = "page" and space = "KB" |
|---|
| labels | how-to cms |
|---|
|
| Content by Label |
|---|
| showLabels | false |
|---|
| showSpace | false |
|---|
| title | Related widgets |
|---|
| excludeCurrent | true |
|---|
| cql | label = "widget" and title ~ "article" |
|---|
|