...
PayPal Express checkout can be implemented on BPD websites quickly and easily, using the guide below. Note that sites using Click & Collect will have a different implementation, detailed later in this document.
Step-by-step guide
1. Store PayPal Express credentials in System Settings:
...
guides below.

Before beginning, have your PayPal Merchant credentials handy and ensure your CSS is up-to-date for PayPal Express:
- Login to the CMS.
- Navigate to Settings --> Settings.
- Select the PayPalExpress tab.
- Populate the fields as follows:
- PayPal Express Login URL = https://www.paypal.com/cgi-bin/webscr?cmd=_express-checkout
- PayPal Express Endpoint = https://api-3t.paypal.com/nvp
- PayPal Express Username = (Your PayPal Merchant username)
- PayPal Express Password = (Your PayPal Merchant password)
- PayPal Express Signature = (Your PayPal Merchant Signature)
- Click 'Update' to save.
Step-by-step guide (where Click & Collect not in use)
Add the PayPal Express button to the Product Detail page (optional).
The 'Checkout with PayPal' button on the product detail page can behave in 1 of 2 ways:
Option 1 - add that product to the cart, then redirect to the PayPal site, or
Option 2 - immediately redirect to the PayPal site with the current contents of the cart (e.g. the user must add the product to cart first).
Option 1:
- Navigate to Content --> Standard Pages.
- Select the Product Detail template.
- Add the 'PayPalExpressButton' widget to the template.
- Click 'Edit' on the PayPalExpressButton widget to open configuration options.
- Ensure 'Display Button?' is unticked.
- Click 'Save'.
- Click 'Edit' on the Product Purchase Details widget to open configuration options.
- Tick 'Show PayPal Express Checkout?'.
- Click 'Save'.
Option 2:
- Navigate to Content --> Standard Pages.
- Select the Product Detail template.
- Add the 'PayPalExpressButton' widget to the template.
- Click 'Edit' on the PayPalExpressButton widget to open configuration options.
- Tick 'Display Button?'.
- Click 'Save'.
- Click 'Edit' on the Product Purchase Details widget to open configuration options.
- Ensure 'Show PayPal Express Checkout?' is unticked.
- Click 'Save'.
Add the PayPal Express button to the Cart page
- Navigate to Content --> Standard Pages.
- Select the Cart template.
- Add the 'Cart PayPalExpress Button' widget to Zone BottomAfter (or other location consistent with your site's design).
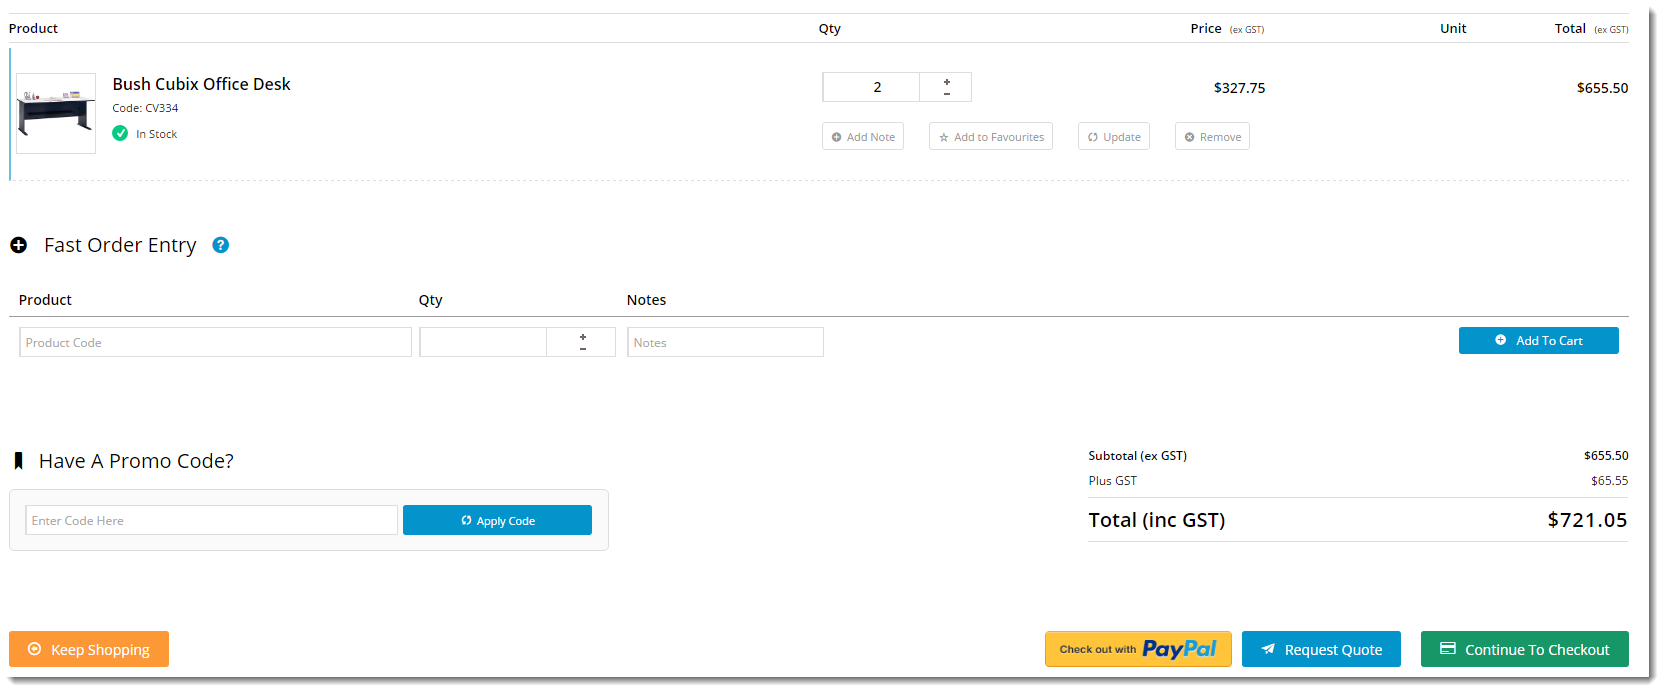
PayPal Express is now implemented and ready for use!
Step-by-step guide (where Click & Collect is in use)
For sites using Click & Collect, implementation is slightly different.
| Info |
|---|
Related articles
| Content by Label | ||||||||||||||||
|---|---|---|---|---|---|---|---|---|---|---|---|---|---|---|---|---|
|