With PayPal Express, users are able to complete the checkout process in very few steps. Customers can use the delivery and billing address information they have stored with PayPal, rather than re-entering it all again on your website. This makes checkout quicker, easier, and therefore more likely to be completed.
PayPal Express checkout can be implemented on BPD websites quickly and easily, using the guides below.

Before beginning, have your PayPal Merchant credentials handy and ensure your CSS is up-to-date for PayPal Express:
- Login to the CMS.
- Navigate to Settings --> Settings.
- Select the PayPalExpress tab.
- Populate the fields as follows:
- PayPal Express Login URL = https://www.paypal.com/cgi-bin/webscr?cmd=_express-checkout
- PayPal Express Endpoint = https://api-3t.paypal.com/nvp
- PayPal Express Username = (Your PayPal Merchant username)
- PayPal Express Password = (Your PayPal Merchant password)
- PayPal Express Signature = (Your PayPal Merchant Signature)
- Click 'Update' to save.
Step-by-step guide (where Click & Collect not in use)
Add the PayPal Express button to the Product Detail page (optional).
The 'Checkout with PayPal' button on the product detail page can behave in 1 of 2 ways:
Option 1 - add that product to the cart, then redirect to the PayPal site, or
Option 2 - immediately redirect to the PayPal site with the current contents of the cart (e.g. the user must add the product to cart first).
Option 1:
- Navigate to Content --> Standard Pages.
- Select the Product Detail template.
- Add the 'PayPalExpressButton' widget to the template.
- Click 'Edit' on the PayPalExpressButton widget to open configuration options.
- Ensure 'Display Button?' is unticked.
- Click 'Save'.
- Click 'Edit' on the Product Purchase Details widget to open configuration options.
- Tick 'Show PayPal Express Checkout?'.
- Click 'Save'.
Option 2:
- Navigate to Content --> Standard Pages.
- Select the Product Detail template.
- Add the 'PayPalExpressButton' widget to the template.
- Click 'Edit' on the PayPalExpressButton widget to open configuration options.
- Tick 'Display Button?'.
- Click 'Save'.
- Click 'Edit' on the Product Purchase Details widget to open configuration options.
- Ensure 'Show PayPal Express Checkout?' is unticked.
- Click 'Save'.
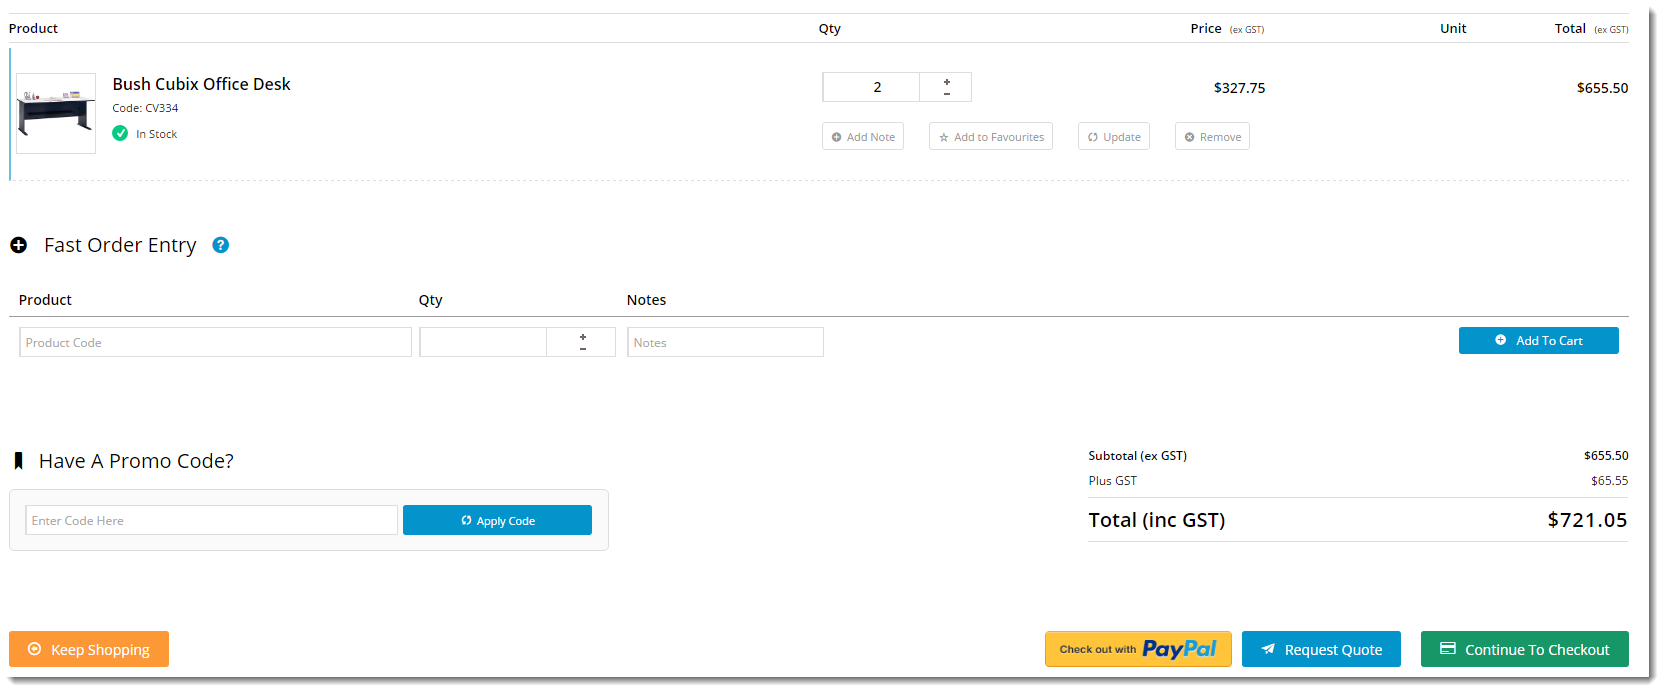
Add the PayPal Express button to the Cart page
- Navigate to Content --> Standard Pages.
- Select the Cart template.
- Add the 'Cart PayPalExpress Button' widget to Zone BottomAfter (or other location consistent with your site's design).
PayPal Express is now implemented and ready for use!
Step-by-step guide (where Click & Collect is in use)
For sites using Click & Collect, implementation is slightly different.
Related articles