...
| Excerpt |
|---|
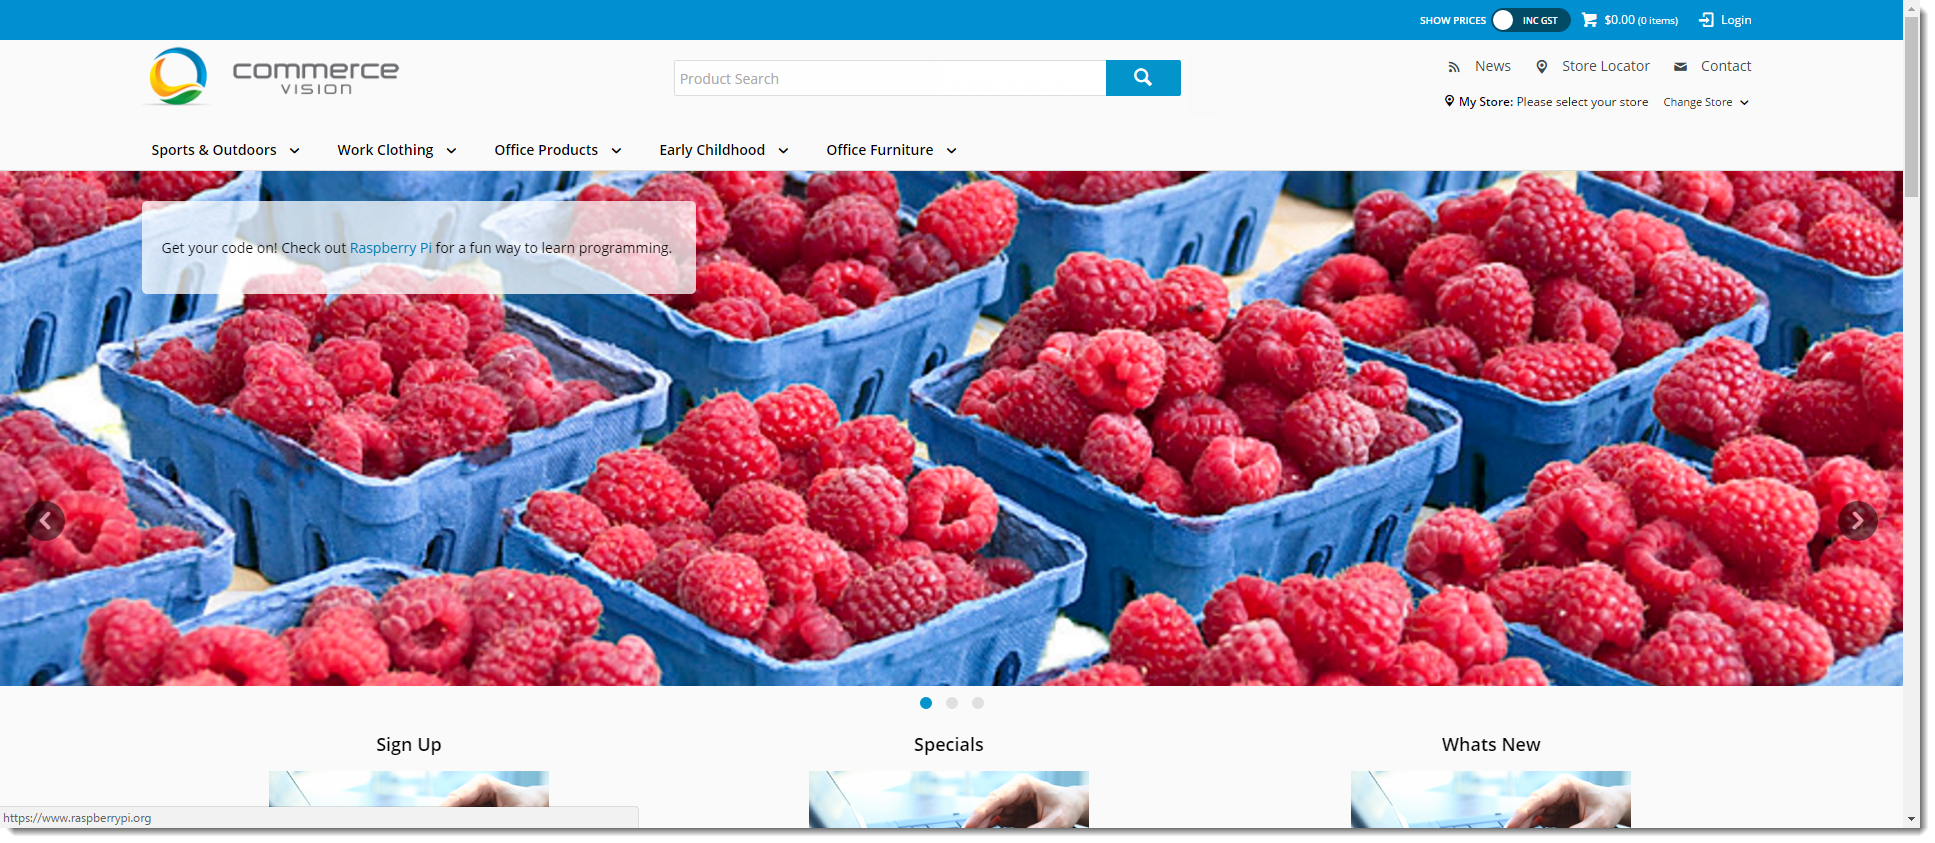
Large banner images and videos are a common feature features of many home pages, allowing . They allow a hero image or video (or several) to catch the user's eye and direct them to a promotion, highlighted products, or call to action. Loading several banners gives your users the option to scroll through, with each image linked to its own content. |
...
Before you can create and edit banners, the Banners feature must have been enabled. If enabled, Banners displays as a submenu item in the Content menu.
To enable Banners,:
- Navigate to Settings → Feature Management → Content.
 .
.
- Ensure Banners is toggled ON.
- Click Configure.
- In Banner Feature Settings, you can maintain Banner Types and allow filters so that particular banners can be viewed only by certain sub-groups of Users. (The next step will guide you in creating a banner type. You can maintain banner types in Settings or in the Banner Maintenance screen.)

- To save your settings, click Save & Exit.
...
| Tip |
|---|
If you already have banner Types set up and just want to add a new banner to an existing Type, skip to Section 3. |
- In the CMS, navigate to go to Content → Banners.
 Image Removed
  Image Added
- Click Add New Banner Type.
- Enter a unique Code and Name for the new type, and assign an Icon if you wish.
 Image Removed
 Image Added
- Click Save.
- Your new banner type will appear in the Banner Type Maintenance list. You can edit or delete from this page as required.
 Image Removed
 Image Added
3. Upload Banner Images
Now that you have a banner type, you can add some images or videos!
| Multiexcerpt |
|---|
| MultiExcerptName | uploadbannerimage |
|---|
|
- In the CMS, navigate to Content → → Banners.
- Select the required Banner Type.
 Image Removed Image Removed
- Click Edit for the banner type.
- Click Add New Banner.
 Enter the Banner Details:
Description - A short description to identify the image or video
Banner Link - (for images only) The URL, /category, or /product page the image links to
Banner Link Open in New Window - toggle ON for linked page to open linked page in new window, toggle ON window
Start Date - The date the Date banner becomes active (and thereforei.e., visible on your site)
Expiry Date - The date the Date banner expires and is automatically removed from viewyour site
- To upload the same image or video for all devices, click Select Banner for All Devices or Select Video For All Devices. TIP - The file dimensions and size details are displayed.
Example: same image for all devices
 Image Added Image Added - To upload different banners for different devicesimages/videos for each device, click their individual Select Mobile Banner against the required device.
NOTE - Follow the recommended file and pixel sizes for efficient downloads.
 Image Removed Image Removed
Select Banner or Video buttons. TIP - For help on ideal image dimensions and file size, use the info in 'Recommended' for each device type.
 Image Added Image Added - If you're uploading an image, select and insert a previously added image, or to one. To add a new imageone, click Upload. For a guide on editing an image in the Image Selection tool, see: Edit an Image.

- Enter For images, enter Overlay content if required. This will appear on a transparent panel over your image.

- If you wish this banner is to display this banner only for particular users, specify that in for one or more specific user groups, use the Banner Filters section. The filter fields correspond to your ERP fields. You can enter multiple values, separated by commas.
NOTE - Toggle ON Customer filters apply to user's current Customer only? if users with multiple customer accounts should see a banner only if they are in a particular Customer account.

- Click Save & Exit.
You'll see the newly added banner listed on the Maintenance page, with a coloured tile to indicate whether it's Active, Scheduled, or Expired.
 Image Modified Image Modified
Repeat Steps 3-9 for the remaining images in your slider. You can drag and drop banners to re-sequence them if required.
 Image Modified Image Modified |
4. Place Banner Slider Widget
...
Presto! Your banner slider is ready. Load your site in a new browser to view your handiwork.
...
Related help
| Content by Label |
|---|
| showLabels | false |
|---|
| max | 5 |
|---|
| spaces | KB |
|---|
| showSpace | false |
|---|
| sort | modified |
|---|
| reverse | true |
|---|
| type | page |
|---|
| cql | label in ("banners","bpd") and type = "page" and space = "KB" |
|---|
| labels | kb-how-to-article |
|---|
|
...