This article is aimed at Customer Self Service web administrators who seek to implement different category templates based on a user's role. For example, having the website display one category template for B2B users, and another for B2C users.
Step-by-step guide
To Assign a Category Template to a Role:
- Navigate to 'Accounts' --> 'Role Management' (zRoles.aspx).
- Select the required role via radio button; the 'Role Details' tab will load.
- Click the 'Functions' tab.
- Click 'Modify'.
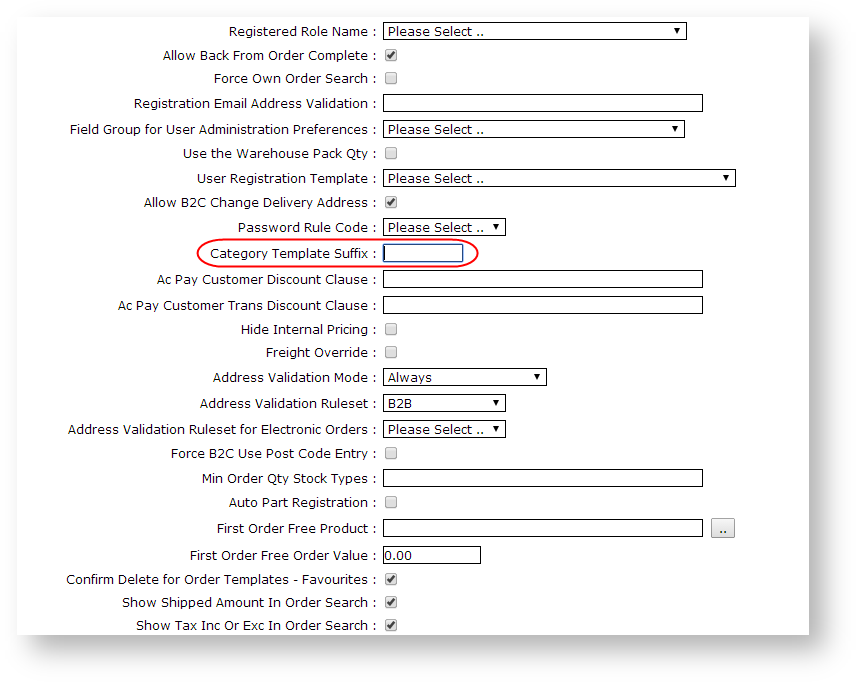
- In the 'Category Template Suffix' field, enter the suffix value for category templates assigned to this role.
- For example, the suffix of 'B2C' may be an appropriate value for the B2C role, and 'B2B' for the B2B role.
- Identify the category template that is currently in use, and create a new template with the appropriate suffix in the Template Name.
E.g. Default Category Template = 'CategoryTemplate'
B2B Role Category Template = 'CategoryTemplateB2B'
B2C Role Category Template = 'CategoryTemplateB2C'
NOTE: In the above example, 'CategoryTemplate' will remain the default and will be applied for any role that does not have a 'Category Template Suffix' defined.
| Info |
|---|
For information on creating and editing templates, see : |
Related articles
| Content by Label | ||||||||||||||||
|---|---|---|---|---|---|---|---|---|---|---|---|---|---|---|---|---|
|
