...
- Login to the CMS.
- Navigate to Settings --> Website Features.
- Click the grey minus icon to enable Guest Checkout.
- Verify that the icon changes to a green tick, and an 'Edit' button appears for the feature.

- Click 'Edit'.
- Select the role(s) that should utilise the Guest Checkout template (most common application is the 'Public', pre-login role). Guest Checkout should not be enabled for B2B, Accounts, or Administrator roles.

- Click 'Save' to save changes and stay on the page, or 'Save and Exit' to save changes and return to the Features index.
...
In the example below, a link to the Registration page has been placed in the Left zone. Then the Guest Checkout button has been placed in the Right zone.

(The actual Guest Checkout fields (- Delivery Address, Freight Options, Payment ) - remain in the the Zone Guest Checkout, and are only revealed when the button is clicked. 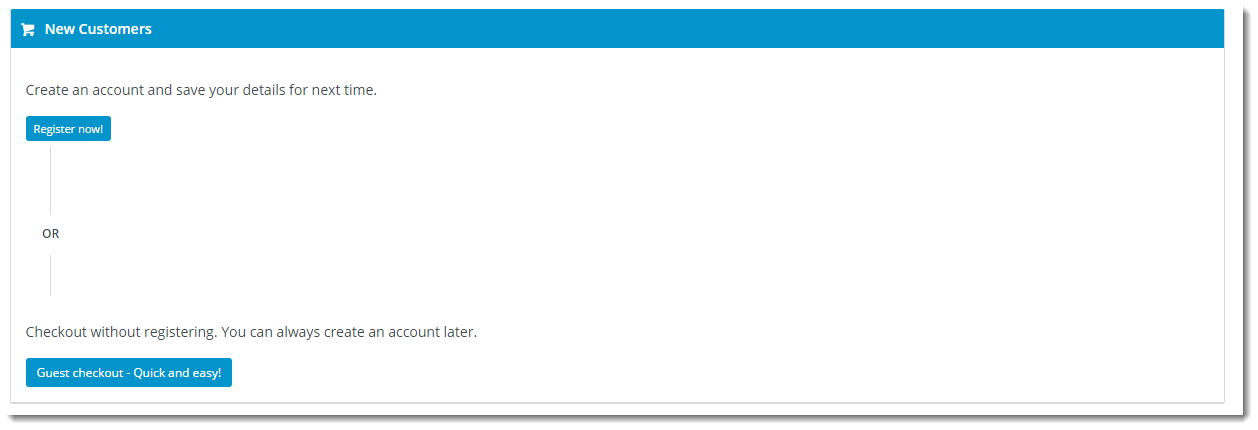
(above screenshot to be replaced)
To replicate this layout:
...