| Excerpt | ||
|---|---|---|
| ||
Configure scheduled reporting and set a report for generation and subscription. |
| Info | ||||
|---|---|---|---|---|
| ||||
|
Prerequisites
- The report for scheduled reporting is ready.
- The Role Set Up: The default is to use Roles to restrict access to Scheduled Reporting. You may need to create custom Roles that align with:
- which group(s) of Users (all or by Role) have access to Report Generator.
- which group(s) of Users (all or by Role) have access to Report Subscription. (Note - This sub-feature can be disabled but if used, permissions for Roles should be coordinated with those in Report Generator.)
- which Report Groups are accessible by which group(s) of Users (all or by Role). (Note - Permissions for Roles should be coordinated with those in Report Generator.)
- Report: The report template to use for scheduled reporting is ready.
| Panel | ||||||||||||||||||||||||||||||||||||||||||||||
|---|---|---|---|---|---|---|---|---|---|---|---|---|---|---|---|---|---|---|---|---|---|---|---|---|---|---|---|---|---|---|---|---|---|---|---|---|---|---|---|---|---|---|---|---|---|---|
Information For Administrators
On this page:
|
Step-by-step guide
1. Enable report for Report Generation and Subscription
When creating or editing the original report in Report Design:
- Go to the Report Settings section.
- Report Group: Report Group code this report belongs to for the purpose of Report Generator. This can be a Role or any meaningful word that makes sense for the reports assigned to it.
- Is Active: 'Yes' flags the report as in current use. NOTE - 'inactive' reports in a Report Group can still be found and used in Report Generator. TIP - To make an inactive report inaccessible to a Report Group, remove it from a Role or Report Group that cannot access Report Generator.
- Available to Subscribe: (optional) 'Yes' enables Report Subscription. This lets users add subscribers to their generated reports.
- Report Description: meaningful description of the report (e.g., use, purpose and content). This is displayed on the Report Generator screen to give users a summary of the report.
- PDF Output Template: (optional) Name of prepared PDF template for the generated reports. The template must have been created and available for use. If this field is left blank, generated reports will be CSV files.
- Email Subject: Subject heading for email sent with attached report (if Subscription is enabled).
2. Enable and configure Scheduled Reporting settings
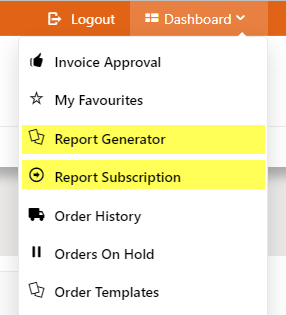
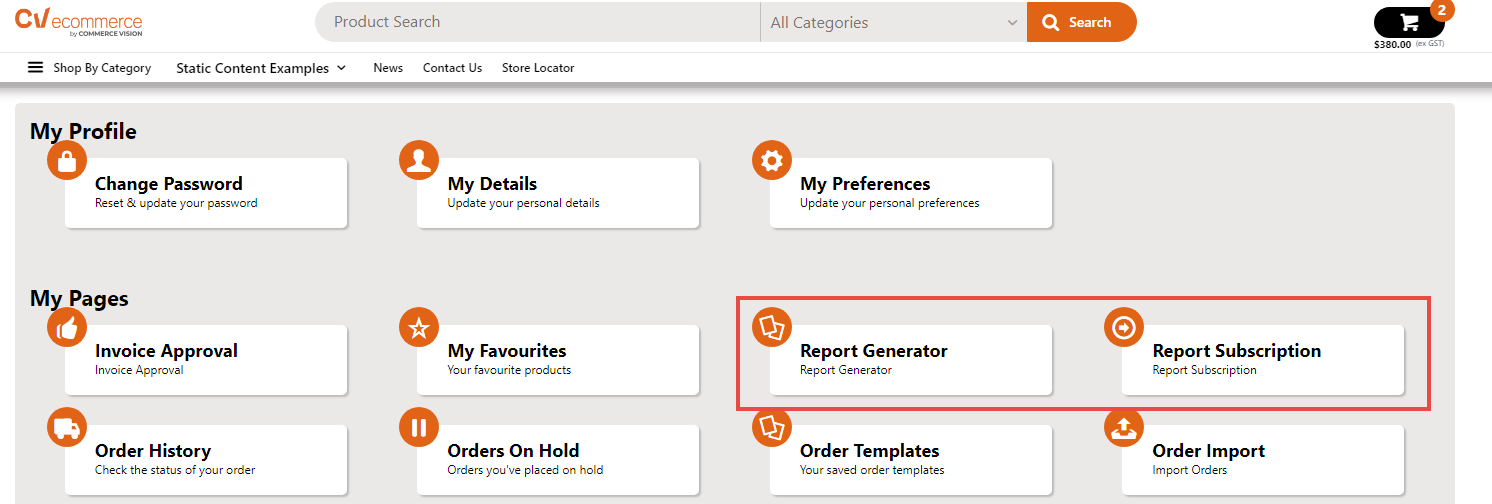
Report Generator with or without Report Subscription can be enabled for all users (not recommended) or restricted to specific Roles with the Override feature. When a user is given general access to either sub-feature, it will appear on their Dashboard menu.
| Expand | ||
|---|---|---|
| ||
|
To enable Report Generator:
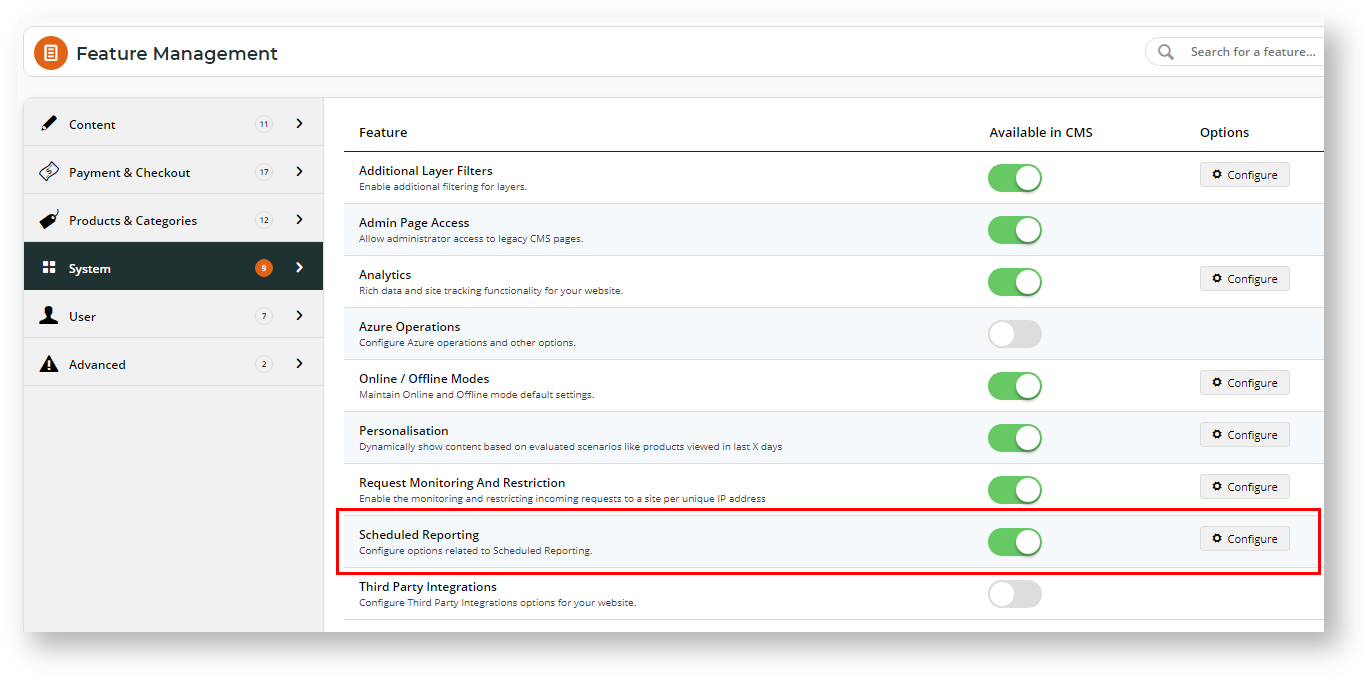
- In the CMS, go to Settings → Settings → Feature Management → System.
- Click Configure.
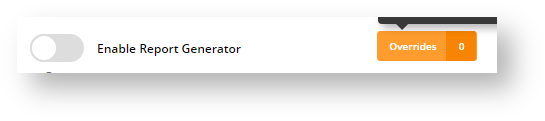
- Enable Report Generator toggle:
- Leave it OFF (set global to disabled for users) and use Overrides to set for selected Roles. NOTE - Toggling ON will allow all users access by default.
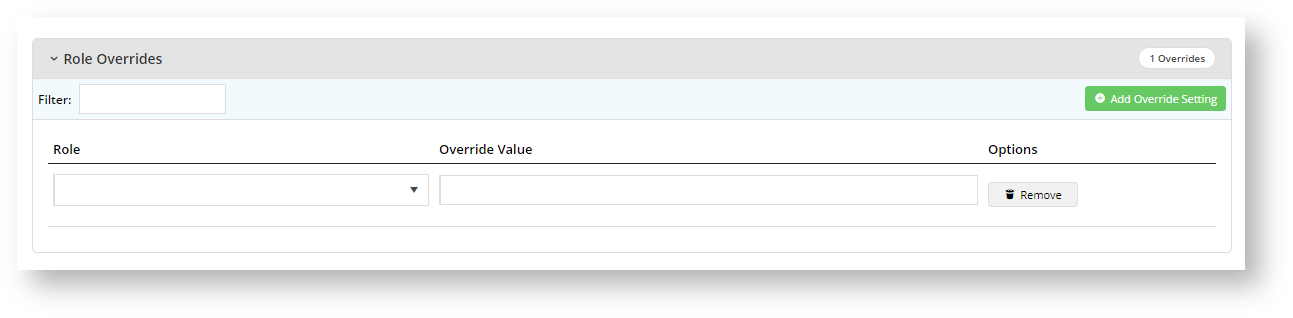
- Click Overrides.
- Click the Add An Override button.
- In Role, select the role you want to add.
- To switch on the Override, toggle on Override Value.
- Click Confirm.
- To add any other Role Override required, perform steps b-e.
- Once you have exited the Overrides screen, in the main screen, click Save or Save & Exit.
(Optional - only if Subscription is to be used on your site) Enable Report Subscription toggle:
Info
- The Report Subscription sub-feature can only be used with Report Generator.
- For a generated report to be subscribable, the original report must have been flagged as subscribable in Report Design.
When configuring Report Subscriptions, decide:
which group(s) of Users (all or by Role) have access to Report Subscription. Permissions for Roles should be coordinated with those in Report Generator.
Leave toggle OFF so Subsciption is not enabled for all users.
Click Overrides to make it available for selected Roles.
- Click the Add An Override button.
- In Role, select the role you want to add.
- To switch on the Override, toggle on Override Value.
- Click Confirm.
- To add any other Role Override required, perform steps b-e.
- Once you Once you have exited the Overrides screen, in on the main screenpage, click Save or Save & Exit.If a User has access to Report Subscription, when logged into the website, the Report Subscription item appears in the Dashboard menu.
In Report Generator and Subscription Groups, configure the : Add all report groups that will be available in the (Roles) that can access Report Generator. One or more report groups can be entered, each one separated by /Subscription features. Separate each one with a comma or semi-colon.
IMPORTANT - TIP - Report groups out-of-the-box are Roles. Remember that an original report is only available to Report Group(s) specified for it in Report Design.field are globally available to all users who can access the Report Generator
Warning Multiple report groups added in the main
If you do not want
input field will give all users of these Roles global access to all reports. (except where prevented by any Role Overrides).
you can either (i) leave this
To avoid global access to report groups,
or (ii) enter Report Group(s) to this field and add Role Overrides to those roles cannot access these reports.
leave the main field blank and use the Override feature to add Report Groups by Role

Expand
title Maintain Report Groups by Role
- Click the Overrides button.
- To add a role override, click Add Override Setting.
- In the Role dropdown, select the role.
- What you enter in Override Value depends on the global setting. Remember that a Role Override will override the global settings for this Role.
- If the global field has no report groups, you can add the Report Group(s) you want only this Role to access.
- If the global field has report groups and a Role Override is added, the Role can access any values entered here. But if a Report Group added for the role is the same as one entered for global access, users with this Role will be prevented from accessing this Report Group.
- If you need to add more Role Overrides, click Add Override Setting again and perform (a)-(d) for each role.
- Once you have finished, click Confirm.
- To save the overrides, click Save or Save & Exit.
- To save To save your settings, click Save or Save & Exit.

3. Test Settings (optional)
| Warning | ||
|---|---|---|
| ||
Since reports may contain confidential data, it is strongly suggested that Report Generator, Subscription and Report Group configurations are tested in Stage before sending it to 'Live'. |
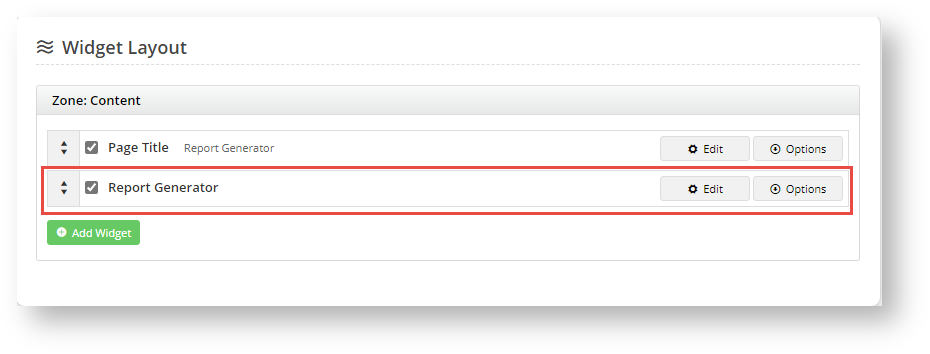
4. Configure Report Generator widget
options(optional)
The Report Generator widget allows lets you to customise labels and text displayed in headings and fields in on the Report Generator screen on your website. To access the widget, page.
3
- In the CMS, go to Content → Content → Pages & Templates and find search for the Report Generator Templatetemplate.
- Click Edit for Go to the Report Generator widget and click Edit.
- Edit the fields as you required. See needed. For a guide, see Report Generator Widget help for more details.
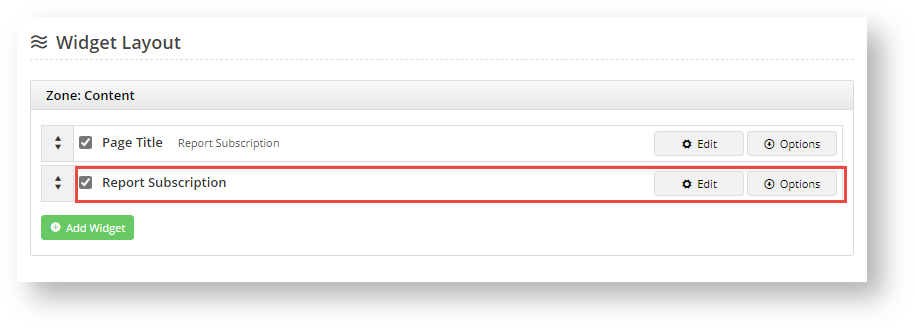
5. Configure Report Subscription widget
options(optional)
The Report Subscription widget allows you to customise Customise labels and text displayed in headings and fields in on the Report Subscription screen on your website. To access the widget, page.
- In the CMS, go to Content → Content → Pages & Templates and find search for the Report Subscription Template template.
- Click Edit for Go to the Report Subscription widget and click Edit.
- Edit the fields as you required. See needed. For a guide, see Report Subscription Widget help for more details.
Related Resources
| Content by Label | ||||||||||||||||||
|---|---|---|---|---|---|---|---|---|---|---|---|---|---|---|---|---|---|---|
|