Allowing Report Access to Other Roles and Individuals
The CV ecommerce platform has an inbuilt capacity to create reports. Using this feature and viewing those reports are usually only for the Administrator role. Suppose your business wants to provide certain individuals, even some outside your company, with access to a specific report? You may even want a user to be able to customise the original report to suit their needs. This is the aim of Scheduled Reporting.
Scheduled Reporting Features
Scheduled Reporting has two sub-features: Report Generation and Report Subscription. Together, they allow these functions:
- Admin can make a report template visible on your website
- Admin can permit certain logged in users (based on website Role* beyond the Admin) to generate a copy of the report
- The user can customise their report copy as a 'new' report for their use (the original report remains intact and unchanged)
- The user can subscribe others (via email address recipients) so they are automatically sent their generated report *
- The user can set a subscription schedule and period for sending of updated reports.
* Specific custom Roles can be created as Report Group roles if required.
* Report visibility to a Role without the subscribability function can be enabled.
Example Use Cases
These are just a few use cases that show what the feature can do. Explore the feature's functionality to determine whether it can be adapted for your specific use.
- A sales report is created for Sales Team Leaders to access on your website. Each Sales leader can manage distribution of the report within their teams.
- Your business is contracted to sell workgear to a number of large organisations. A suitable report is created to display sales of certain products to the organisation's cost centres. Only the Admin role has access to this report and adds email addresses of the customer's managers so they receive the report monthly. This allows the manager to keep track of purchases, or to ensure new staff have purchased required gear.
- You have created a product report that shows fast-moving inventory on a weekly basis. You want certain inventory control managers to receive this report at the end of every week.
Report Generator
Report access to a Role is provided by Report Generator sub-feature.

Report Generator Features
Report Generator:
- allows certain users based on Role to view certain reports
- allows the user to create a custom copy of the original report
- allow the user to edit sorting and grouping fields, add notes, and edit their custom report name.*
- restricts access to the custom report to the user.
* This 'new' report has a unique ID number, is saved with a new file name, and can only be viewed by the user who generated it.
Learn more: Report Generator
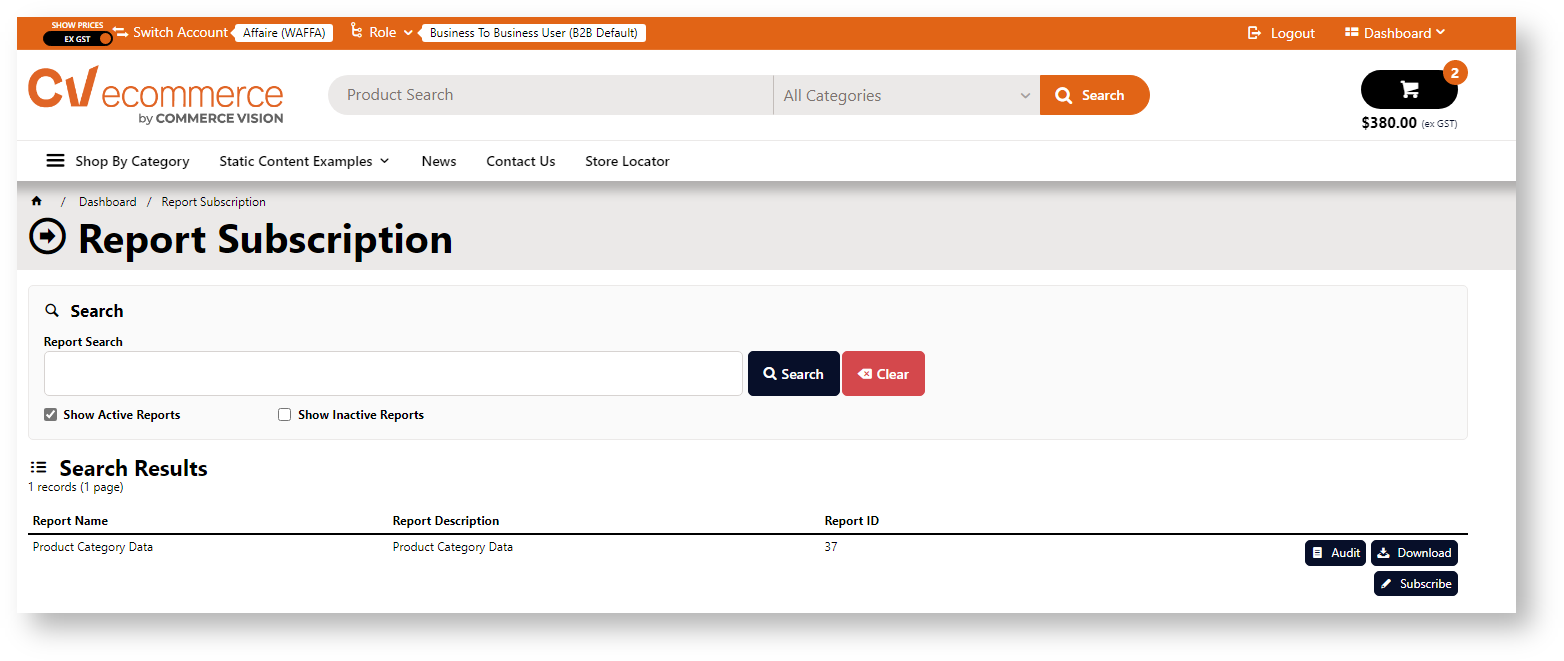
Report Subscription
The Report Subscription sub-feature can be added by Admin for individual reports visible through Report Generator.
Report Subscription Features
The user who generated the report can:
- send their generated report to any email address
- set a daily/weekly/monthly schedule so the latest report data is resent to added subscribers
- add a subscription period end if needed
- edit, pause and cancel the subscription at any time
- track subscription details with the subscription log.
Learn more: Report Subscriptions
Step-by-step guide for Admin
Report design notes
- Report design is an Admin level menu item on your website used for creating reports. When creating the original report, you can set Report Generator and Subscription options. (See Create Users to Approve Report for more help or contact Commerce Vision for assistance in designing custom reports for your business requirements.)
- In Report Settings (on the Report Design page), the following fields are relevant for Scheduled Reporting:
- Report Group: Report Group code this report belongs to for the purpose of Report Generator. This can be any meaningful word that makes sense for the reports assigned to it.
- Is Active: 'Yes' allows the report to be flagged as in current use. NOTE - 'inactive' reports in a Report Group can still be found and generated by the User. TIP - If an inactive report should not be accessible, re-assign it to a Report Group not available for Report Generator.
- Available to Subscribe: (optional) 'Yes' allows permitted Users to add subscriptions generated from this report
- Report Description: meaningful description of the report (e.g., use, purpose and content) displayed in the Report Generator screen to provide Users with helpful information about the report
- PDF Output Template: (optional) name of prepared PDF template used for the generated report. The template must have been created and available for use; if this field is left blank, the generated report will default to a CSV file.
- Email Subject: Subject heading for email sent with attached report (if Subscription is enabled)
During the Report Design stage, a report is assigned a Report Group. When configuring Report Generator, you decide the following:
- which group(s) of Users (all or by Role) have access to Report Generator.
- which group(s) of Users (all or by Role) have access to Report Subscription. (Note - This additional functionality can be disabled but if used, permissions for Roles should be coordinated with those in Report Generator.)
- which Report Groups are accessible by which group(s) of Users (all or by Role). (Note - Permissions for Roles should be coordinated with those in Report Generator.)
1. Enable and configure Scheduled Reporting settings
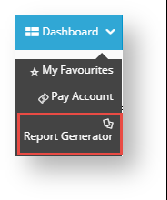
Report Generator can be enabled globally (for all Users) or restricted to specific Roles using the Override feature. If a User has access to Report Generator, when logged into the website, the Report Generator item appears in the Dashboard menu.
To enable Report Generator:
- In the CMS, navigate to Settings → Feature Management → System.
- Toggle ON Scheduled Reporting and click Configure.
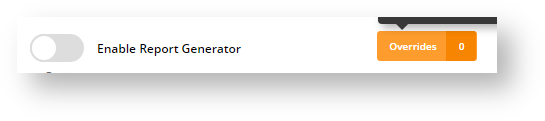
In the 'Scheduled Reporting Features Settings' screen, go to the Enable Report Generator toggle.
The Enable Report Generator toggle is the global ON/OFF setting for the feature. You have the option to:
Toggle ON Global for all Users to have access to Report Generator, and set overrides for selected Roles, e.g., B2C customers, so the feature is not visible on their Dashboard.
Leave it OFF Global and set access overrides for selected Roles.To add an override,
- Click Overrides.
- Click the Add An Override button.
- In Role, select the role you want to add.
- To switch on the Override, toggle on Override Value.
- Click Confirm.
- To add any other Role Override required, perform steps b-e.
- Once you have exited the Overrides screen, in the main screen, click Save or Save & Exit.
(Optional) Configure Enable Report Subscription to allow Users to schedule report updates to be emailed to themselves and/or other selected recipients.
- The Report Subscription feature is only available if Report Generator is in use.
- For a generated report to be subscribable, the original report on which it is based must have been flagged as subscribable in Report Design.
When configuring Report Subscriptions, you decide the following:
whether this option can be disabled altogether for your website
if enabled, which group(s) of Users (all or by Role) have access to Report Subscription.
Leave OFF and set overrides for this functionality to be disabled globally or made available only for selected Roles. If you want to use Report Subscription, remember that it requires Report Generator to be enabled and permissions for Roles should be coordinated with those in Report Generator.
The Enable Report Subscription toggle is is the global ON/OFF setting for the feature. You have the option to:
Toggle ON Global for all Users to have access to Report subscription, and set overrides for selected Roles, e.g., B2C customers, so the feature is not visible on their Dashboard.
Leave it OFF Global and set access overrides for selected Roles.To add an override,
- Click Overrides.
- Click the Add An Override button.
- In Role, select the role you want to add.
- To switch on the Override, toggle on Override Value.
- Click Confirm.
- To add any other Role Override required, perform steps b-e.
- Once you have exited the Overrides screen, in the main screen, click Save or Save & Exit.
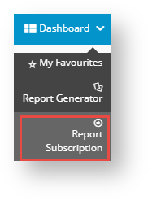
If a User has access to Report Subscription, when logged into the website, the Report Subscription item appears in the Dashboard menu.
In Report Generator and Subscription Groups, configure the report groups that will be available in the Report Generator. One or more report groups can be entered, each one separated by a comma or semi-colon.
IMPORTANT - report groups added in the main field are globally available to all users who can access the Report Generator (except where prevented by any Role Overrides). If you do not want global access to report groups, you can either (i) leave this field blank and use the Override feature to add Report Groups by Role or (ii) enter Report Group(s) to this field and add Role Overrides to those roles cannot access these reports.
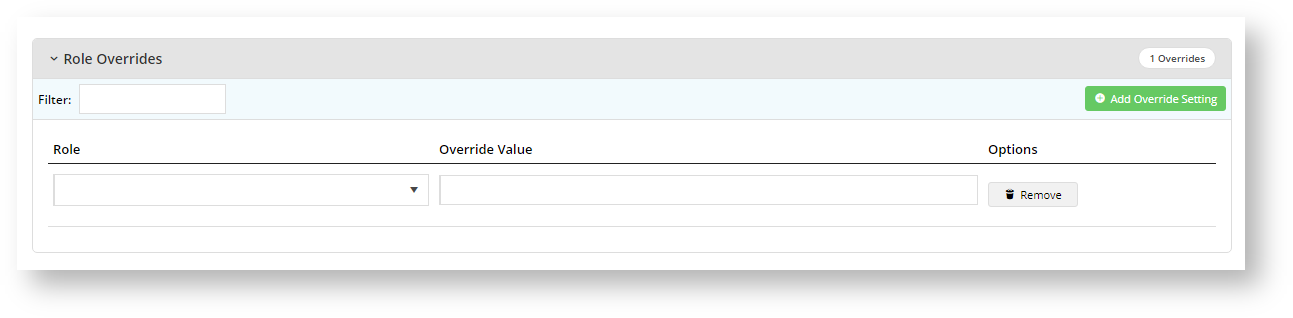
- Click the Overrides button.
- To add a role override, click Add Override Setting.
- In the Role dropdown, select the role.
- What you enter in Override Value depends on the global setting. Remember that a Role Override will override the global settings for this Role.
- If the global field has no report groups, you can add the Report Group(s) you want only this Role to access.
- If the global field has report groups and a Role Override is added, the Role can access any values entered here. But if a Report Group added for the role is the same as one entered for global access, users with this Role will be prevented from accessing this Report Group.
- If you need to add more Role Overrides, click Add Override Setting again and perform (a)-(d) for each role.
- Once you have finished, click Confirm.
- To save the overrides, click Save or Save & Exit.
- To save your settings, click Save or Save & Exit.


Test your settings
Since reports may contain confidential data, it is strongly suggested that Report Generator, Subscription and Report Group configurations are tested in Stage before sending it to 'Live'.
2. Configure Report Generator widget options (optional)
The Report Generator widget allows you to customise labels and text displayed in headings and fields in the Report Generator screen on your website. To access the widget,
- In the CMS, go to Content → Pages & Templates and find the Report Generator Template.
- Click Edit for the Report Generator widget.
- Edit the fields as you required. See Report Generator Widget help for more details.

3. Configure Report Subscription widget options (optional)
The Report Subscription widget allows you to customise labels and text displayed in headings and fields in the Report Subscription screen on your website. To access the widget,
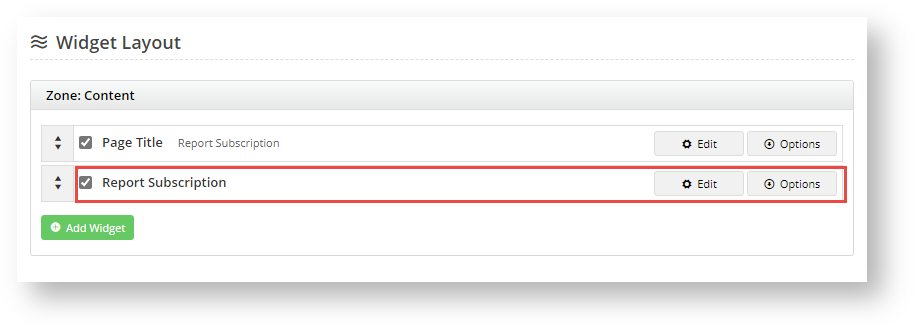
- In the CMS, go to Content → Pages & Templates and find the Report Subscription Template.
- Click Edit for the Report Subscription widget.
- Edit the fields as you required. See Report Subscription Widget help for more details.
Additional Information
| Minimum Version Requirements | 4.28 |
|---|---|
| Prerequisites | -- |
| Self Configurable | Yes |
| Business Function | Reporting |
| BPD Only? | Yes |
| B2B/B2C/Both | Both |
| Third Party Costs | n/a |
Related Resources