...
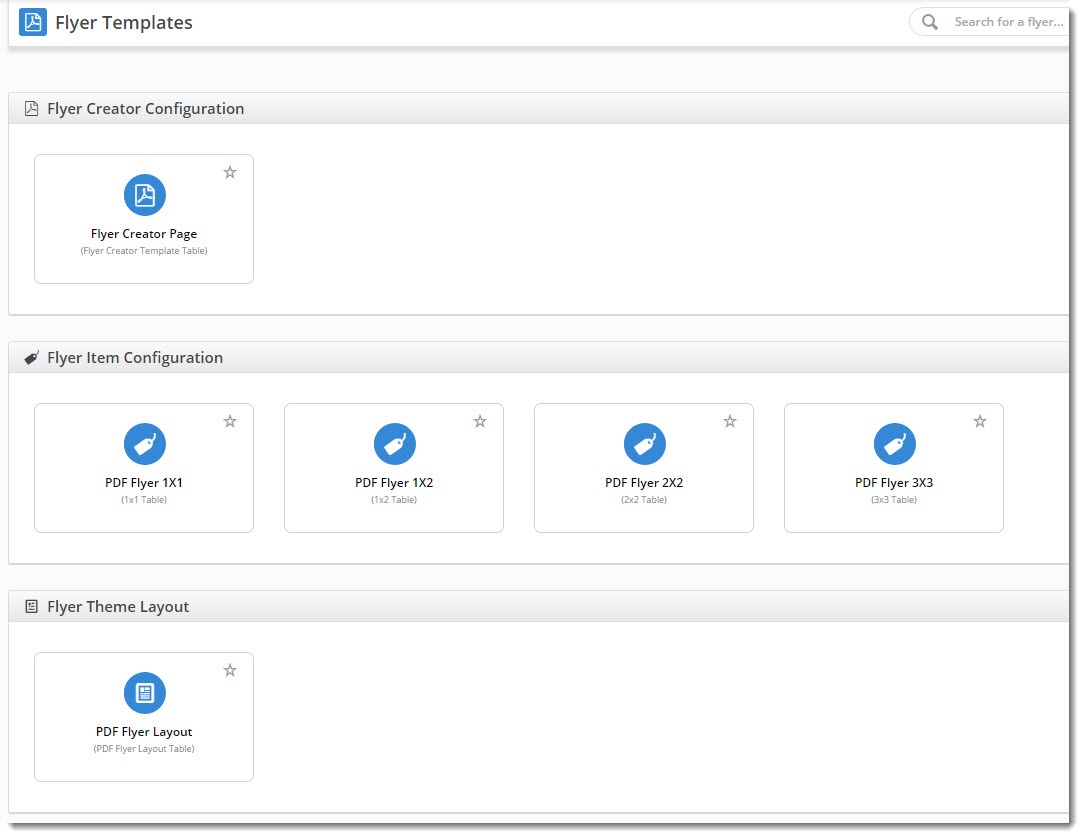
- the Flyer Creator page template
- the Flyer item templates for each grid layout
- the Theme Layout template for the overall styling of the PDF
Configuring the Flyer Creator
- On the Flyers page, select the Flyer Creator Page template.
- Edit the Flyer Creator widget.
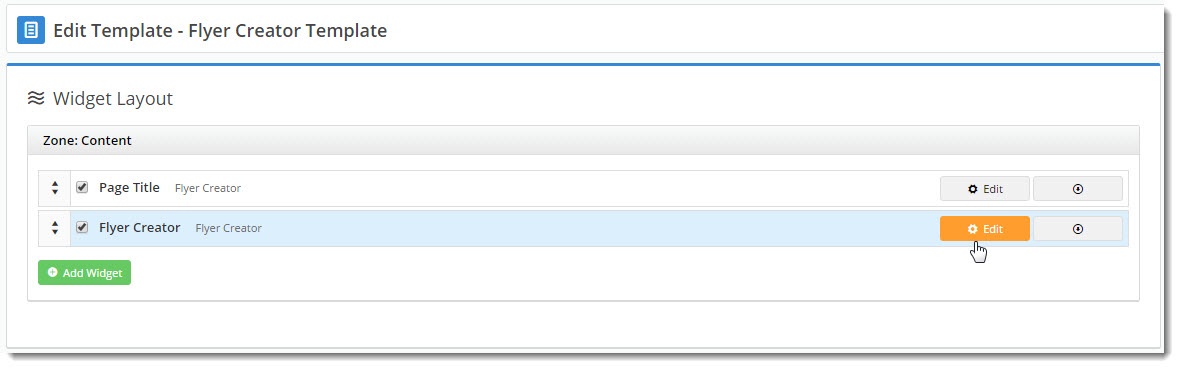
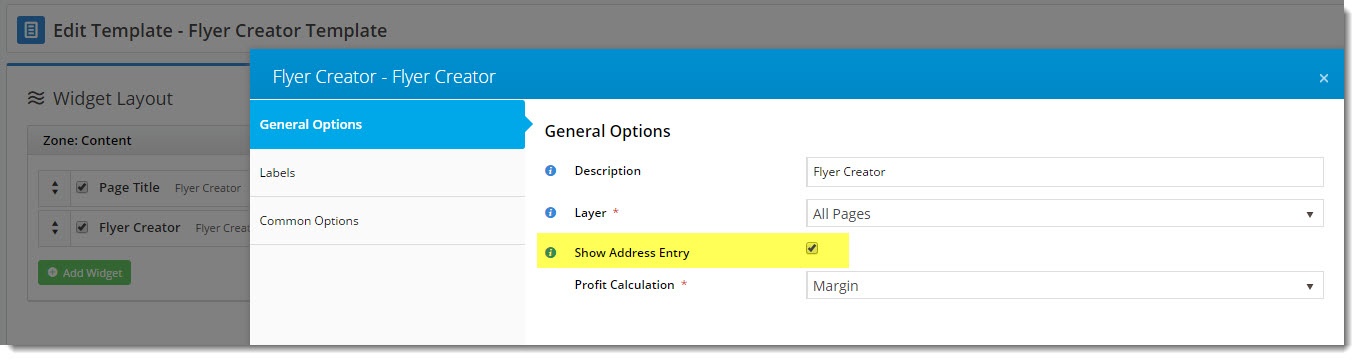
- The following options will be presented:
- Show Address Entry - this allows your customers to override the address information that gets printed on the flyer header.
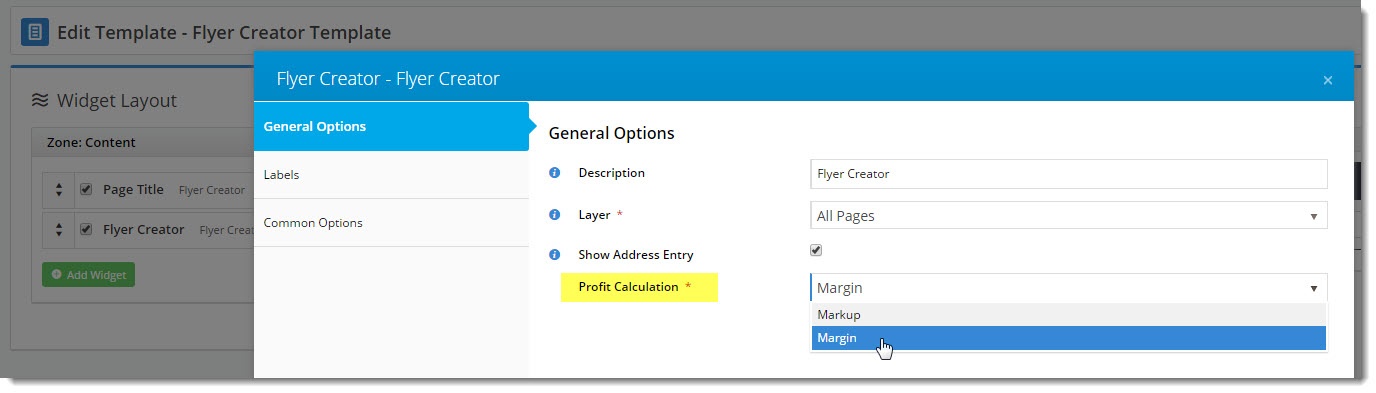
Profit Calculation - set the method for pricing calculation, either Markup or Margin.
Tip
title Margin vs Markup - What's the Difference? Margin - the value of sales less the cost of goods. Example: If you bought goods for $70 and then onsold them for $100, you'd make 30% margin.
Markup - the amount added to the cost price in order to arrive at the sale price. Example: If you bought goods for $70 and then marked them up by 30%, you'd sell them for $91. If you wanted to sell the goods for $100, you'd need a 42.9% markup.
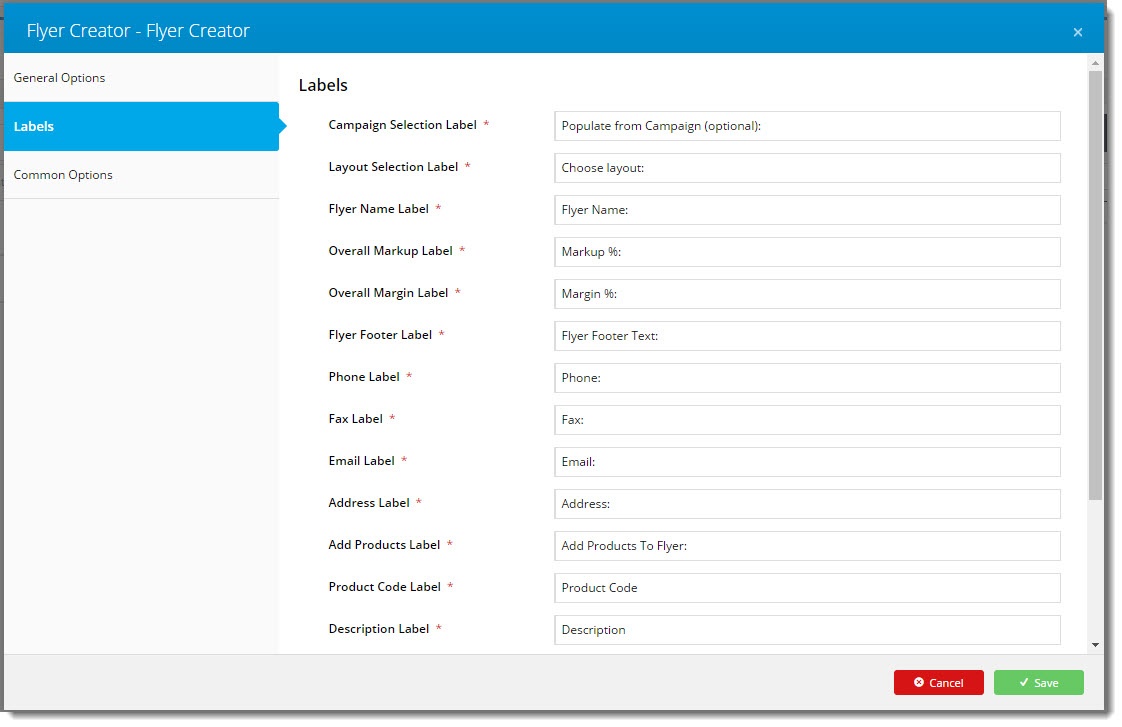
- Select the Labels tab.
Here you can change the wording for field labels and prompts as you see fit.- Click 'Save'.
Customising Output
You can also easily configure the content on the PDF. Because each layout is widget-based, you can add, remove, and rearrange widgets as needed.
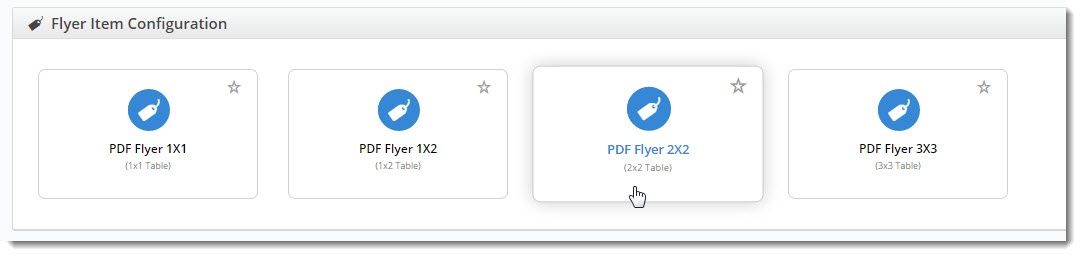
- Navigate to Content → Flyers.
- Select the layout template you wish to customise.
- The template will load, revealing the list of widgets.
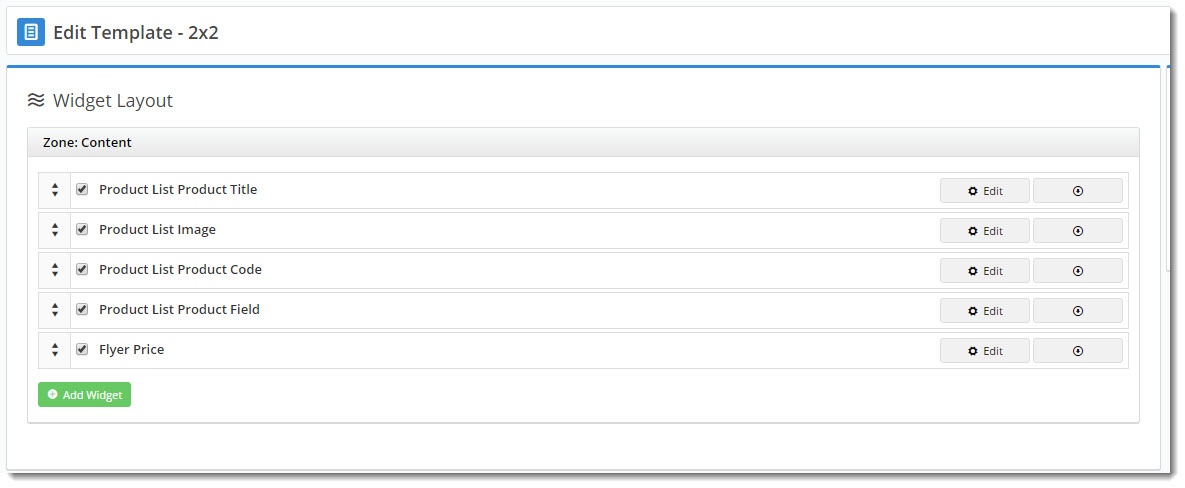
- To add a new widget, click 'Add Widget' and select from the list of options.
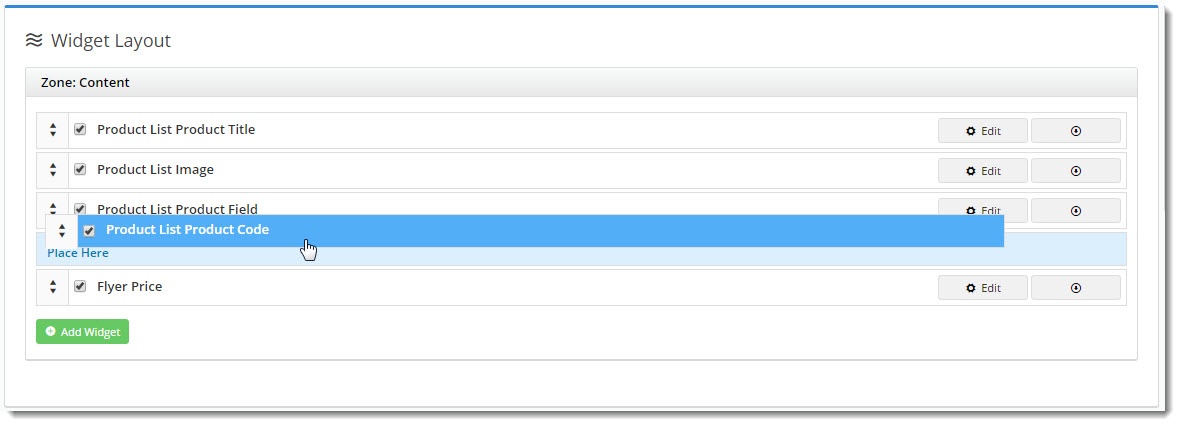
- To reorder the content, drag and drop widgets to new positions in the list.
- To deactivate (but not delete) a widget, untick the box next to the widget name. You'll see the name change to grey with a strikethrough.

- To edit options, click 'Edit'.
- To delete a widget, click 'Delete' in the options dropdown.

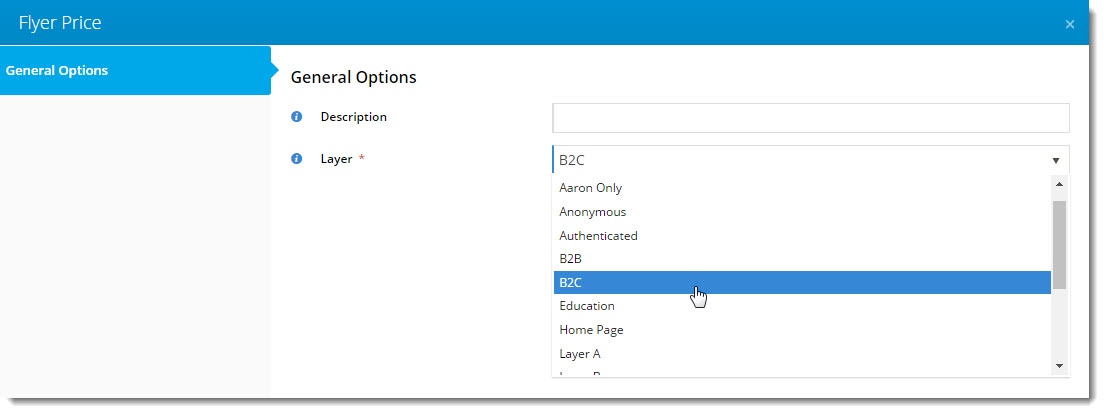
This is where you can also specify content to appear only for certain audiences, using Layers. For instance, you might want pricing hidden on flyers created by B2B users, due to fluctuations between customers.
The Layer setting on each widget allows you to personalise content depending on the user. Check out our guide on Layers for more detail.
Related articles
| Content by Label | ||||||||||||||||||
|---|---|---|---|---|---|---|---|---|---|---|---|---|---|---|---|---|---|---|
|