What Is It?
Here's where I give you an example / use case for flyer creator. Need to double check this again. Customers like Kincrome might want to allow their customers (say Bunnings) to create flyers containting Kincrome products? OUR customer allows THEIR customer (who is an onseller/distributor) to create a flyer... I believe.This guide will step you through the process of creating quick and easy flyers via the CMS.
KK NOTE - I need to replace the output image once the logo works and the styling is fixed
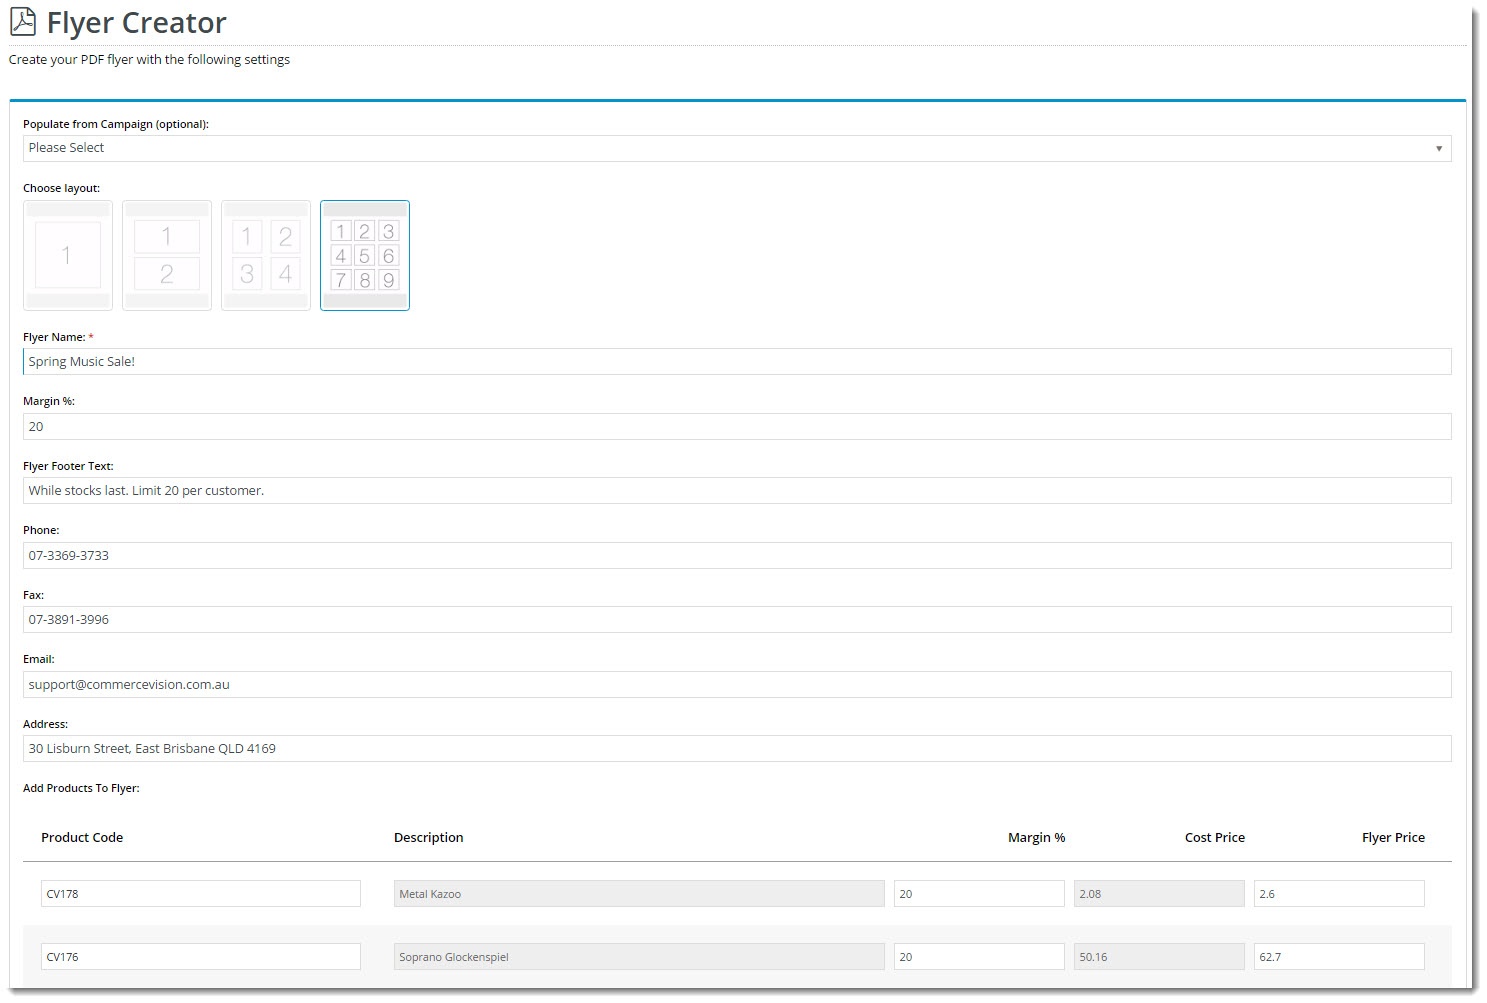
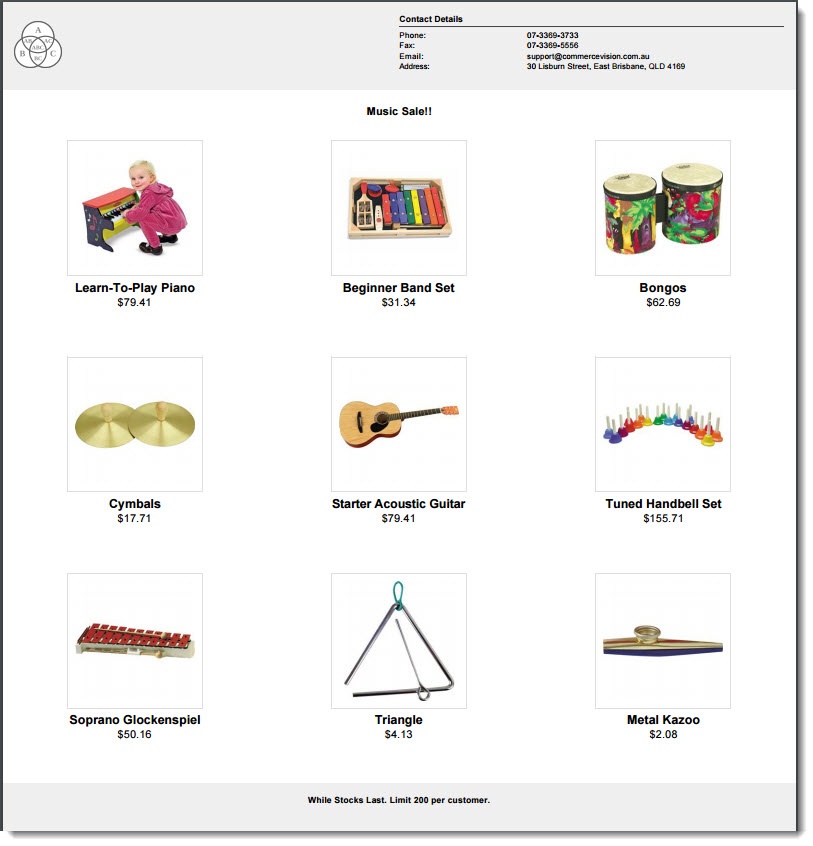
| Flyer Creator Input | Flyer Creator Output |
|---|---|
|
|
Prerequisites
Before you can take advantage of Flyer Creator functionality in the CMS, you'll need the feature enabled. Contact Commerce Vision to have us switch this on for your website.
1. Configure Feature Settings
First, add the Flyer Creator to the required menus on your site. If you only want a certain role to have access to this feature, here's where you can specify that.
- Login to the CMS.
- Navigate to Settings → Feature Settings.
- Edit the Flyer Creator feature.

- Enable the feature for each Menu code (and thereby its associated Roles) in the list by toggling on/off as required.
Be aware that enabling Flyer Creator for a particular menu code will give all roles with that menu access to the feature. For example, in the screenshot below, you can see that both the 'Accounts' and 'Rep' roles use the CSSACC menu.
- Click 'Save & Exit'.
2. Create a Flyer
- Login to the website as a user whose role has the Flyer Creator enabled.
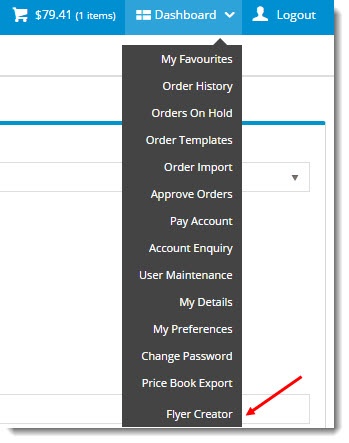
- Hover on the Dashboard link and select Flyer Creator from the menu.
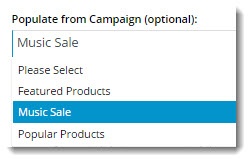
- Select a Campaign from the dropdown selector if required. This will automatically populate your flyer product list with products from the campaign.
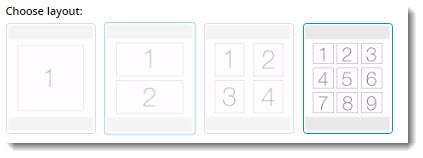
- Choose the appropriate layout, depending on the number of products on your flyer. Remember, flyers are one-page productions!
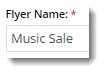
- Give your flyer a Name. If you populated with products from a campaign, the campaign name will appear here; feel free to edit it. This will appear as a heading above the products on the PDF.
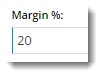
- Enter your Markup or Margin % (you can set the method used by editing the Flyer Creator widget - see the Customise Options section below).
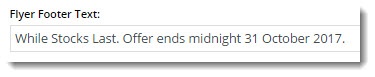
- Enter text to appear on the Footer of the PDF.
- Enter address information (IF the option has been enabled on the widget. See Customise Options below).
- If these fields do not appear, the customer's default address will be used.
- If you have not already populated the flyer with campaign products, enter them in the product lines below.
- The Product Code field acts as a search, with the list populating as you type.
- The Description is shown for reference and can't be edited.
- The Flyer Price will be calculated based on the customer's price and the method selected.
- Changing the % will update the Flyer Price.
- Changing the Flyer Price will update the %.
- The Cost Price is shown for reference and can't be edited.
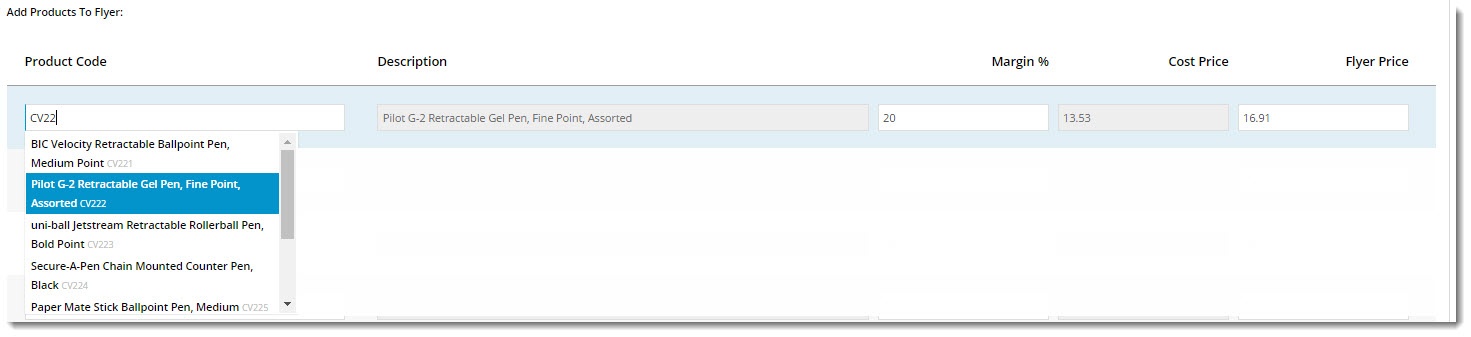
- Once all products have been added, click 'Generate PDF Flyer'.
- Your file will be downloaded instantly. Open it up and admire your efforts!
3. Customise Options
There are several ways you can customise the look and feel of your flyers, as well as the Flyer Creator itself.
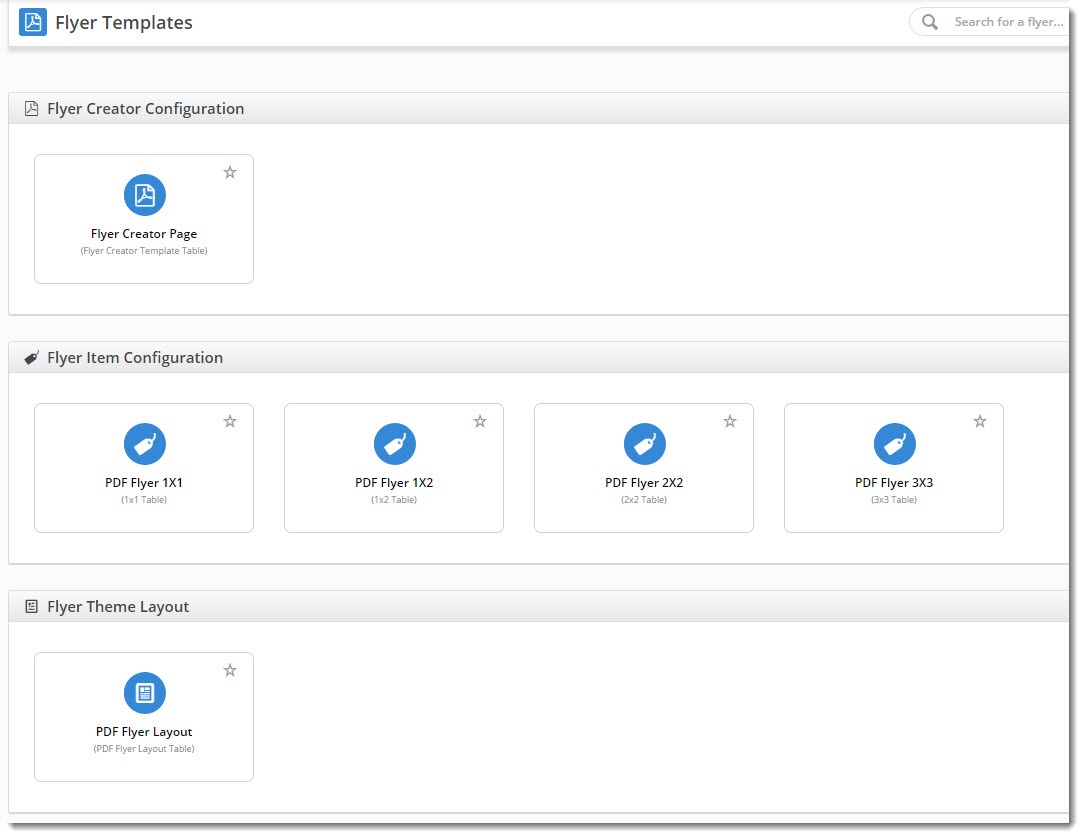
In the CMS, navigate to Content → Flyers. Here you will find:
- the Flyer Creator page template
- the Flyer item templates for each grid layout
- the Theme Layout template for the overall styling of the PDF
Configuring the Flyer Creator
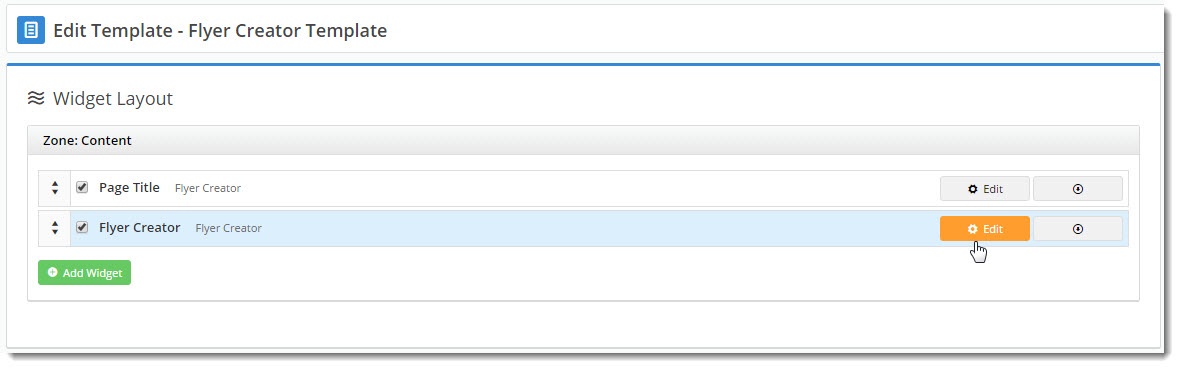
- On the Flyers page, select the Flyer Creator Page template.
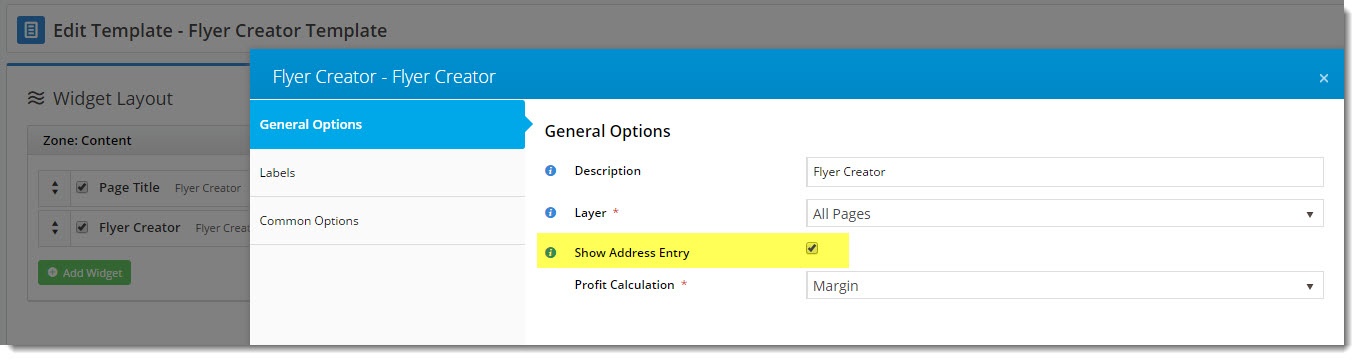
- Edit the Flyer Creator widget.
- The following options will be presented:
- Show Address Entry - this allows your customers to override the address information that gets printed on the flyer header.
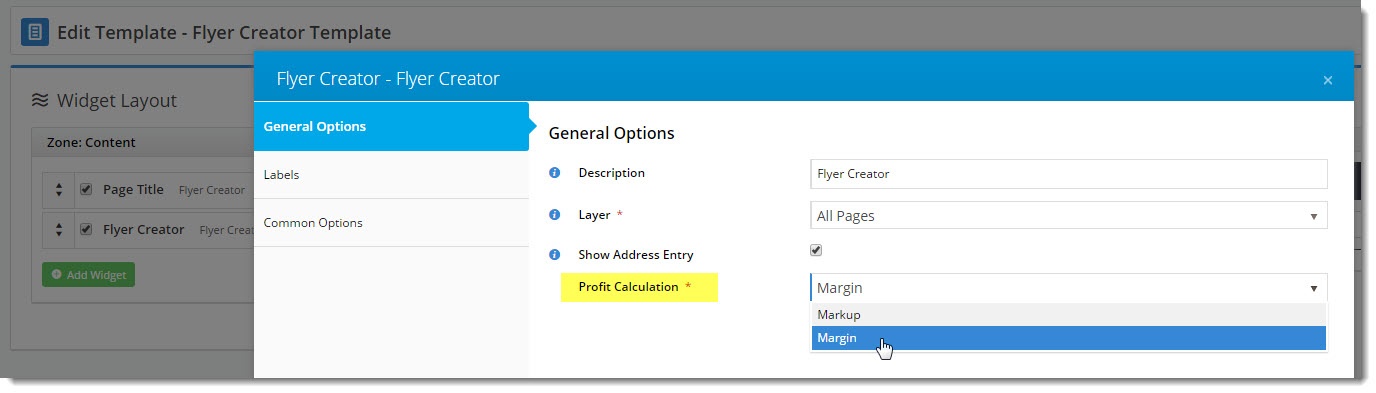
Profit Calculation - set the method for pricing calculation, either Markup or Margin.
Margin vs Markup - What's the Difference?
Margin - the value of sales less the cost of goods. Example: If you bought goods for $70 and then onsold them for $100, you'd make 30% margin.
Markup - the amount added to the cost price in order to arrive at the sale price. Example: If you bought goods for $70 and then marked them up by 30%, you'd sell them for $91. If you wanted to sell the goods for $100, you'd need a 42.9% markup.
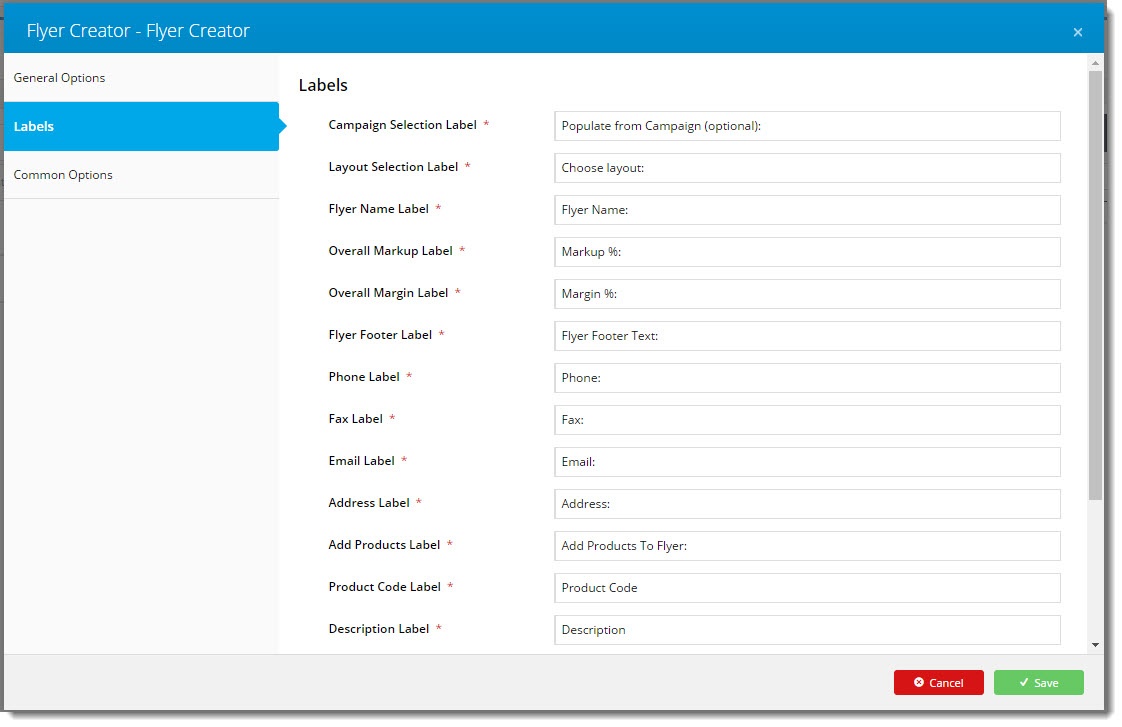
- Select the Labels tab.
Here you can change the wording for field labels and prompts as you see fit.- Click 'Save'.
Related articles