...
You may already have all of your product images uploaded for master products. If this is the case, you can skip steps 4-6 below and go straight to adding tagsall that's left to do is tag those images.
The steps below will guide you through.
- In the CMS, navigate to Products & Categories → Product Maintenance.
- Search for a master product and click 'Edit'.
- Scroll to the Media section where product images are displayed.
- If all required images for this product are already there, go to step 7.
- otherwise, continue on to upload your images.
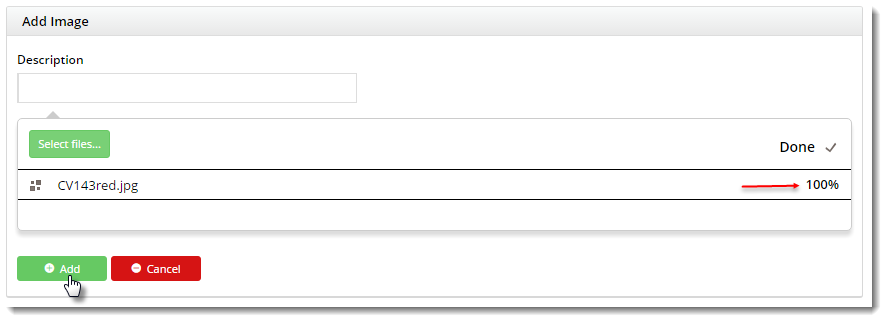
- Click 'Upload Image', then 'Select Files' to browse to your image file.

- Select the file and let it load (unless the file is unusually large, this should be very quick). Once complete, click 'Add'.
- You should now see the image thumbnail displayed, along with a Tag input field.
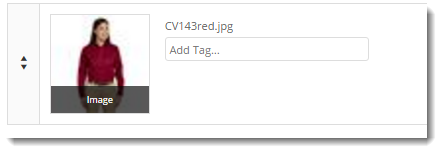
- Add a Tag to the image. The tag should correspond to a variant value of one of the child products (e.g. "Red"). You can Feel free to add multiple tags to an image if required.
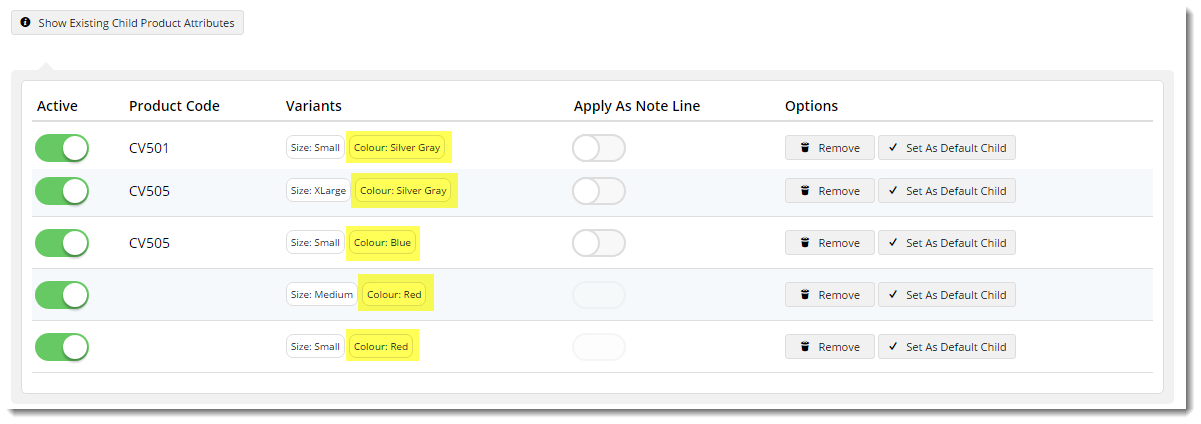
Tip: variant options for the product can be found at the bottom of the product maintenance page, in the Master Product section. Click 'Show Existing Child Product Attributes' to view them.
- Repeat the above steps as needed for the remaining product images.
- Click 'Save' or 'Save and Exit'.

...