...
- In the CMS, navigate to Settings → Feature Settings.
- Edit the Third Party Login feature.
- Toggle the following options on/off as required:
- Use Registration Page - this directs users to additional registration fields after they login to Google.
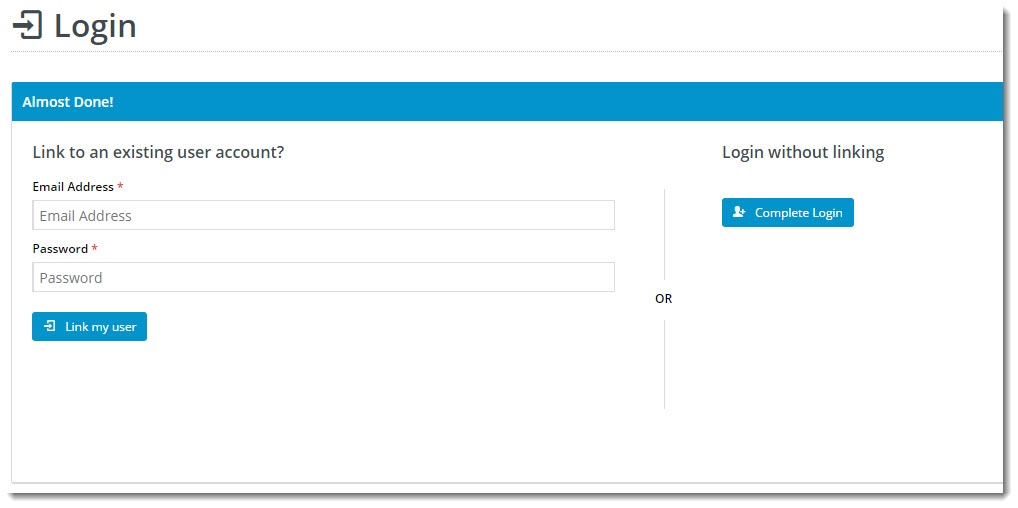
- Allow Linking To Existing Users - this allows a user to login with Google, then link that login to an existing account (if they have one).
This retains all of the user's order history, favourites, etc, while still allowing with the benefit of a quick Google sign-in.- Copy and paste your Google Client ID into the Sign-In Client ID field.
- Copy and paste the following into the Token Info Endpoint field: https://www.googleapis.com/oauth2/v3/tokeninfo?id_token={0}
- Enable Google Sign-In with the toggle, then Save!
Optional Customisations
Change the text on the Registration / Link User page here:
Navigate to Content → Content → Standard Pages.
- Search for and select the Third Party Login Registration template.
- Edit the Third Party Login Registration Fields widget.
- You can update the headings, button labels, and prompts here.
Change the heading on the Login pop-up here:
- Navigate to Content → Theme Layout.
- Edit the Login Logout Modal widget.
- Select the Titles tab to update the headings.
...


